What you need
Video Overview
-
-
Apple's new iPhone 13 lineup made its debut at the 14th September Apple Event, with four new models shown off. New models with technology upgrade always come with new repair challenges. Today we will disassemble iPhone 13 Pro to see the interior structural changes and how those changes will affect repair.
-
In the first place, remove the card tray. The card tray is made of metal and features Dual SIM with waterproof and dustproof rubber ring inside.
-
Besides the adhesive, iPhone also uses the bottom screws to reinforce the fastening. Remove two screws from the bottom.
-
-
-
Heat the phone with Heating Pad for about 3 minutes. Lift the display with a Suction Cup. Insert a Plastic Card when there is a gap. Then slide along the gap. Like iPhone 12 Pro, the display flex cable of iPhone 13 Pro is on the left. So the iPhone 13 Pro display also opens from the right edge.
-
In addition, the flex cable of the sensor module is very short. So when lifting the display, the angle should not be greater than 90 degrees to avoid breaking the flex cable.
-
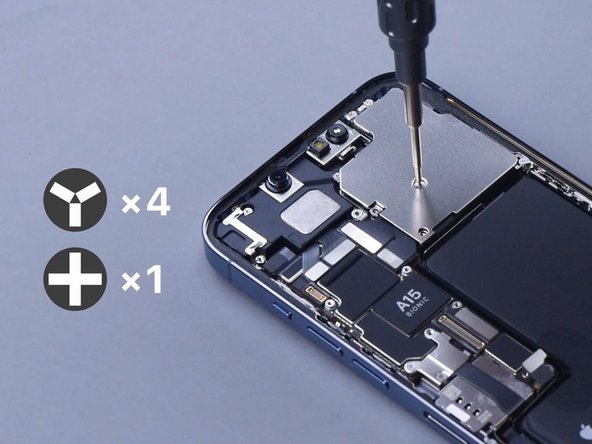
Remove the three screws that secure the battery shielding cover. Detach the shielding cover using a spudger. Disconnect the battery.
-
-
-
Continue to remove the four screws that hold the sensor module shielding cover. Disconnect the flex cables of the sensor and screen to remove the screen.
-
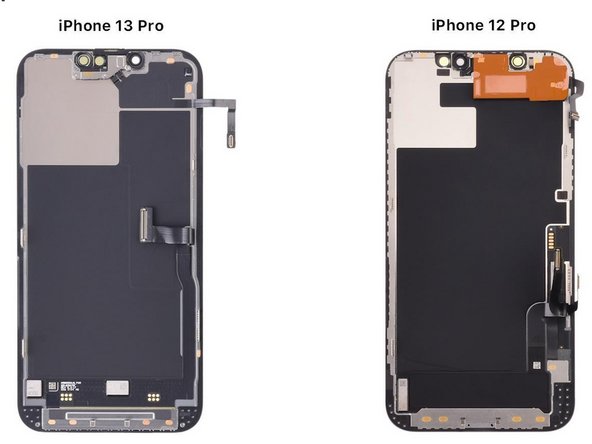
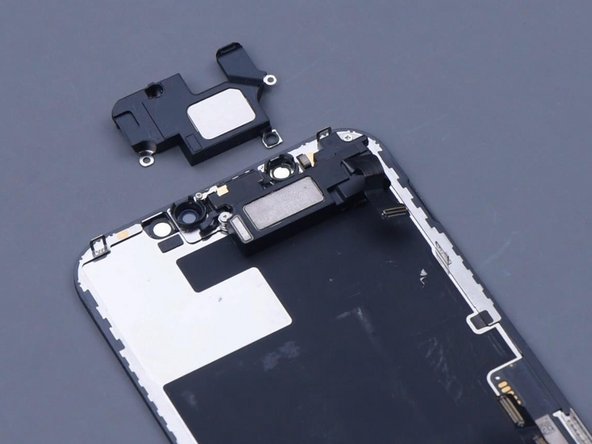
The earpiece of iPhone 13 Pro is moved to the housing, while the earpiece of iPhone 12 Pro and previous models is on the screen.
-
The flex cables of display and touch are now integrated. The screen refurbishment difficulty of iPhone 13 Pro is expected to be higher.
-
-
-
-
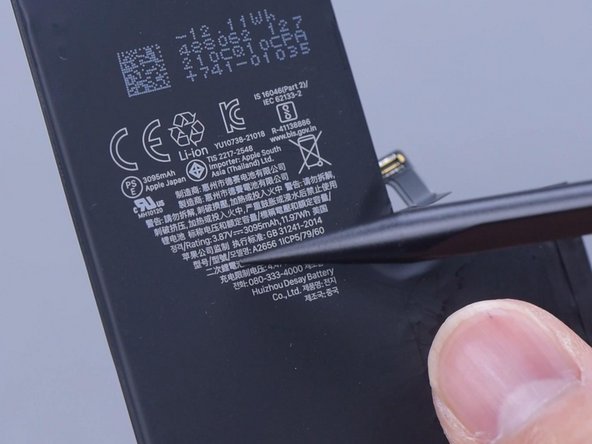
Next, let's take a look at the overall interior structure. iPhone 13 Pro looks much cleaner than iPhone 12 Pro because there is less printing on the battery surface. And there's A15 on the motherboard.
-
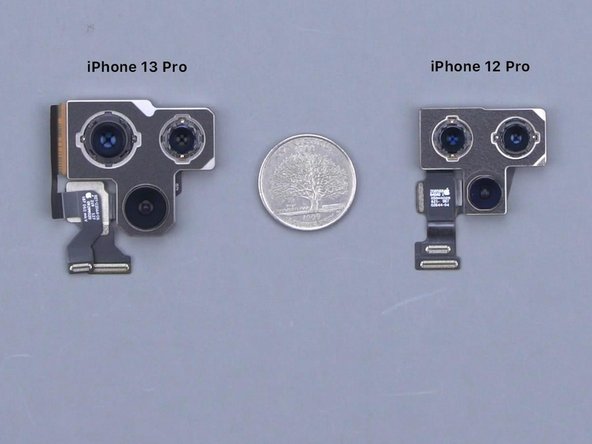
Remove the 5 screws that hold the rear camera shielding cover. Disconnect the flex cable of the camera. Remove the camera. iPhone 13 Pro has a bigger camera than the iPhone 12 Pro.
-
-
-
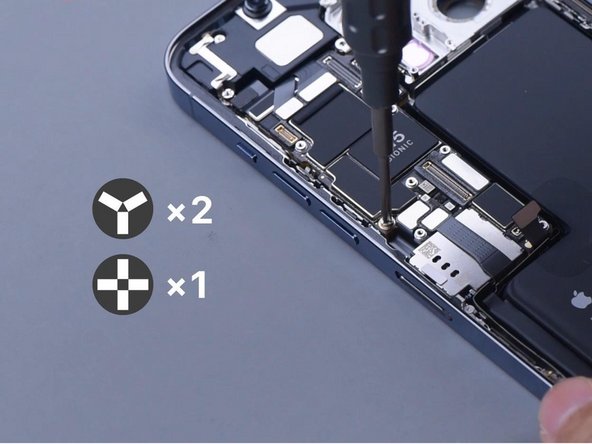
Remove the motherboard. The motherboard still adopts a double-layered design. SIM card reader is welded on the motherboard. There are heat dissipation tapes on both sides of the motherboard.
-
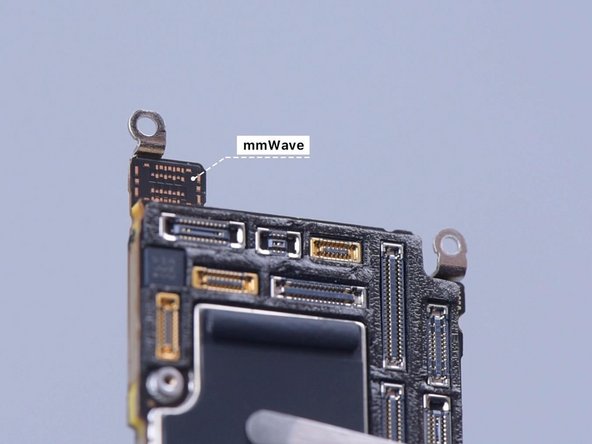
The seat of mmWave is empty on the motherboard.
-
Remove the earpiece. The size has been increased compared with the previous model.
-
-
-
Remove the Face ID flex cable. The dot projector and infrared camera of iPhone 13 Pro are integrated into one flex cable. This undoubtedly makes future Face ID repair more difficult.
-
Remove the flash flex cable. Unbolt the screws that secure the signal antenna and then the signal antenna. Remove the NFC antenna.
-
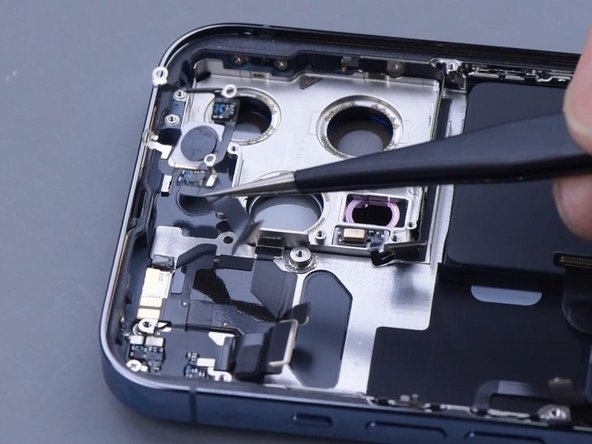
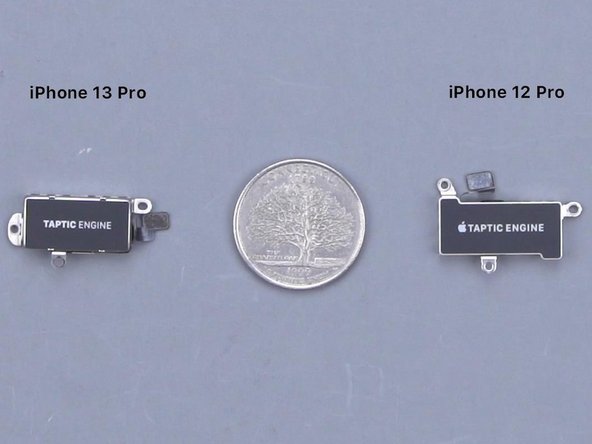
Remove the screws that hold the charging port flex cable. Yank the speaker and Taptic Engine out. The Taptic Engine of iPhone 13 Pro is smaller.
-
-
-
Finally, remove the plastic part and then the charging port flex cable.
-
The back cover of the iPhone 13 Pro looks the same as the iPhone 12 Pro. We assume that the refurbishment method is the same as the iPhone 12 Pro. In general, iPhone 13 Pro teardown is easier than its predecessor. Screen refurbishment and Face ID repair will become more difficult.
-
Later we will have videos on motherboard separation, screen and back cover refurbishment to discuss the repair difficulty of iPhone 13 Pro in detail. Please stay tuned.
-