Introduction
Everyone knows that Fall is the season for Apples, and they're finally starting to drop. We scooped up the fresh new iPad Mini 4, rinsed it off like Mom taught us, and took it straight to the cutting board. Follow along to find out what the power of an iPad Air in an even more compactified package looks like. It's teardown time!
We're just getting warmed up, so don't miss a teardown! Follow us on Facebook, Instagram, or Twitter for the latest teardown news.
What you need
-
-
It's thinner. It's lighter. It's powerful-er. What else is it? Here's what we know from Apple:
-
Fully laminated, 7.9-inch (diagonal), 2048x1536 LED-backlit Multi-Touch display with IPS technology
-
Apple A8 SoC with 2nd-generation 64‑bit architecture + M8 motion coprocessor
-
8 MP iSight camera + 1.2 MP FaceTime HD camera
-
Wi‑Fi (802.11a/b/g/n/ac) with dual channel (2.4 GHz and 5 GHz) and MIMO support + Bluetooth 4.2
-
19.32 Wh rechargeable lithium-polymer battery
-
Three-axis gyro + accelerometer + ambient light sensor
-
And a brand new model number: A1538
-
-
-
New Mini, new look. We lined up our new (gold) Mini 4 against our old (space gray) Mini 3, and flashbacked to our iPad Air 2 teardown. These are all the same changes!
-
The 6.1 mm thick iPad Mini 4 shaves 18% off the 7.5 mm Mini 3.
-
Many speaker holes are consolidated into fewer.
-
The dual rear-facing microphones move to surround the iSight camera, taking up the home of the now-defunct rotation lock slider.
-
And lastly, that uniform gold color hasn't changed, so your devices can still coordinate, for now (anyone remember the iPhone 5's sort-of blue color?)
-
-
-
Despite the rather brief introduction at Apple's event earlier this month, the Mini 4 is packing a pretty major overhaul—including the same fully laminated screen tech we've seen in the iPad Air 2.
-
With the adhesive softened, our tried-and-true method of suction cup and opening picks prevails once more. We're on our way inside this critter.
-
-
-
As if the fused display wasn't enough of a hint—this is looking more and more like a miniature iPad Air 2 by the minute.
-
Adhering the glass and display together gives a little more rigidity to this Mini—enough to ditch the huge metal shield plate that has traditionally lived behind the LCD.
-
One feature we're glad the Mini has retained: an easily disconnected battery. We'll pop that guy first, without having to bust out our isolation pick (necessary for full-sized iPads).
-
-
-
-
SaucerScreen separation complete. Besides sealing the display to the glass, there aren't any major changes—the Mini 4 sports the same 2048 x 1536 pixels (326 ppi) as its predecessor. -
Last year's update to the Mini series brought a single new feature, as a bit of a teaser of what was to come today: Touch ID. As such, not much there has changed, and the bracket and assembly look about the same as in the iPad Mini 3.
-
The other new feature on the Mini 3 was dual blobs of hot glue to hold the button assembly down. That particular repair-hampering detail returns as well.
-
-
-
All right kids, it time to play Spot the Differences! The now-discontinued iPad Mini 3 on the left faces off against the contender, the new Mini 4 (right).
-
Not only is the battery thinner and of lesser capacity, it's now a single cell, instead of two.
-
The lower right antenna now lives in the upper right. We'll have to tear into an LTE version to see what that means for that.
-
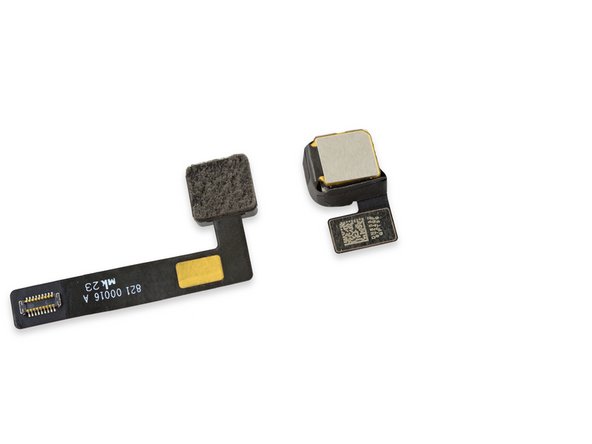
The FaceTime camera assembly is seriously slimmed down.
-
Plastic spacers fill in the gaps in the Wi-Fi logic board on the Mini 4 (perhaps to provide some more support for the display).
-
-
-
This iPad is some kind of Mini/Air hybrid—half its antennas on the top, like an Air, half on the bottom like a standard Mini.
-
The "right" antenna moved from its customary speaker spot, to the right of the rear-facing camera.
-
This is probably a space saving measure, but maybe this Mini is secretly a flounder. º3º
-
-
-
Beauty is in the eye of the beholder, and these beholders have some pretty nice specs.
-
No longer the red-headed stepchild of the iPad line, the Mini 4 inherits the 8 MP iSight camera from the iPad Air, while retaining the familial 1.2 MP FaceTime camera.
-
-
-
And we've struck the gold within the gold:
-
Apple A8 APL1011 SoC, with SK Hynix H9CKNNN8KTBUSR 2 GB LPDDR3 SDRAM
-
SK Hynix H2JTDG8UD1BMR 16 GB NAND flash
-
NXP Semiconductors 65V10 NFC controller
-
NXP Semiconductors LPC18B1UK (Apple M8 motion co-processor)
-
Apple 338S1213 audio codec
-
NXP CBTL1610A1 (Tristar2) USB Switch IC
-
-
-
And a few more on the tail end:
-
Universal Scientific Industrial 339S00045 Wi-Fi module. (The iPad Mini 3 used the 339S0213 )
-
Broadcom BCM5976 digitizer controller
-
Texas Instruments 343S0583, as seen on the iPad Air 2
-
-
-
iPad Mini 4 Repairability: 2 out of 10 (10 is easiest to repair).
-
The battery is still not soldered to the logic board.
-
The LCD and front panel glass are now fused together. This slightly simplifies the opening procedure.
-
The fused front panel also increases the cost of repairing a cracked screen, and increases risk of damage to the LCD when opening.
-
The Lightning connector is soldered to the logic board, so don't bend its pins.
-
Gobs of adhesive hold everything in place making all repairs more difficult.
-
Removing the home button is a tough but required job for display replacement if you want to keep Touch ID functionality.
-