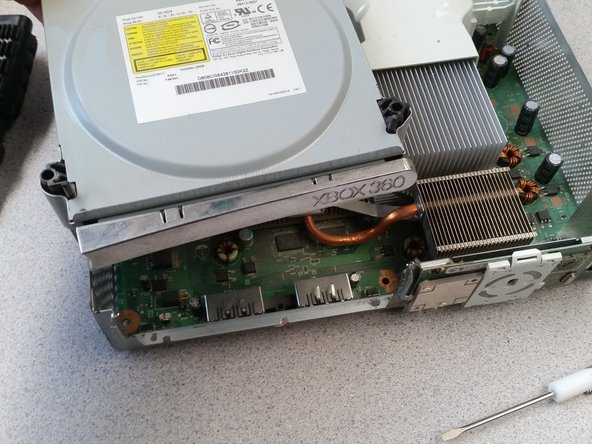
What you need

This teardown is not a repair guide. To repair your Xbox 360, use our service manual.

  1. Xbox 360 Teardown, Hard drive: step 1, image 1 of 1
    • Here you would usually have a hard drive, my xbox does not. To remove it you push down the button and lift it out

  2. Xbox 360 Teardown, Removing the front cover: step 2, image 1 of 3 Xbox 360 Teardown, Removing the front cover: step 2, image 2 of 3 Xbox 360 Teardown, Removing the front cover: step 2, image 3 of 3
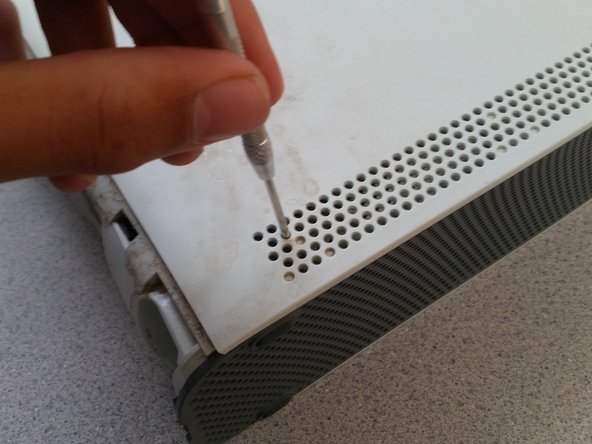
    • You can put a flat head screw driver in between the plastic as shown and gently pry open the front

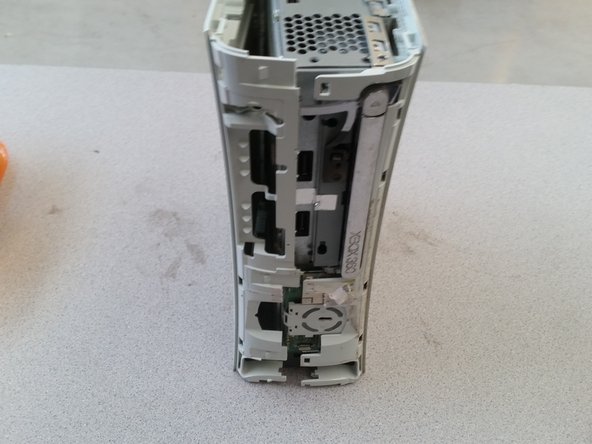
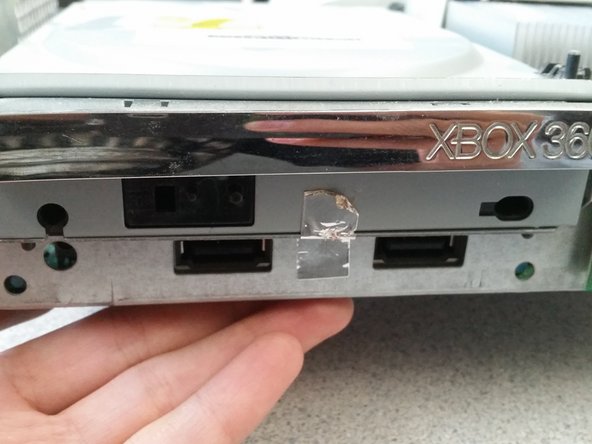
    • You can alternatively grab inside the USB port and pull the cover off

  3. Xbox 360 Teardown, Removing the bottom panel: step 3, image 1 of 3 Xbox 360 Teardown, Removing the bottom panel: step 3, image 2 of 3 Xbox 360 Teardown, Removing the bottom panel: step 3, image 3 of 3
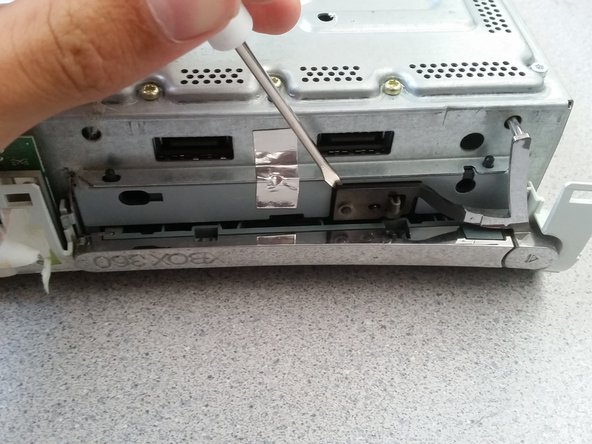
    • Use a small tool to stick in and push these pins

    • Be sure to keep pressure pulling outwards for this to come out easily

    • Make sure that you pop out the pins on both sides

  4. Xbox 360 Teardown, Removing the top plate: step 4, image 1 of 3 Xbox 360 Teardown, Removing the top plate: step 4, image 2 of 3 Xbox 360 Teardown, Removing the top plate: step 4, image 3 of 3
    • Same as the bottom plate you want to push in the buttons holding this in

    • Note that there are six buttons holding this together in total so it is ok to accidentally break 1 or 2

  5. Xbox 360 Teardown, The front case: step 5, image 1 of 2 Xbox 360 Teardown, The front case: step 5, image 2 of 2
    • You have to evenly disconnect all four of these connectors holding it together

    • I used flat head screw driver bits to hold the connectors open

    • You have to remove a warranty sticker to open the console. Be warned, this will void your warranty.

  6. Xbox 360 Teardown, Removing the back of the casing: step 6, image 1 of 3 Xbox 360 Teardown, Removing the back of the casing: step 6, image 2 of 3 Xbox 360 Teardown, Removing the back of the casing: step 6, image 3 of 3
    • You must push in these buttons (7 in total)

    • It is nearly impossible to not mess up the plastic using a screwdriver, i would recommend using an x-acto knife

    • This was one of the harder steps, you must push the button in until it clicks and then go farther still

    • Make sure you keep pressure applied outwards so that the locks do not re-engage

  7. Xbox 360 Teardown, Removing the disc drive button: step 7, image 1 of 3 Xbox 360 Teardown, Removing the disc drive button: step 7, image 2 of 3 Xbox 360 Teardown, Removing the disc drive button: step 7, image 3 of 3
    • To pop off this button, use the flat end of a spudger or flat-head screwdriver.

  8. Xbox 360 Teardown, Opening up to the motherboard: step 8, image 1 of 3 Xbox 360 Teardown, Opening up to the motherboard: step 8, image 2 of 3 Xbox 360 Teardown, Opening up to the motherboard: step 8, image 3 of 3
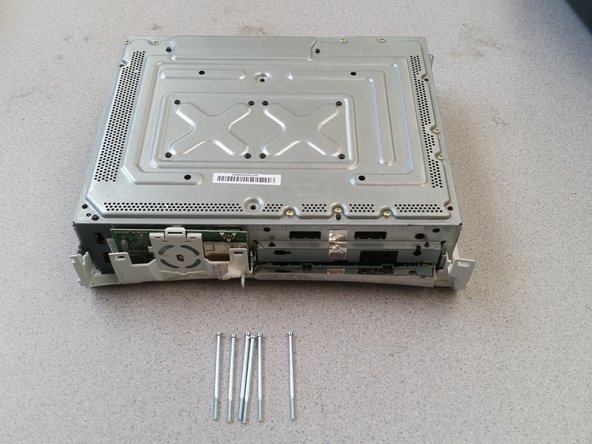
    • Remove the six silver screws

    • Flip over the whole Xbox holding both the plastic and the metal, then pull off the casing

  9. Xbox 360 Teardown, Removing the disc drive: step 9, image 1 of 3 Xbox 360 Teardown, Removing the disc drive: step 9, image 2 of 3 Xbox 360 Teardown, Removing the disc drive: step 9, image 3 of 3
    • Carefully remove the two connectors

    • The disc drive may have some tape in the front holding it in place, simply remove this.

  10. Xbox 360 Teardown, Opening up the fans: step 10, image 1 of 3 Xbox 360 Teardown, Opening up the fans: step 10, image 2 of 3 Xbox 360 Teardown, Opening up the fans: step 10, image 3 of 3
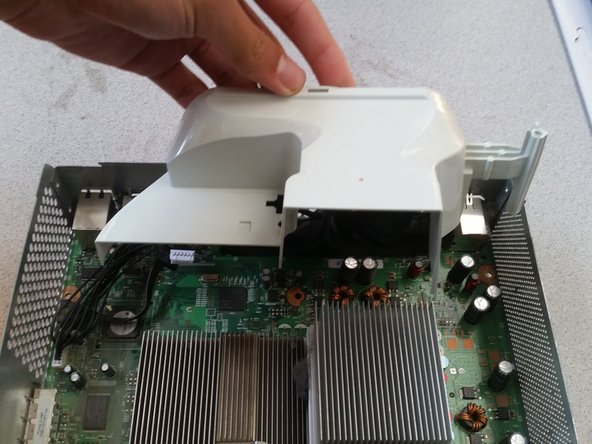
    • To remove the fan covering, use a flat head screw driver as shown to gently pry it off

  11. Xbox 360 Teardown, Removing the fans: step 11, image 1 of 3 Xbox 360 Teardown, Removing the fans: step 11, image 2 of 3 Xbox 360 Teardown, Removing the fans: step 11, image 3 of 3
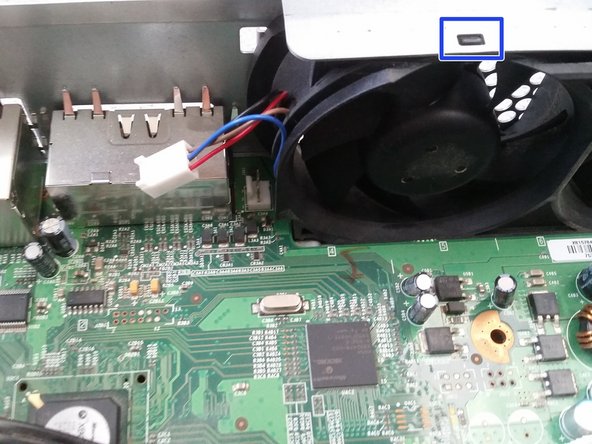
    • Use a small flat head screw driver to open this locking mechanism and then gently remove the fan connector

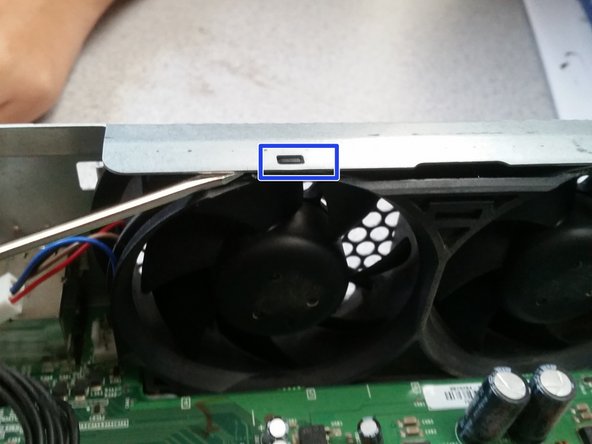
    • Use a screw driver or spludger to pry out the fan from the casing

  12. Xbox 360 Teardown, Removing the power button: step 12, image 1 of 3 Xbox 360 Teardown, Removing the power button: step 12, image 2 of 3 Xbox 360 Teardown, Removing the power button: step 12, image 3 of 3
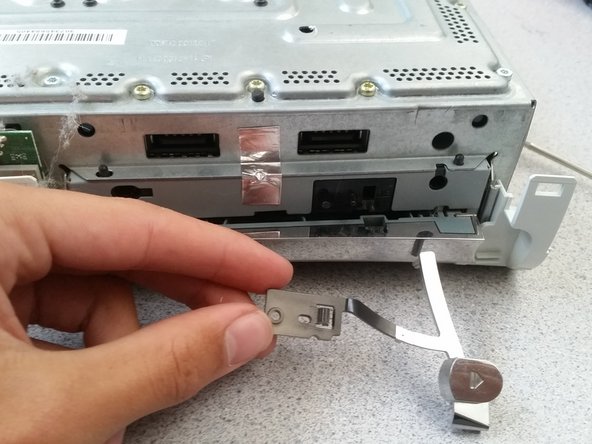
    • To remove the "On" button simply disconnect the plastic clip

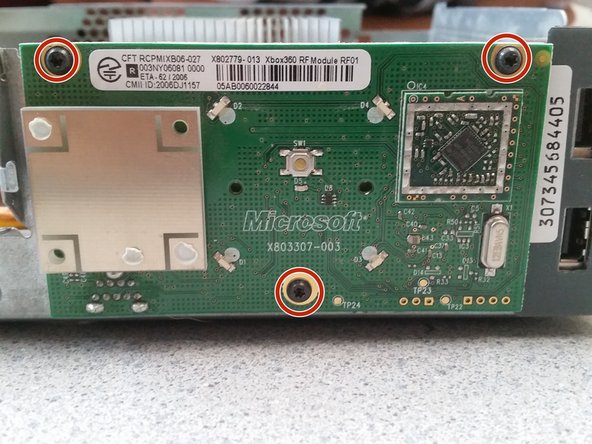
    • Remove the three black screws and pull the chip directly outwards so you do not damage the connector

  13. Xbox 360 Teardown, Removing the mother board: step 13, image 1 of 2 Xbox 360 Teardown, Removing the mother board: step 13, image 2 of 2
    • Remove the 9 gold screws

    • Remove the 8 black screws

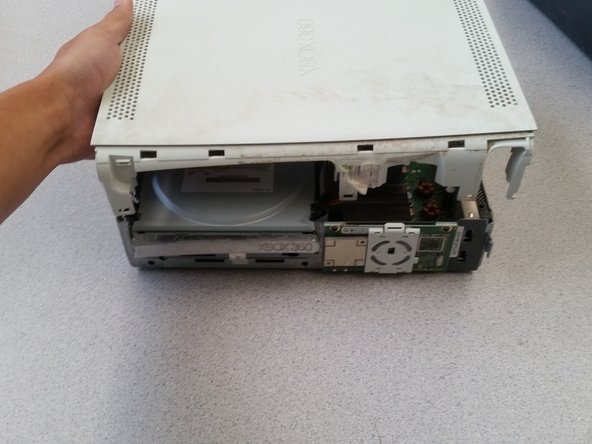
    • Carefully pull out the mother board and make sure that you do not damage any connectors

  14. Xbox 360 Teardown, Displaying the main components.: step 14, image 1 of 2 Xbox 360 Teardown, Displaying the main components.: step 14, image 2 of 2
    • Memory card ports

    • Custom ATi Graphics Processor with 10Mb of Ram

    • 3 IBM PowerPC Cores Each Running At 3.2Ghz with 512Mb of System Ram

    • Hard drive port

    • Power port

    • HDMI and Video ports

  15. Xbox 360 Teardown, You’re finished!: step 15, image 1 of 1
    • This is it. Follow these steps in reverse to re-assemble your Xbox 360 system!

Michael

Member since: 10/23/16

510 Reputation

1 Guide authored

View Statistics:

Past 24 Hours: 7

Past 7 Days: 70

Past 30 Days: 377

All Time: 27,765