
This teardown is in progress – Reload periodically to see the latest changes!

What you need

  1. Toaster Teardown, Original Toaster: step 1, image 1 of 3 Toaster Teardown, Original Toaster: step 1, image 2 of 3 Toaster Teardown, Original Toaster: step 1, image 3 of 3
    • Starting functionality of toaster: toasts bread for a variable time depending on the knob setting when turned on.

  2. Toaster Teardown, Remove bottom 4 screws: step 2, image 1 of 3 Toaster Teardown, Remove bottom 4 screws: step 2, image 2 of 3 Toaster Teardown, Remove bottom 4 screws: step 2, image 3 of 3
    • Removing the bottom four screws allows the metal casing to open.

  3. Toaster Teardown, Remove Crumb Collector: step 3, image 1 of 1
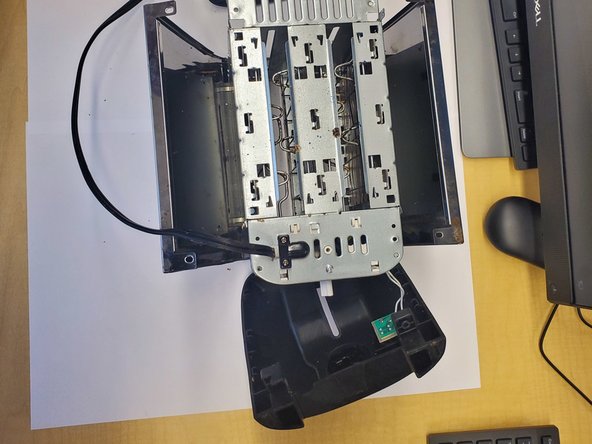
    • Unlatch bottom crumb collector by removing the metal tab and wires connecting it to the base of the metal structure. This reveals a way to clean the toaster in the future.

  4. Toaster Teardown, slide out back and front plastic covers: step 4, image 1 of 2 Toaster Teardown, slide out back and front plastic covers: step 4, image 2 of 2
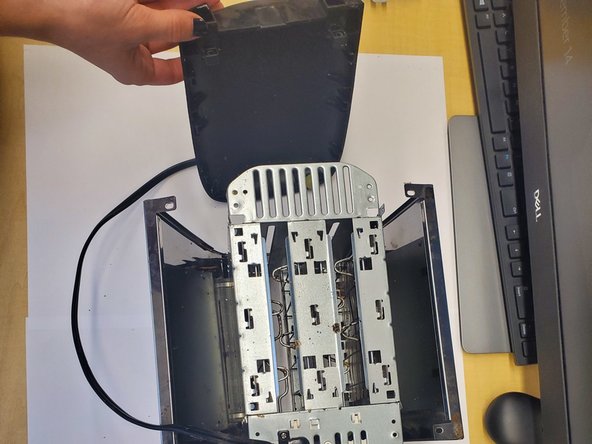
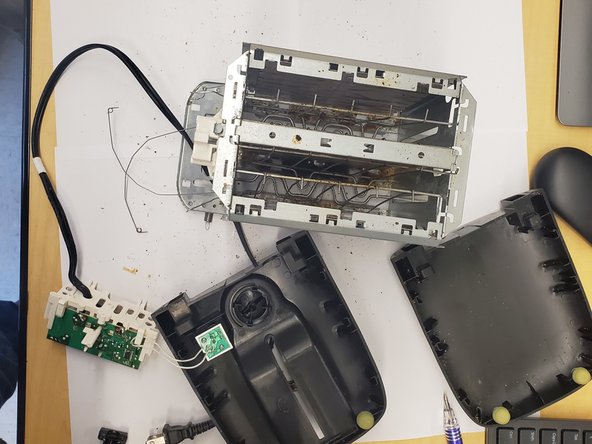
    • These covers were attached by the four screws at the bottom. To remove them, simply pull up and shimmy them out of their slots. However, the front cover still has electrical attachments.

  5. Toaster Teardown, Remove the 2 screws from power cord immobilizer: step 5, image 1 of 2 Toaster Teardown, Remove the 2 screws from power cord immobilizer: step 5, image 2 of 2
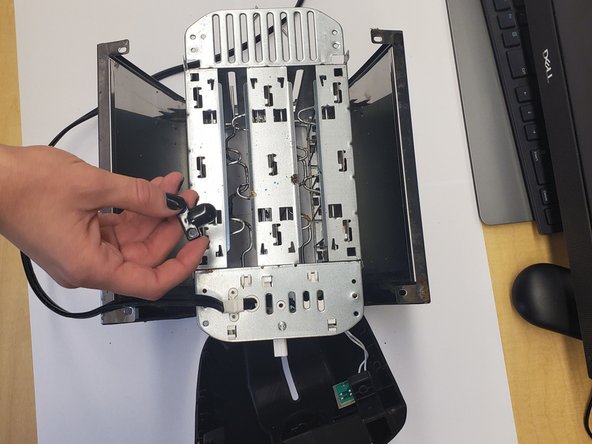
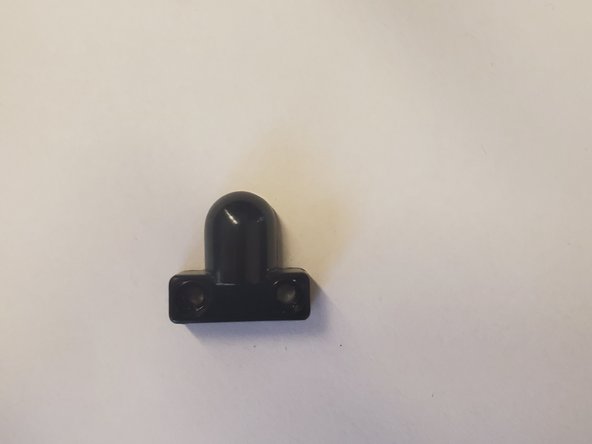
    • The cord immobilizer is a small black plastic piece held in by screws.

  6. Toaster Teardown, Lift on depressor lever and remove from sliding mechanism: step 6, image 1 of 1
    • This step requires a bit of muscle. The plastic lever is very well attached to the depressor lever. Then the front plastic cover can further be removed from the metal frame.

  7. Toaster Teardown, Unsolder leads from circuit board to filaments: step 7, image 1 of 1
    • The circuit board is welded to the heated filaments. In order to further open up the toaster frame, this step is necessary.

  8. Toaster Teardown, Remove Spring and Latch: step 8, image 1 of 2 Toaster Teardown, Remove Spring and Latch: step 8, image 2 of 2
    • The spring shown makes the lever bounce back up after the toast is done. The latches hold the toast in place when the lever is down.

Maria Pieroni

Member since: 11/20/19

157 Reputation

1 Guide authored

0 Comments

Add Comment

View Statistics:

Past 24 Hours: 2

Past 7 Days: 18

Past 30 Days: 63

All Time: 936