
Free Shipping on Domestic Orders $75+

What you need

Video Overview

This teardown is not a repair guide. To repair your Sony Xperia Z5, use our service manual.

  1. Sony Xperia Z5 Teardown, Sony Xperia Z5 Teardown: step 1, image 1 of 2 Sony Xperia Z5 Teardown, Sony Xperia Z5 Teardown: step 1, image 2 of 2
    • Remove SIM card tray.

    Ask FixBot

    Add Comment

  2. Sony Xperia Z5 Teardown: step 2, image 1 of 2 Sony Xperia Z5 Teardown: step 2, image 2 of 2
    • Heat the back cover to soften the adhesive.

    • Place the suction cup and insert metal opening tool to open a gap from top side.

    Ask FixBot

    Add Comment

  3. Sony Xperia Z5 Teardown: step 3, image 1 of 3 Sony Xperia Z5 Teardown: step 3, image 2 of 3 Sony Xperia Z5 Teardown: step 3, image 3 of 3
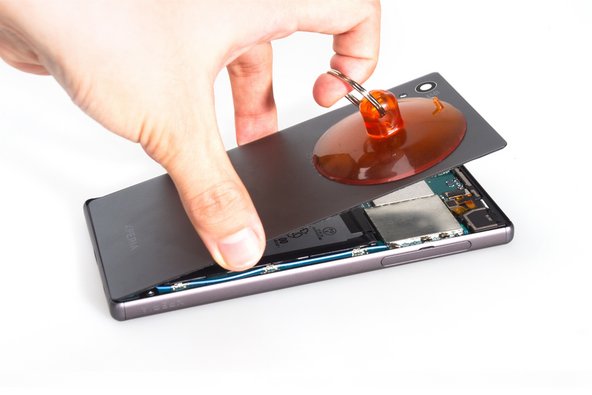
    • Insert the guitar picks and slide it to cut the adhesive underneath.

    • Remove back cover. The back cover is glass, so only use a sucker if you're experienced. otherwise use a small blade to lift off the back while the glue is soft.

    Ask FixBot

    Add Comment

  4. Sony Xperia Z5 Teardown: step 4, image 1 of 3 Sony Xperia Z5 Teardown: step 4, image 2 of 3 Sony Xperia Z5 Teardown: step 4, image 3 of 3
    • Release battery connector and pull off the adhesive tape underneath.

    • Pry up battery.

    Ask FixBot

    Add Comment

  5. Sony Xperia Z5 Teardown: step 5, image 1 of 3 Sony Xperia Z5 Teardown: step 5, image 2 of 3 Sony Xperia Z5 Teardown: step 5, image 3 of 3
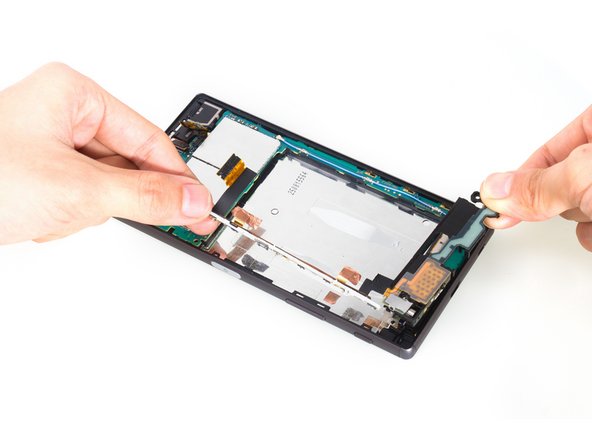
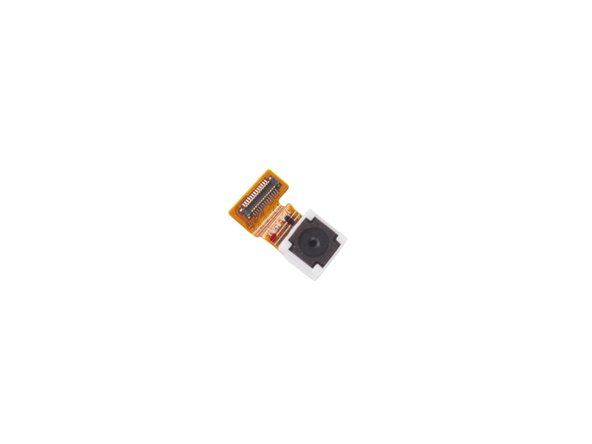
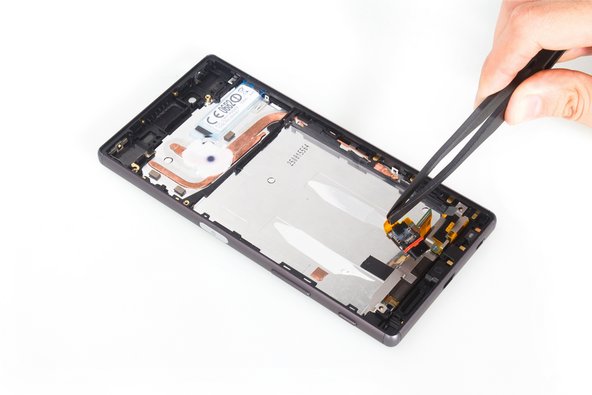
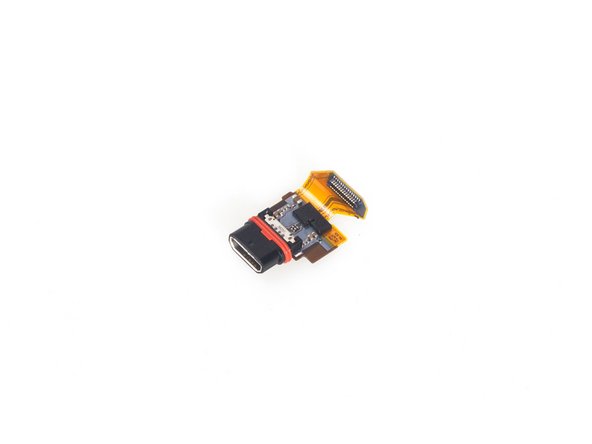
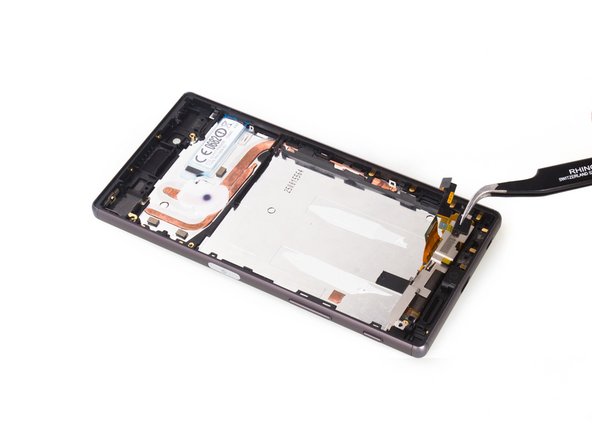
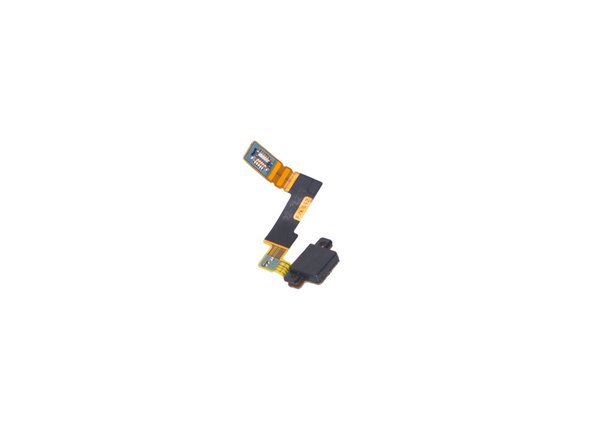
    • Release rear camera connector, front camera connector, audio jack flex connector and main flex connector on the motherboard and remove the screws there.

    • Take away the plastic bracket.

    Ask FixBot

    Add Comment

  6. Sony Xperia Z5 Teardown: step 6, image 1 of 3 Sony Xperia Z5 Teardown: step 6, image 2 of 3 Sony Xperia Z5 Teardown: step 6, image 3 of 3
    • Remove metal cover securing loudspeaker and twist off screws.

    • Pry up and loosen the bottom side of main flex assembly.

    Ask FixBot

    Add Comment

  7. Sony Xperia Z5 Teardown: step 7, image 1 of 2 Sony Xperia Z5 Teardown: step 7, image 2 of 2
    • Remove main flex. ( Attention: the fingerprint sensor connector is here, be careful to loosen it)

    Ask FixBot

    Add Comment

  8. Sony Xperia Z5 Teardown: step 8, image 1 of 2 Sony Xperia Z5 Teardown: step 8, image 2 of 2
    • This is main flex assembly. (It comes with loudspeaker and vibration motor )

    Ask FixBot

    Add Comment

  9. Sony Xperia Z5 Teardown: step 9, image 1 of 2 Sony Xperia Z5 Teardown: step 9, image 2 of 2
    • Remove rear camera.

    Ask FixBot

    Add Comment

  10. Sony Xperia Z5 Teardown: step 10, image 1 of 3 Sony Xperia Z5 Teardown: step 10, image 2 of 3 Sony Xperia Z5 Teardown: step 10, image 3 of 3
    • Remove that securing bracket, then remove front camera.

    Ask FixBot

    Add Comment

  11. Sony Xperia Z5 Teardown: step 11, image 1 of 3 Sony Xperia Z5 Teardown: step 11, image 2 of 3 Sony Xperia Z5 Teardown: step 11, image 3 of 3
    • Release connectors on the motherboard.

    • Remove motherboard.

    Ask FixBot

    Add Comment

  12. Sony Xperia Z5 Teardown: step 12, image 1 of 3 Sony Xperia Z5 Teardown: step 12, image 2 of 3 Sony Xperia Z5 Teardown: step 12, image 3 of 3
    • Remover cover bracket on the audio jack.

    • Cut adhesive at the top of the audio jack and noise canceling mic, then remove it.

    Ask FixBot

    Add Comment

  13. Sony Xperia Z5 Teardown: step 13, image 1 of 1
    • This is audio jack flex coming with noise canceling mic.

    Ask FixBot

    Add Comment

  14. Sony Xperia Z5 Teardown: step 14, image 1 of 3 Sony Xperia Z5 Teardown: step 14, image 2 of 3 Sony Xperia Z5 Teardown: step 14, image 3 of 3
    • Cut the adhesive underneath the earpiece and remove the earpiece.

    Ask FixBot

    Add Comment

  15. Sony Xperia Z5 Teardown: step 15, image 1 of 3 Sony Xperia Z5 Teardown: step 15, image 2 of 3 Sony Xperia Z5 Teardown: step 15, image 3 of 3
    • Push the charging port flex out of the slot and remove it.

    Ask FixBot

    Add Comment

  16. Sony Xperia Z5 Teardown: step 16, image 1 of 3 Sony Xperia Z5 Teardown: step 16, image 2 of 3 Sony Xperia Z5 Teardown: step 16, image 3 of 3
    • Remove the microphone.

    Ask FixBot

    Add Comment

  17. Sony Xperia Z5 Teardown: step 17, image 1 of 1
    • Done.

    Ask FixBot

    Add Comment

Lenka

Member since: 11/06/15

2,408 Reputation

6 Guides authored

23 Guide Comments

No Service after a tear down. What is the problem?

Yuhao Min - Reply Share

it is hard to define which part causes such problem. Make sure the signal antenna connects with logic board perfectly.

Witrigs - Reply Share

Would the water proof go out because of the removal/teardown ?

Tam Alden - Reply Share

Most likely. The back is glued on so unless you can make that seal perfect again, the phone wont be water proof.

Discalimer: I don't own a z5 and have never taken one apart but I have dissasembled my z3 to replace the screen and they look very similar.

Kip K - Reply Share

Hi Lenka,

short question was that a normal xperia z5 or the dual SIM Version because it looks like the SIM reader is long enough to Support two SIM cards. It would be nice if you could check if there are two SIM ports here.

Tobias K - Reply Share

Add Comment

View Statistics:

Past 24 Hours: 6

Past 7 Days: 35

Past 30 Days: 116

All Time: 143,982