Introduction
The surface keyboard is one of Microsoft's attempts at bringing a laptop-style keyboard to the desktop space. Originally introduced alongside the Surface Studio, this keyboard has been equally championed and hated by various technology reviewers. This teardown will provide some insight into the keyboard construction and Microsoft's design decisions.
What you need
-
-
The box is a scaled representation of the product. It's pretty much spot on.
-
It's a box - no It's a keyboard - no it's a box...
-
-
-
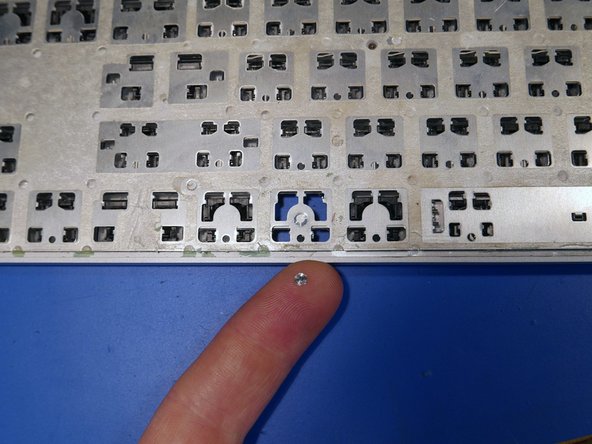
Why the teardown? I received this keyboard from a "used" ebay listing, and it turned out to have a broken key.
-
The key tabs that hold the key to the base of the keyboard were sheared off, making repair of that beloved windows key pretty much impossible.
-
-
-
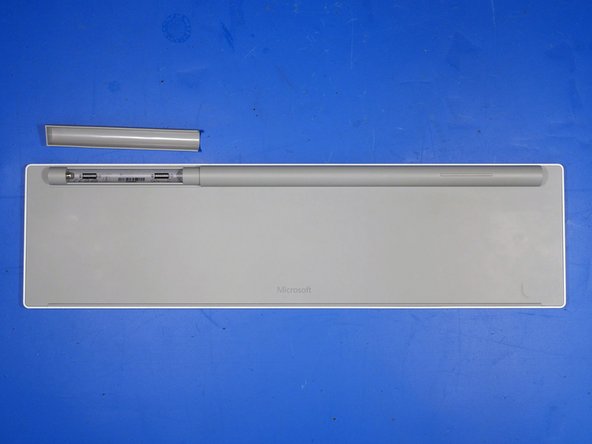
The back of the keyboard features a screwless battery compartment and not much else.
-
The battery cover is held in place by neodymium magnets and the metalized plastic coating on the cover.
-
-
-
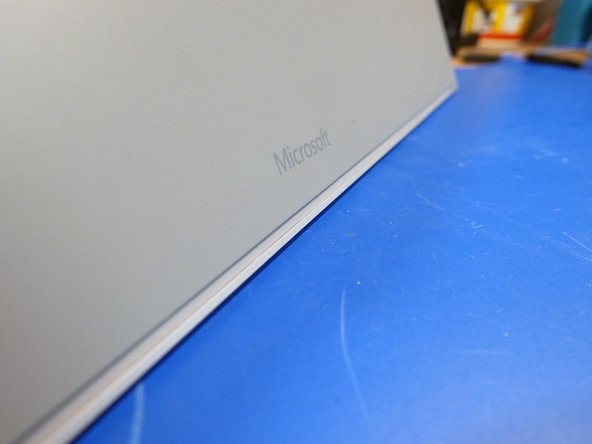
Before I tear apart a product, I like to take the time to analyze the exterior construction and overall build of the item. This gives me a better idea of how the product was assembled and mass produced.
-
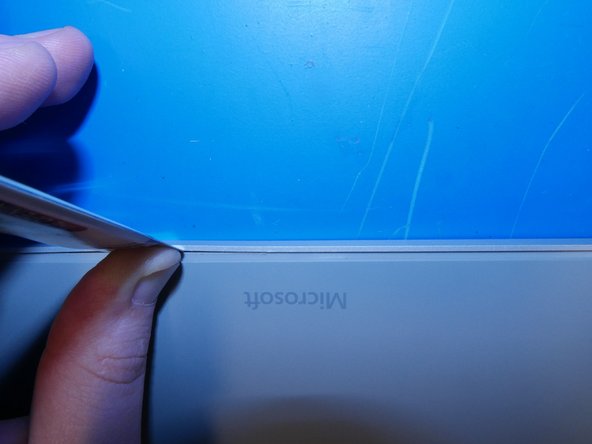
The best way to do this is by looking for seams or imperfections in the build construction.
-
Does the part bow or flex when a small stress is applied? Are there any large gaps in the build? Are there any obvious stickers covering fasteners?
-
This is how I pictured the keyboard to be constructed in my head. I had a feeling that it was one gigantic glued and snapped together assembly, but I needed to verify that first.
-
-
-
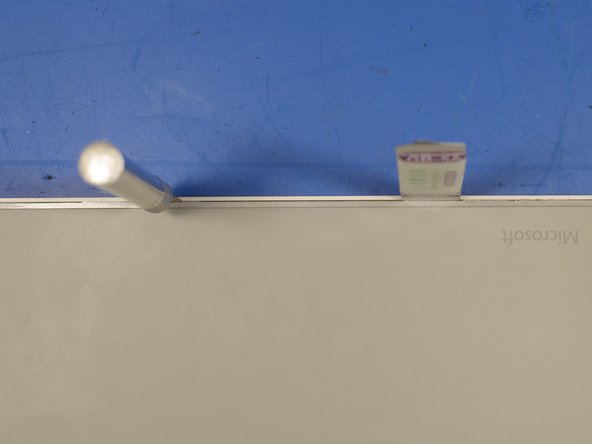
After inspecting the seams, I check under the stickers and glued-on rubber feet. Still no signs of screws.
-
-
-
It would be quite underhanded to put screws under the keys. Luckily that is not the case here.
-
To remove a key, wedge a plastic spudger under the key from the top most edge. Apply a bit of downward pressure on the spudger to lift the key. The key should make popping sounds and unlatch from the metal clips underneath the key that hold it to the keyboard frame.
-
-
-
-
Fearing the worst, I cut off a strip of wax paper and fully removed the bottom most rubber foot of the keyboard.
-
Still no screws in sight.
-
-
-
The fit and finish on this keyboard is quite good - too good in fact. There is practically no room to fit a prying tool in any seam of the keyboard.
-
-
-
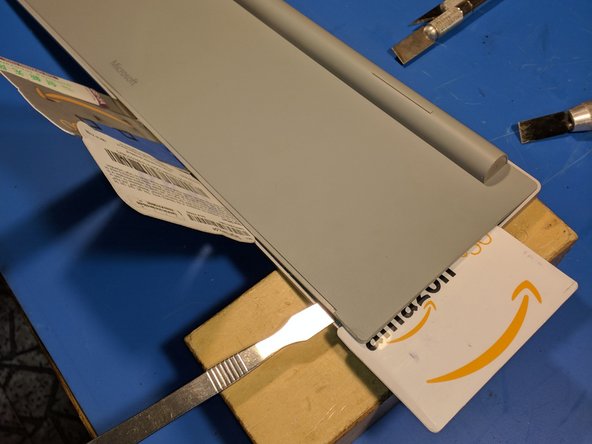
With the amount of double sided tape and glue inside this keyboard, it would be wise to use an iOpener tool or heatgun before beginning to pry open the keyboard.
-
I used a heatgun a bit later into the prying process because I was fearful of melting and deforming the back plastic of the keyboard. Luckily, adjusting the heatgun to its lowest setting activated the glue enough to become pliable.
-
-
-
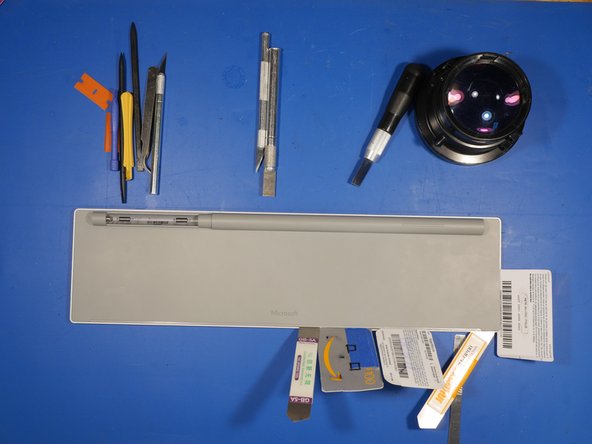
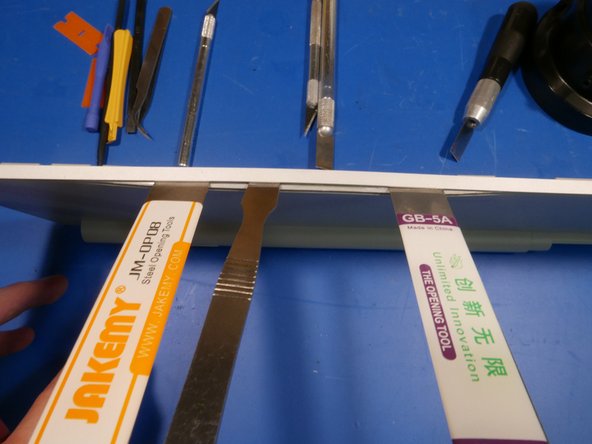
Now for the prying bit. Ready your barrage of prying tools! I used plastic spudgers, metal spudgers, plastic cards, and X-ACTO knifes to get this open.
-
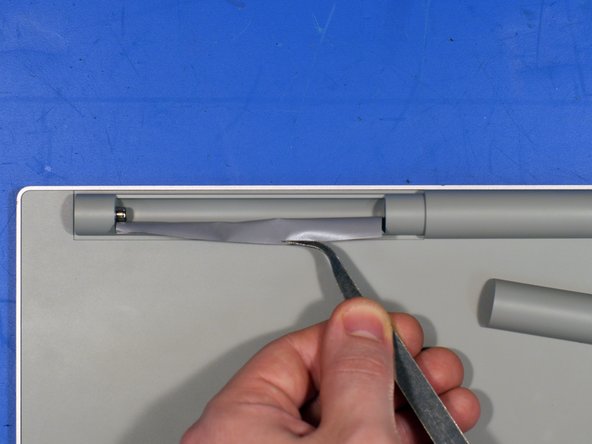
The gap between the aluminum shell and plastic rear plate was so tight I had to use an X-ACTO knife with square-headed No. 18 Blade to widen the gap enough to slide in my metal spudger.
-
-
-
Only after applying heat was I able to get anywhere with prying.
-
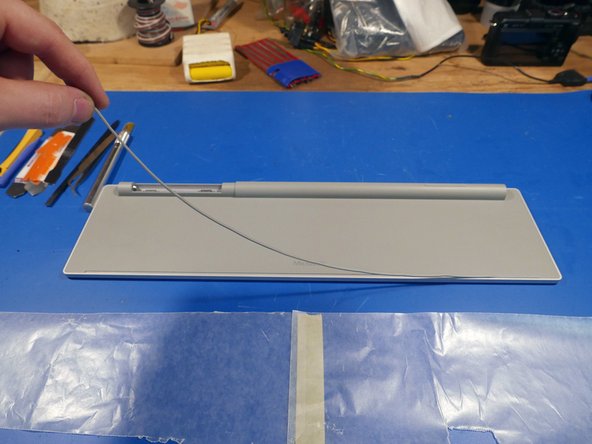
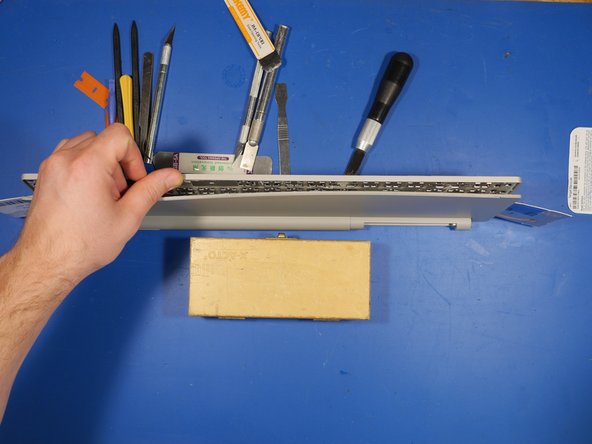
I'll put it this way: two metal prying tools is simply not enough! Thankfully I had some spare giftcards lying around :D
-
-
-
The two main halves started to separate with some persuasion.
-
Giftcards really come in handy. They allow for some prying action without damaging sandwiched parts. If I used a metal spudger for this step, I could have risked tearing the one ribbon cable inside this keyboard. Save your giftcards!
-
-
-
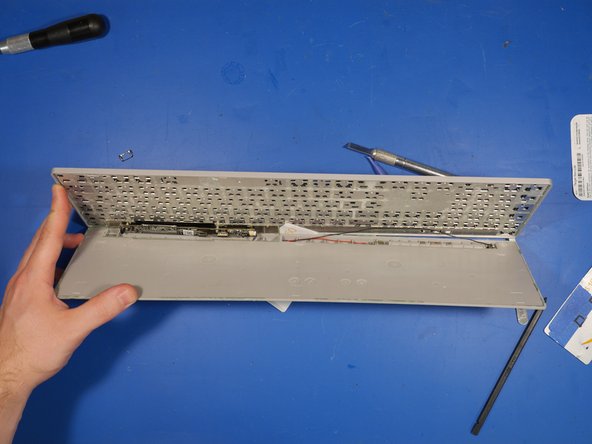
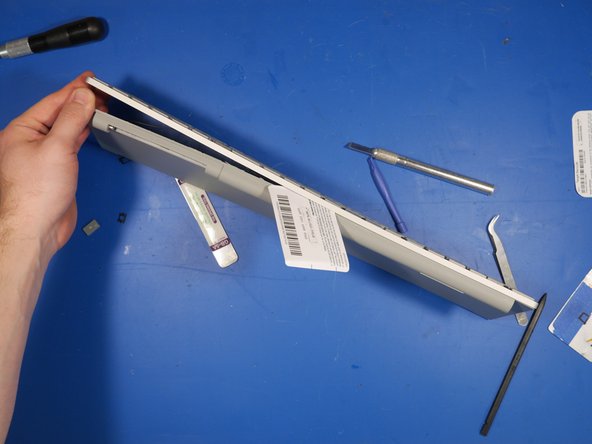
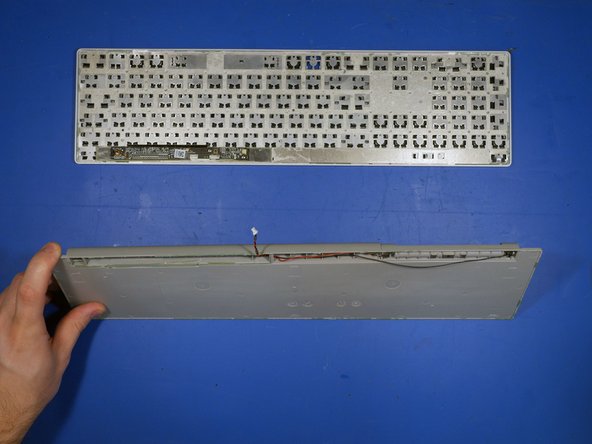
Finally apart!
-
With the keyboard apart, it is evident that Microsoft used double sided tape around each key and glue on the exterior keyboard edge.
-
-
-
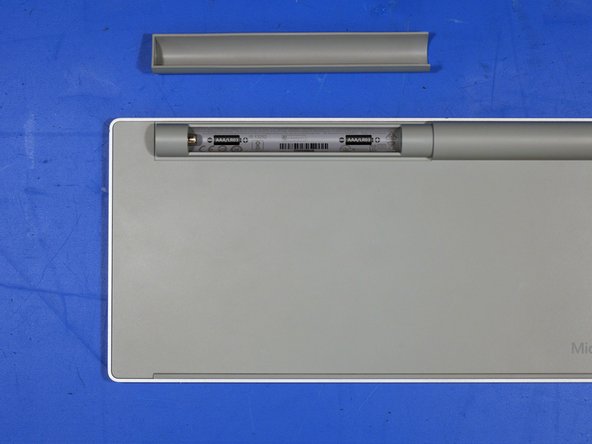
Close-up on the Battery compartment.
-
Neodymium magnets on both terminals and the top of the compartment!
-
The top magnets actually hold the AAA batteries to the top part of the plastic battery section. The only way to easily remove the batteries from the housing is to forcefully tap the top of the keyboard.
-
-
-
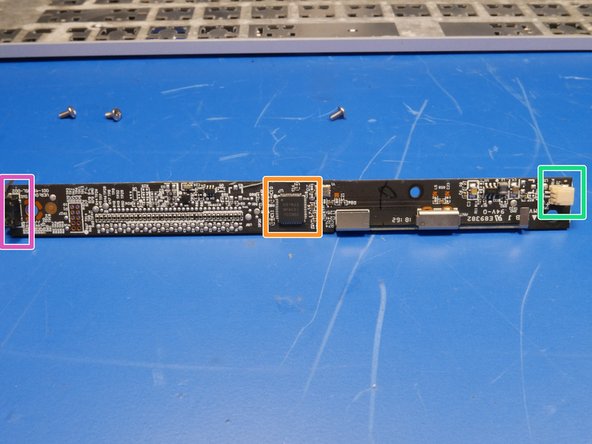
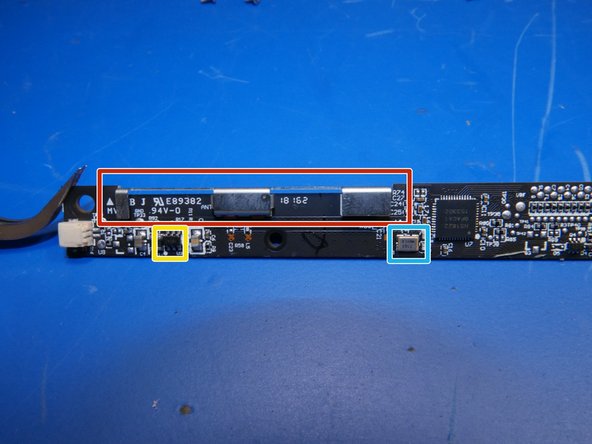
The main PCB is rather small measuring 12mm x 170mm.
-
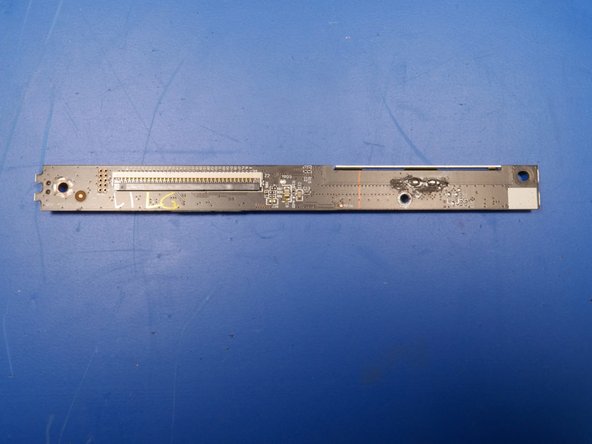
The back side of the PCB is sparse with just a ribbon cable connector and some solder joints.
-
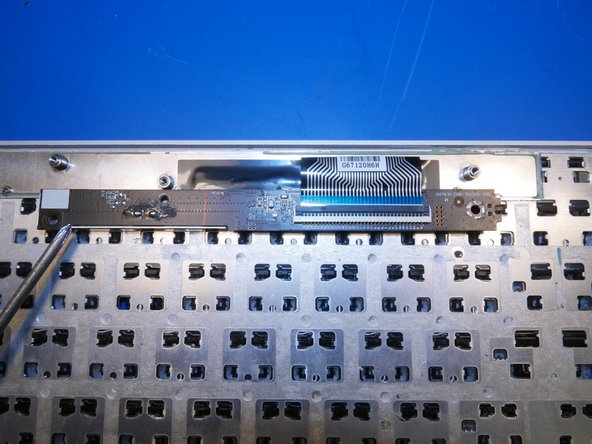
The flex circuit board for the rubber dome keys terminates into a multi-wire ribbon cable which connects to the main PCB.
-
-
-
A closer look at the Bluetooth antenna. Even though this looks more like a bracket than an antenna, it has been sized appropriately for the 2.4ghz bandwidth.
-
Real-time clock
-
Microchip Microchip VUA Power IC / Voltage regulator
-
-
-
It is rather interesting that Microsoft intentionally left an empty ribbed space in the bottom compartment of the keyboard.
-
The Microsoft Modern Keyboard anyone?
-
-
-
Continuing on the analysis of the surface keyboard, there is something special that Microsoft has hidden from its customers - right in plain sight.
-
-
-
*Incoming lyrical adaptations*
-
Why was typing meant to be hard?
-
Why ain't you a force of choice?
-
Why the whole world love my voice?
-
Why I try to tell em its my keyboard stroke, son
-
And you know why they made the new surface?
-
'cause there's no backlight in the old ones - that's why!
-
-
-
One of the biggest complaints of the surface keyboard is that it doesn't feature a backlight.
-
It is rather sad that Microsoft chose to design a keyboard with several intentional iterations in mind, instead of just producing the best slim keyboard they could.
-
A quick design change such as adding a hole under each key, an optical diffusing layer and a few LEDs would have added a simple and functional backlight.
-
For further investigation into this keyboard, check out my Surface Keyboard Hacking Project
-


Team
