
What you need

Video Overview

This teardown is not a repair guide. To repair your Lenovo Ideatab A1000, use our service manual.

  1. Lenovo Ideatab A1000 Teardown / Take apart / Disassembling, Lenovo Ideatab A1000 Teardown / Take apart / Disassembling: step 1, image 1 of 3 Lenovo Ideatab A1000 Teardown / Take apart / Disassembling, Lenovo Ideatab A1000 Teardown / Take apart / Disassembling: step 1, image 2 of 3 Lenovo Ideatab A1000 Teardown / Take apart / Disassembling, Lenovo Ideatab A1000 Teardown / Take apart / Disassembling: step 1, image 3 of 3
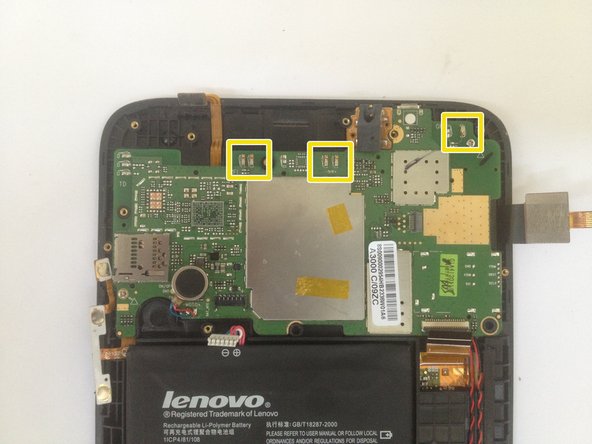
    • Unscrew the two Phillips screws under the memory card and the SIM card covers.

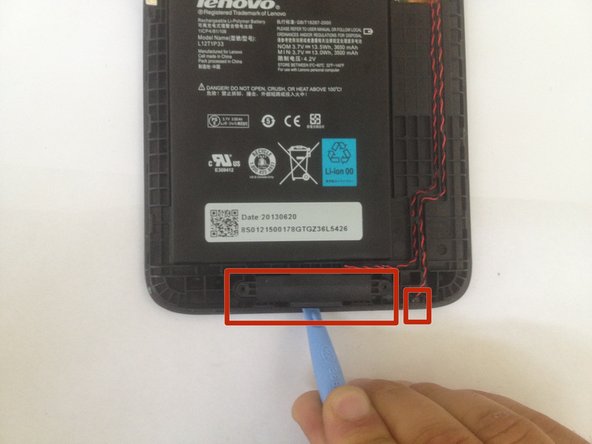
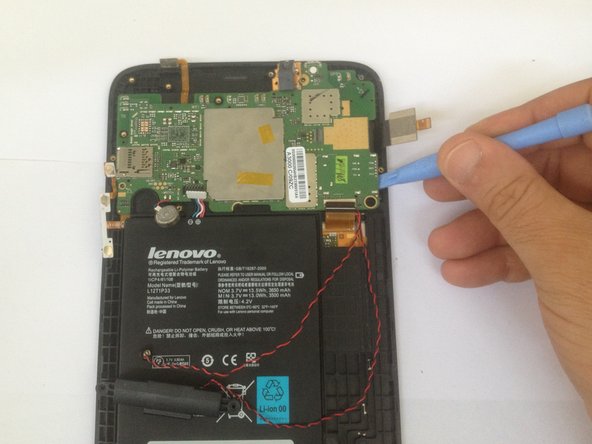
    • Use a plastic tool and remove the back cover.

  2. Lenovo Ideatab A1000 Teardown / Take apart / Disassembling: step 2, image 1 of 3 Lenovo Ideatab A1000 Teardown / Take apart / Disassembling: step 2, image 2 of 3 Lenovo Ideatab A1000 Teardown / Take apart / Disassembling: step 2, image 3 of 3
    • Unscrew the 8x screws and remove the mother board cover.

    • Disconnect the battery connector.

  3. Lenovo Ideatab A1000 Teardown / Take apart / Disassembling: step 3, image 1 of 3 Lenovo Ideatab A1000 Teardown / Take apart / Disassembling: step 3, image 2 of 3 Lenovo Ideatab A1000 Teardown / Take apart / Disassembling: step 3, image 3 of 3
    • Volume Buttons, Power Button and Vibration motor

    • Audio Jack Connector, Touch Screen Flex Cable connector, LCD Display Flex Cable Connector.

    • Wi-Fi Antenna Connector, Speaker Connector, GPS Antenna Connector.

  4. Lenovo Ideatab A1000 Teardown / Take apart / Disassembling: step 4, image 1 of 3 Lenovo Ideatab A1000 Teardown / Take apart / Disassembling: step 4, image 2 of 3 Lenovo Ideatab A1000 Teardown / Take apart / Disassembling: step 4, image 3 of 3
    • Remove the lower speaker and the microphone.

    • Unstuck the Power button, Volume buttons and Vibration motor from the middle frame.

    • Unhook the LCD Display and the Touch screen flex cables.

    • 2x Phillips screws securing the main board.

  5. Lenovo Ideatab A1000 Teardown / Take apart / Disassembling: step 5, image 1 of 3 Lenovo Ideatab A1000 Teardown / Take apart / Disassembling: step 5, image 2 of 3 Lenovo Ideatab A1000 Teardown / Take apart / Disassembling: step 5, image 3 of 3
    • Remove the Logic board.

    • Be careful, the mother board is sticked to the front outer case.

  6. Lenovo Ideatab A1000 Teardown / Take apart / Disassembling: step 6, image 1 of 3 Lenovo Ideatab A1000 Teardown / Take apart / Disassembling: step 6, image 2 of 3 Lenovo Ideatab A1000 Teardown / Take apart / Disassembling: step 6, image 3 of 3
    • CPU - Mediatek, MT8317ATA

    • Memory chip - eMMC(16GB)+LPDDR2(1GB) - KMK3U000VM-B410

    • Power management chip - Mediatek MT6329BA

    • .

    • .

    • That's all.

ZFix

Member since: 12/09/13

191,182 Reputation

330 Guides authored

Team

Master Techs Member of Master Techs

Community

322 Members

2,521 Guides authored

2 Comments

my mini usb track to board is damaged, can i repair it or can i know from where i can buy the PCB board for Lenovo Idea tab a1000

Jidendran S - Reply

Thanks for this guide!

Pooshon Banerjee - Reply

Add Comment

View Statistics:

Past 24 Hours: 0

Past 7 Days: 3

Past 30 Days: 12

All Time: 14,210