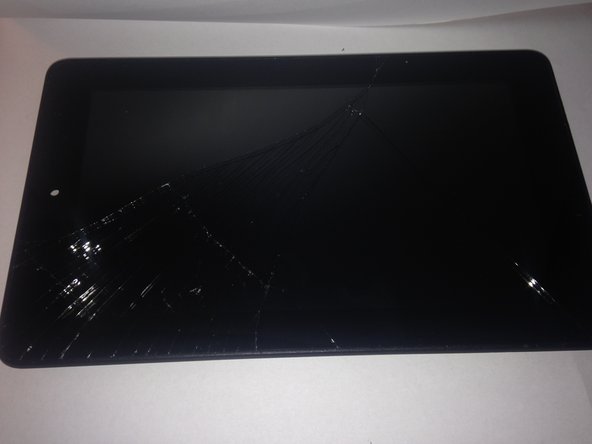
Introduction
This is a quick teardown of the Kindle Fire 7" (2015 5th Gen) in order to identify the parts (particularly the digitizer) in order to locate replacements. The digitizer is TPV-AM070BPB01A and appears to be available in China.
What you need
-
-
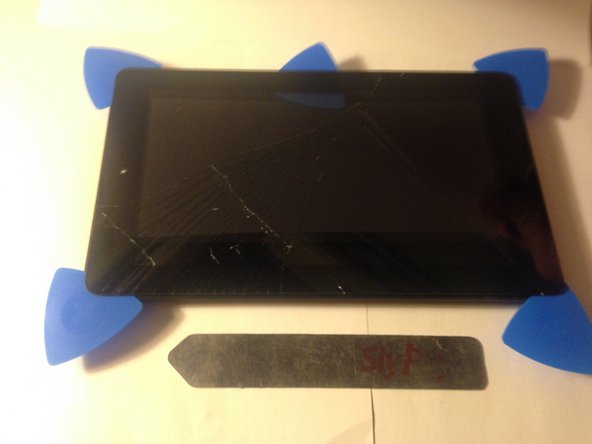
Locate the seam between the back cover and the front frame and begin prying the back cover off by inserting an opening tool into the seam.
-
Use a pick or opening tool to work from one side down to the bottom and then up the other side while popping the clips that hold the back cover to the front frame.
-
-
-
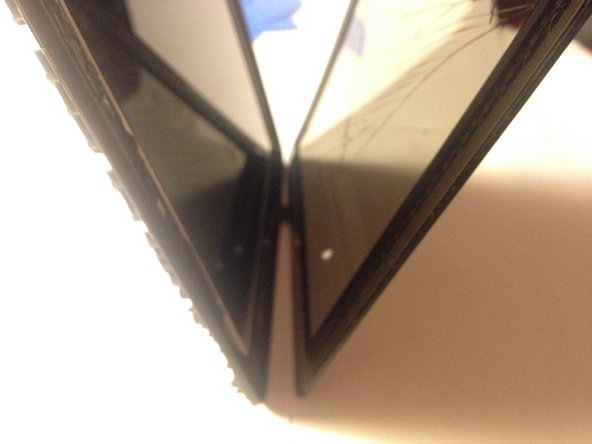
Once the two sides and the bottom are free, lift the bottom part of the cover slightly and push it up to release the headphone jack (yellow), and micro usb (blue) connections from the back cover.
-
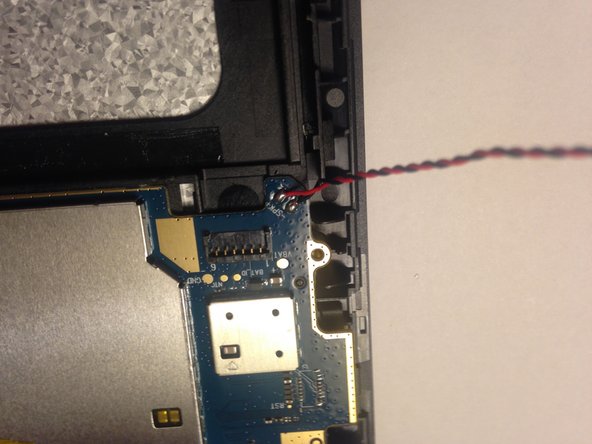
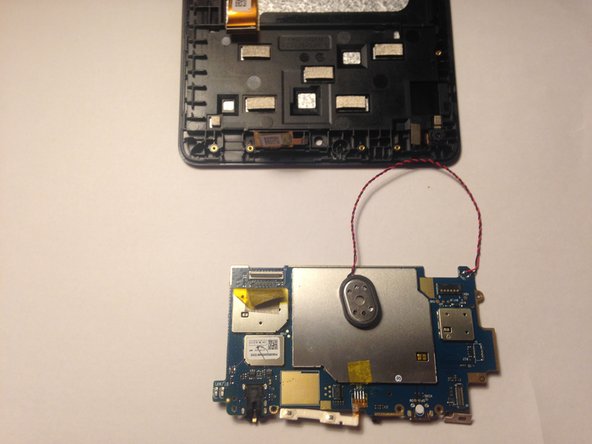
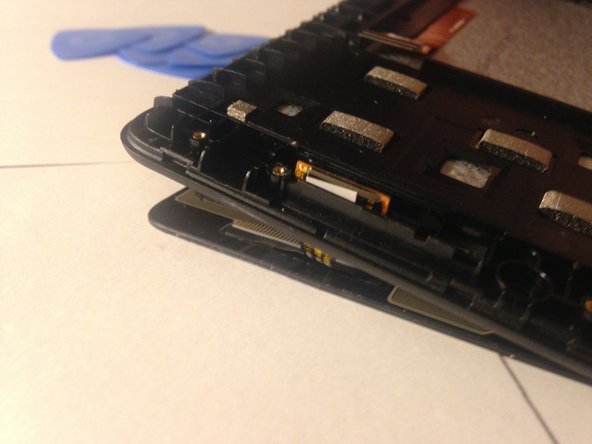
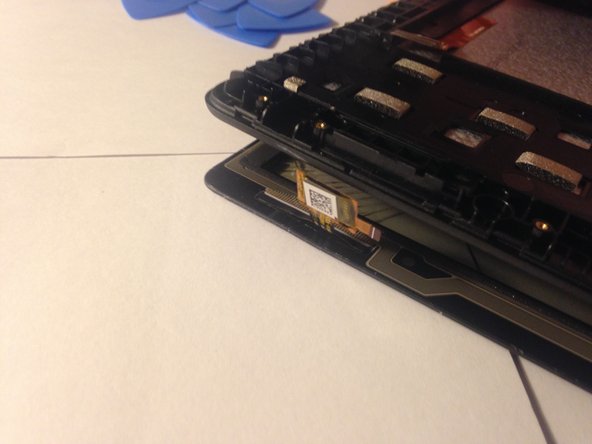
The back cover should now come off leaving you with the insides of the Kindle Fire 7" (2015) exposed. You can see the battery (red), the main pcb (at top), rear facing camera (yellow), speaker (orange), and connection cables for the LCD panel (dark blue) and digitizer (light blue).
-
The arrows point to locations where five 3mm screws will need to be removed from. The blue arrow is where a white "s" sticker is found over the screw as what appears to be a warranty voiding tamper seal. Using a little heat allows its removal without damaging it.
-
-
-
The battery should be disconnected before continuing beyond this point.
-
Using a spudger, lift from underneath the power wires to release the connector.
-
-
-
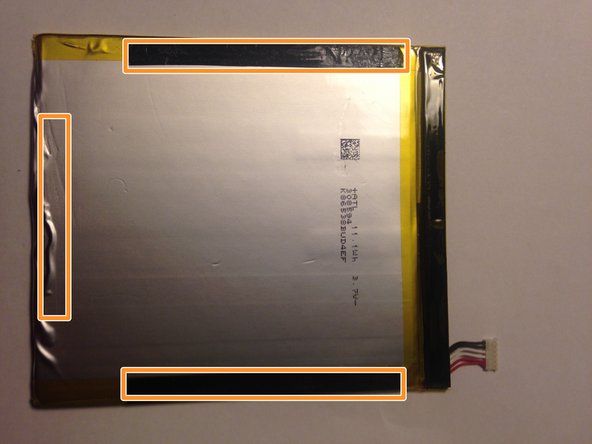
The battery is held to the plastic frame using adhesive strips on the sides and bottom of the battery (orange).
-
Using a spudger lift the bottom corner of the battery and insert the spudger between the battery and plastic frame.
-
WARNING: Heat may be needed to release the adhesive without damaging the battery.
-
-
-
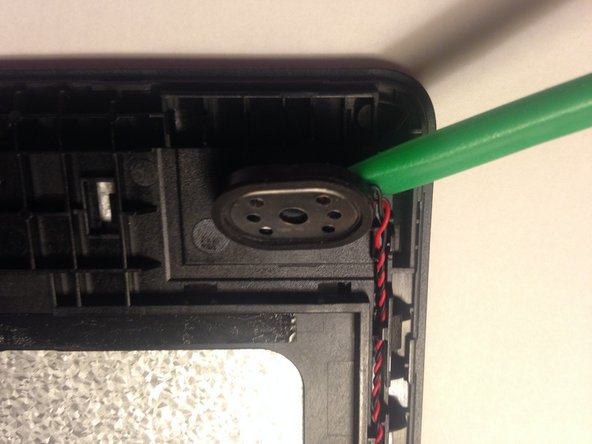
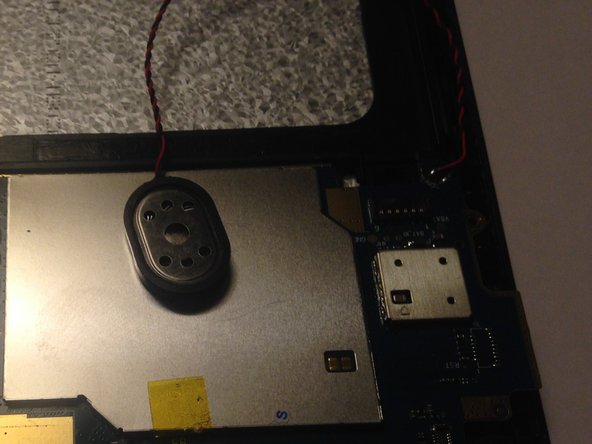
Use a spudger to remove the speaker that is adhered to the frame with adhesive.
-
WARNING: Heat may be needed to release the adhesive enough to remove the speaker.
-
-
-
After the speaker is detached, pull the speaker wire out of the channel it is in carefully.
-
Set the speaker out of the way. On top of the silver microchip cover on the main pcb is a great place for it.
-
-
-
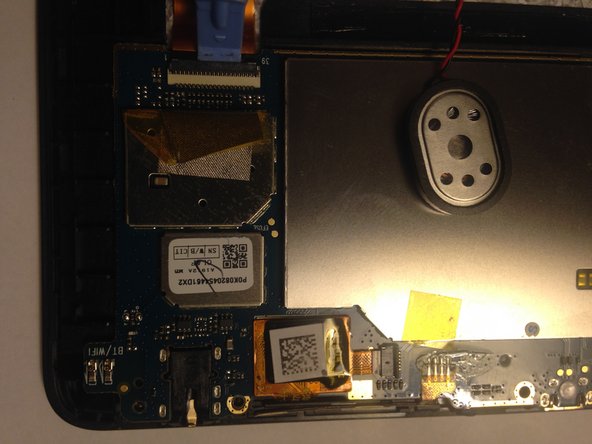
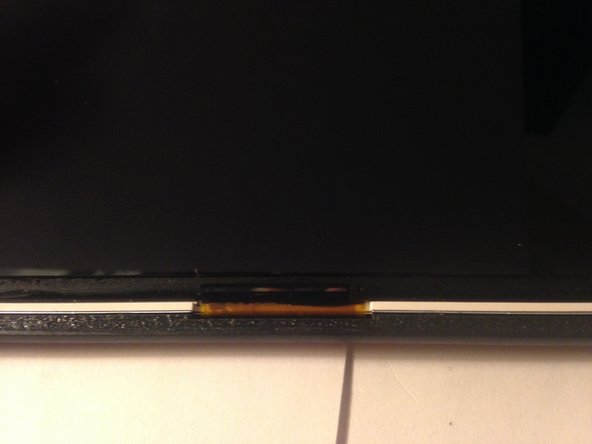
Apply a little heat from a 200 degree heat gun to loosen the adhesive on the tape covering the LCD connector.
-
Peel up the tape with tweezers. Fold it back on itself to get it out of the way.
-
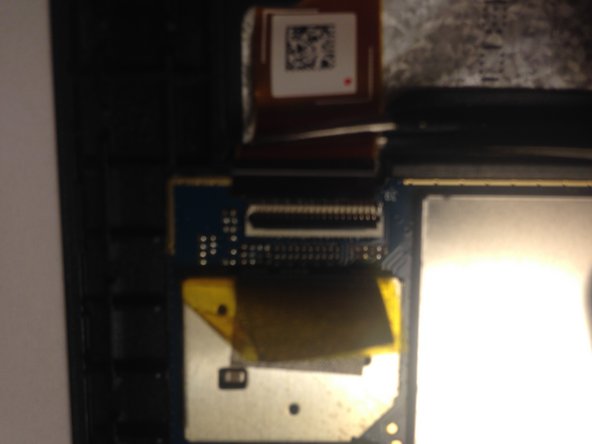
Using an opening tool lift the release lever of the LCD connector.
-
Using tweezers put the LCD cable out of the LCD connector.
-
-
-
-
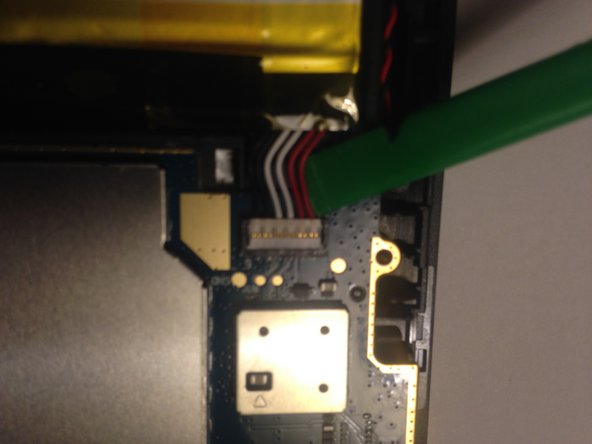
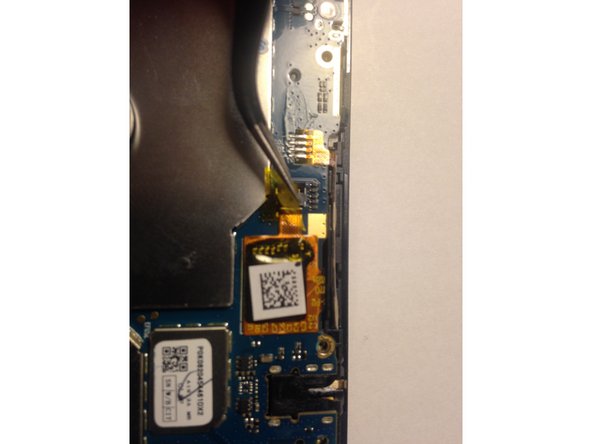
Heat the tape covering the digitizer connector then remove the tape with tweezers and set aside.
-
Use an opening tool to lift the lever of the connector to release the cable from the connector.
-
-
-
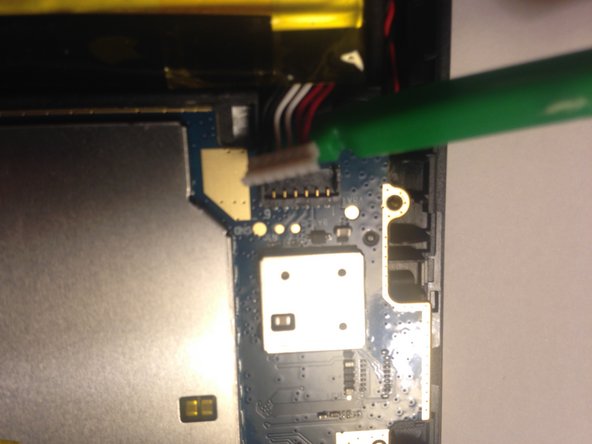
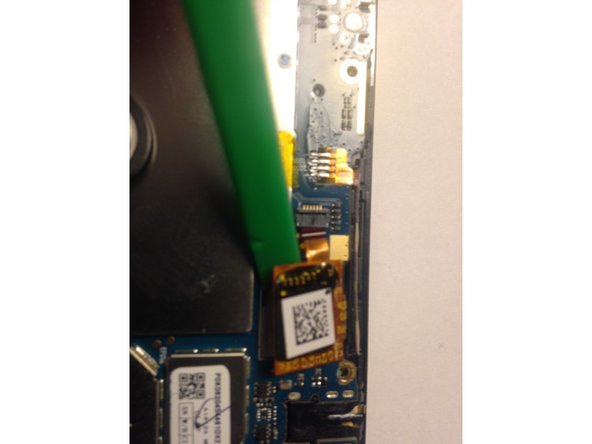
With the cable released, heat the cable assembly to warm the adhesive enough to loosen it.
-
Using a spudger, lift the cable assembly from the main pcb carefully.
-
Fold it out of the way so that the pcb can be removed around it.
-
-
-
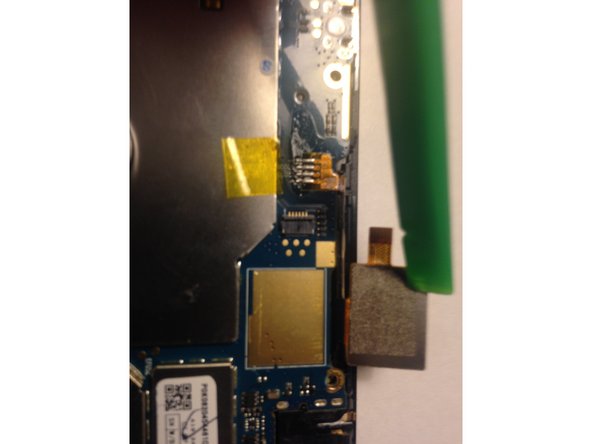
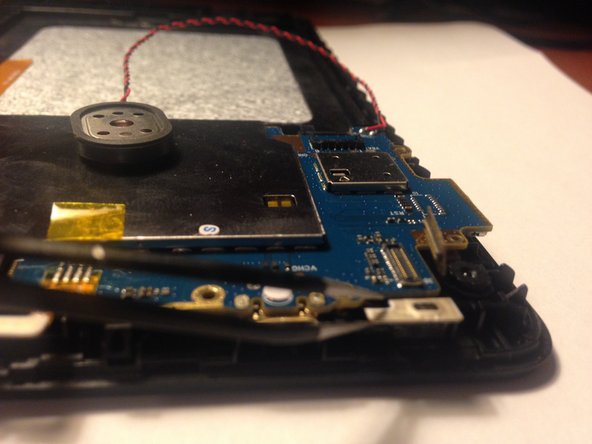
Use a plastic opening tool to lift the rear facing camera connector off the pcb.
-
-
-
Use heat and tweezers to pull the volume buttons away from the plastic frame.
-
Lift it up so it will not get caught on anything when the pcb is removed.
-
-
-
Use heat and tweezers to lift the Power Button cable from the plastic frame.
-
-
-
Now that all the connectors are removed and the cables released from the plastic frame, the PCB can be removed.
-
Lift the PCB from the side opposite the headphone jack and carefully work is loose.
-
Be careful not to catch any of the cables so as not to damage them.
-
-
-
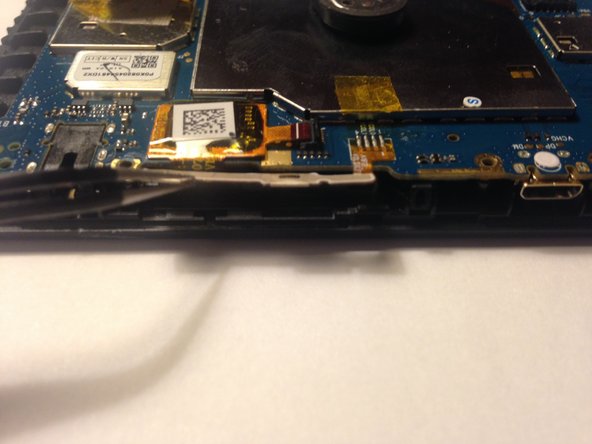
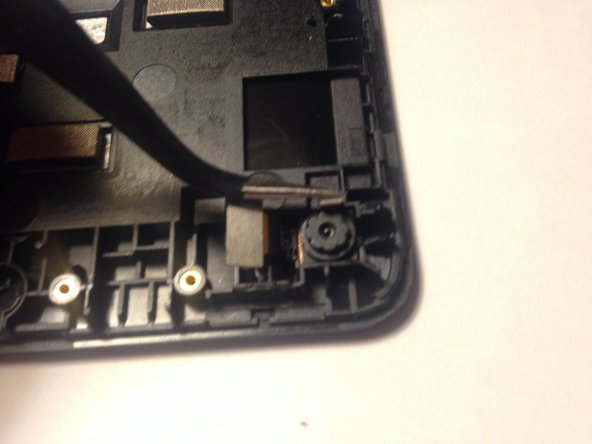
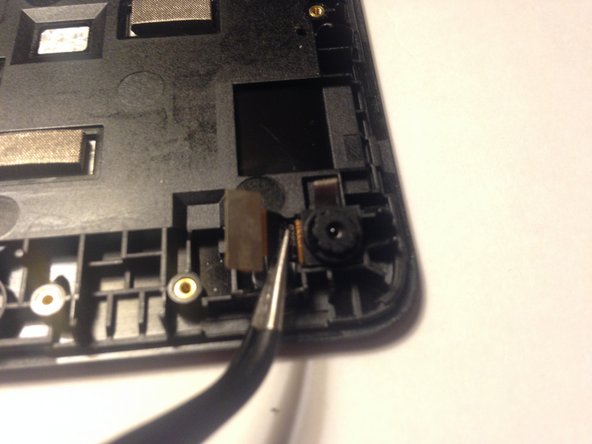
Use tweezers to pull up the conductive tape from the frame, then lift the camera out of the frame.
-
-
-
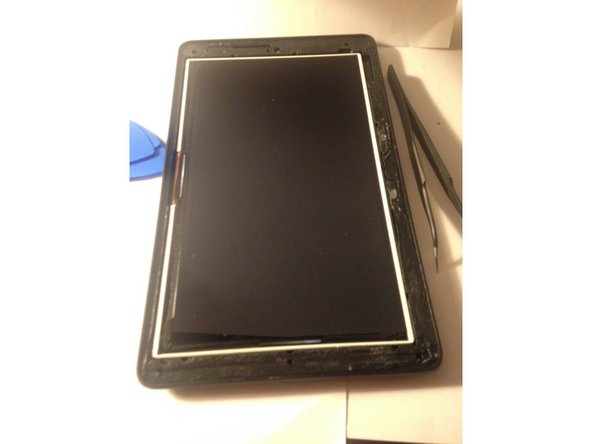
With the camera, pcb (and speaker), and battery removed, you can now replace the entire front panel using a part available on ebay here.
-
If you have a digitizer, flip the front panel over. Next we will work on removing the digitizer.
-
-
-
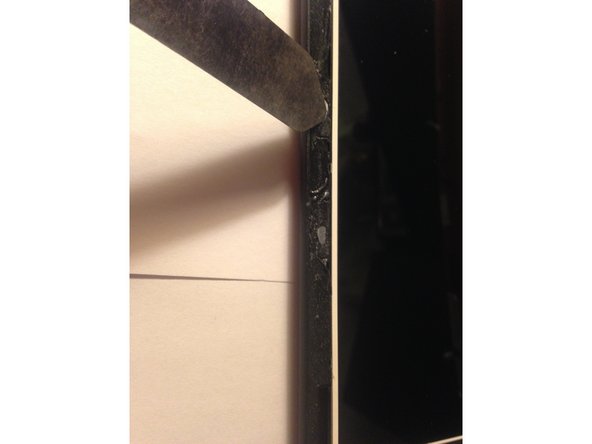
Use generous amounts of heat in a cyclical manner to evenly heat the front glass.
-
Using a SlyPry, slowly work the front glass out of the front plastic frame, while continually applying heat to the area being worked.
-
The adhesive is very thick around the outside of the glass and will take a long time and lots of heat to get it loose.
-
As you work around the edges, place guitar picks or iFixit triangle tools between the glass and the plastic frame.
-
Once all of the adhesive is released separate slowly and notice the cable.
-
-
-
The digitizer cable is threaded through a slit in the plastic frame. Unthread this cable carefully if you need to save your digitizer.
-
-
-
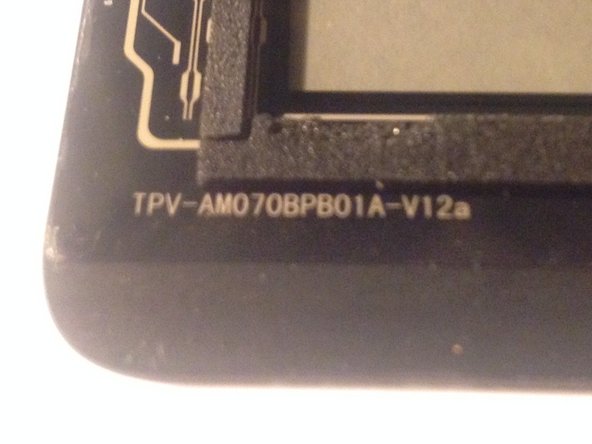
The part number of the digitizer and/or digitizer cable is TPV-AM070BPB01A-V12a. It also says 008-1531-P2.
-
I don't read Chinese, but the part is available from a single Chinese website at the following URLs. Link 1 Link 2
-
If someone is able to buy some, please let me know so that I can buy several from you as replacements for the one I broke and will most likely brake again.
-
-
-
On one side of the front panel frame are located two strong magnets that are used to hold covers and such closed against the front glass.
-
On the other side you can see the LCD panel cable being feed through to the back side.
-
This concludes the teardown of the Kindle Fire 7" (2015) model SV98LN from Amazon.
-


18 Comments
One seller from UK started to sell touchscreen glass for Amazon Fire 2015 on eBay UK. I have bought 2, but was dissapointed. First of all glass had no integrated polarization filter. Other thing was missing foam seal around the frame. So be aware. Maybe there is version with polarization filter in LCD, but as I see from your photos - you have same version as me.
was thinking of getting that digitizer any one replace one yet
Has the replacement screen become available in the states?
Thanks for your write up, very helpful!
Helped me to tighten up my charge port which got loosened by strain from the USB cord being pulled.