Teardown
I am tearing down the ps3 controller.
This teardown is not a repair guide. To repair your DualShock 3, use our service manual.
PS3 controller
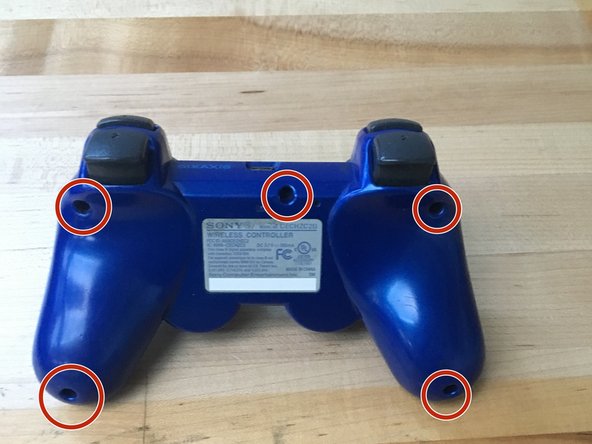
First take the screws of with a screw driver.
They are 5 screws.
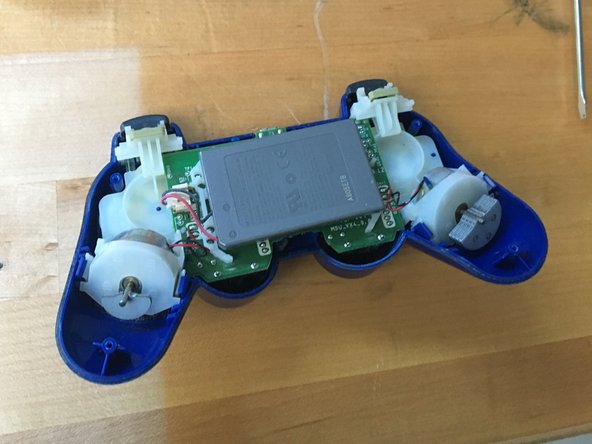
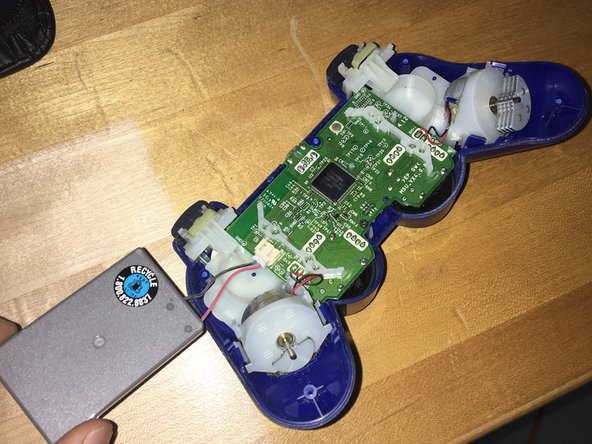
When your in you can take the battery out easily with your hands.
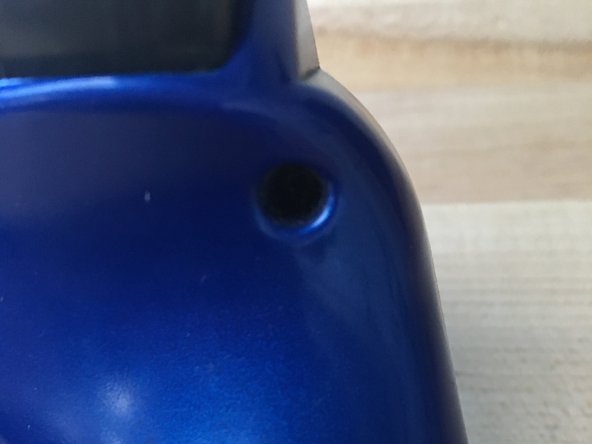
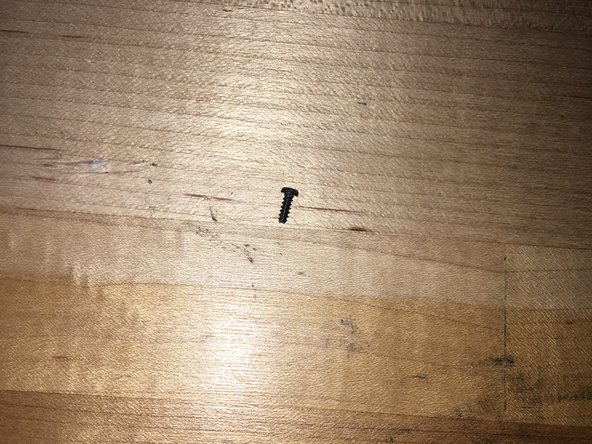
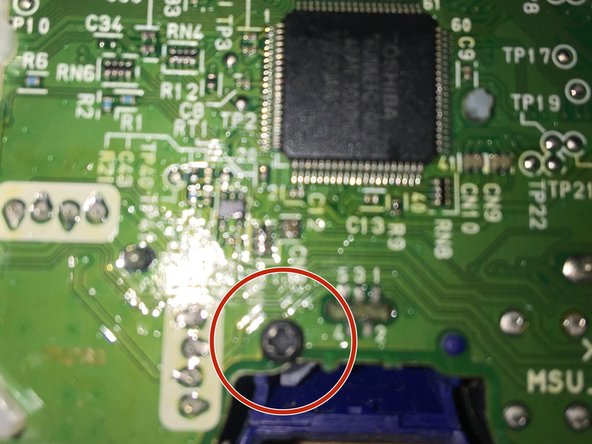
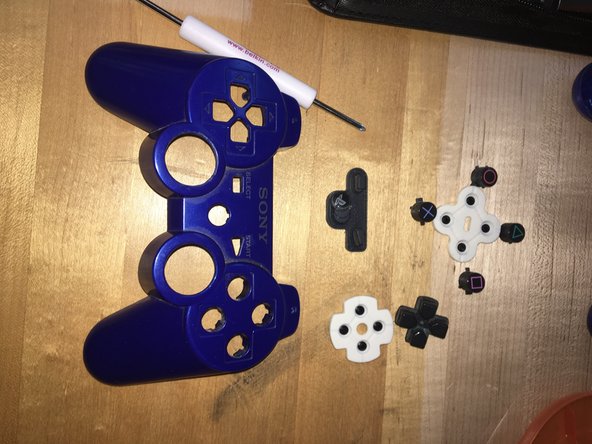
Take this screw out before you try to take out your buttons.
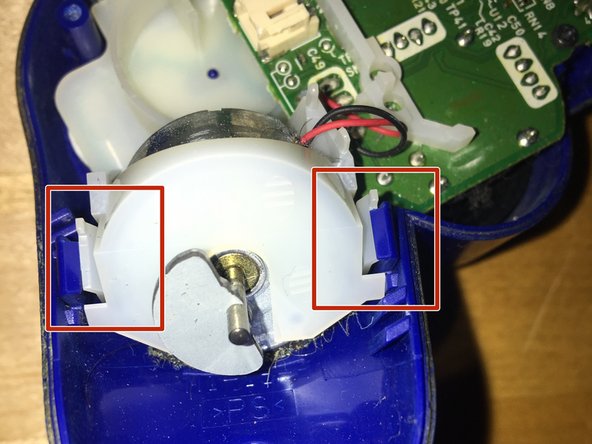
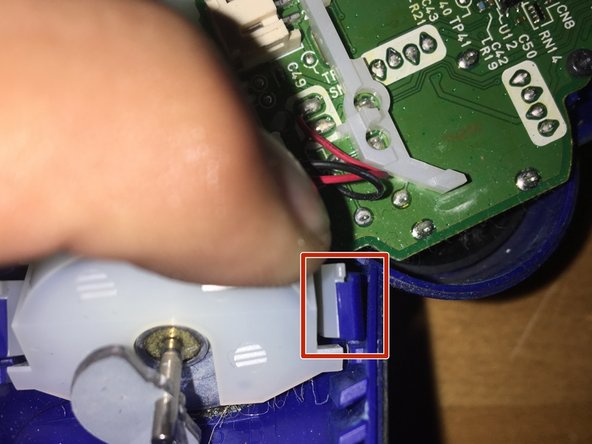
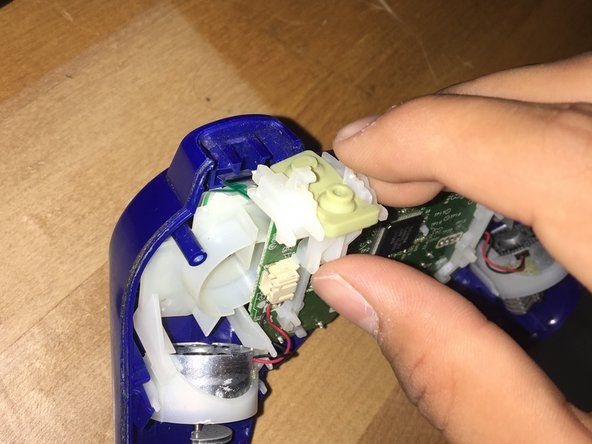
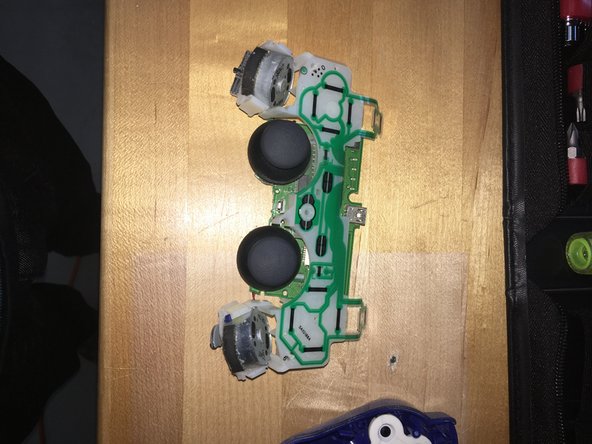
In order to take off the mother board you have to move those two white things away from the blue.
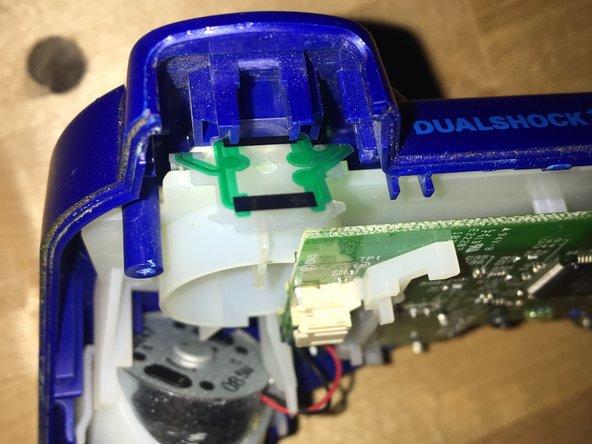
It is really easy to take the buttons off you just slide it off easily.
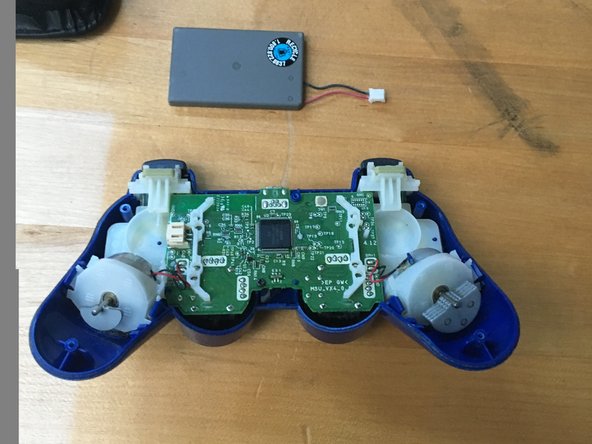
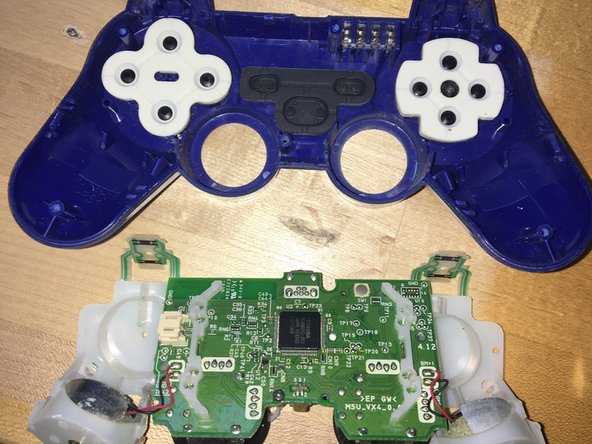
This is how it looks when your done with the ps3 controller,
with 1 other contributor
Member since: 10/24/16
258 Reputation
1 Guide authored
Badges: 0
Choose a size and copy the code below to embed this guide as a small widget on your site / forum.
Past 24 Hours: 0
Past 7 Days: 0
Past 30 Days: 0
All Time: 1,881