My Problem
The battery on my iPhone 5S began draining rapidly with the update of iOS 11. I decided rather than buy a new phone I would research the possibility of a new battery. After much research I purchased the battery and repair kit from ifixit. The cost of the kit and battery was very reasonable. I was told at the Apple Store that battery replacement would end up costing as much as a new phone (around $300). In the end, my wife and I did buy new iPhones but I still fixed and gave my 5S to my mother so she could have her first smart phone.
My Fix
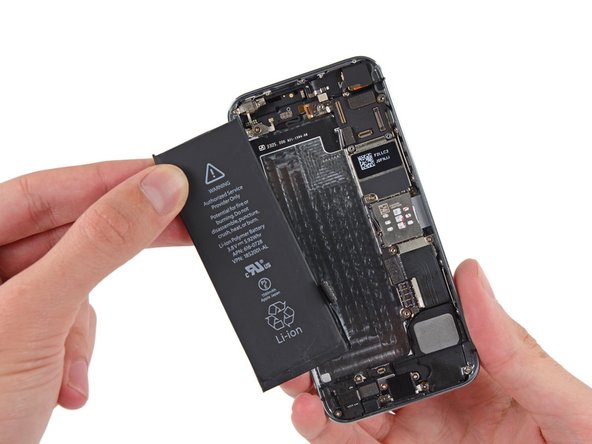
The repair went well but was not without challenge. First, the repair kit was great. I appreciated having all of the needed tools together in one place and especially liked the included tray which I used to organize parts. I used the video from ifixit but also used other videos from different sources I found on YouTube (more below). All of these sources were of value. Second, removing the screen and disconnecting the battery went smoothly. Third, removing the battery took lots of strength and patience. This was definitely the most difficult part as pulling the adhesive tabs was practically useless and I had to use the spudger tool to pry out the battery. Here I was glad to have the other videos as they described this in more detail. Finally, reconnecting the phone required a second effort. Here is where your video cut short the process and again I relied on a separate video. I found after my first try I hadn't gotten one of the three video connections pressed down just right. I did get the phone back together and it is working great.
My Advice
Your video was of great help but could have included a couple of details I found on other videos such as the fine point that two of the four screws that hold the cable bracket in place are different lengths. Your tech talked about keeping parts organized for reinstallation but did not mention that important detail. I was sure to keep those four screws in there exact order as a result. Also, the battery removal was quite difficult and this should be described as such. I had watched a separate video that talked about the futility of using the tab on the adhesive. This leads to a connecting point and perhaps one flaw in your repair kit. I had to wear a glove while using the flat end of the spudger tool to pry out the battery because the pointed end (even with the guard) pressed into my hand. Finally, having the screw driver heads magnetized was great but I believe that direction on which Philips screw driver head to use on which screws would have been helpful. I ended up using the bigger head for all screws and wondered why the smaller one was there.

One Comment
I really liked the magnetized screw driver. That is a fantastic touch especially for a 55 year old trying to see and manipulate those tiny screws. Thank you.
Jeff Moma - Reply