
My Problem
Broken Front Panel
My Fix
Extremely difficult. Required the assistance of a skilled electronics/computer engineer friend
My Advice
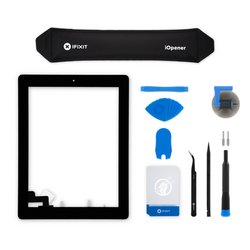
Rule #1: Don't drop your iPad on a brick surface! Order the complete repair kit with the new home button and necessary tools. It will make your life much easier. Read all instructions and watch some You Tube repair videos before attempting this repair. Use a heat gun rather than the supplied heating pillow to loosen the sticky tape on the broken panel. It is difficult to get enough heat on the edges of the glass panel without a good heat source. Be extremely careful when removing the old panel to avoid damaging the bezel or antenna. Prior to removing the protective film on the sticky tape before final assembly, dry assemble the unit and verify that the home button and touch screen are fully functional. Handle the panel by its edges only. Avoid touching the screen or panel to prevent stray fingerprints. Finally carefully clean the screen and inside surface of the glass panel to ensure that both surfaces free of stray fingerprints and dust or fibers. Visually double check these surfaces again AFTER removing the sticky tape protective film from the panel BEFORE you stick it down! Removing the film may generate sufficient static electricity to attract stray dust or small airborne fibers to the surface of the panel. Once you stick the panel down any stray fingerprints, dust or fibers on the screen or inside of the panel will be there FOREVER! (Trust me on this, I know this from sad experience! And that is one of the reasons these electronic devices are assembled in clean rooms. In case you ever wondered!)
0 Comments