My Problem
My daughter while hiking dropped her iPad mini that she was using as a very large camera. The mini fell on the front panel cracking it into very small shards of glass. The hardest part of the job was removing the broken panel pieces and what seems like excessive adhesive. I used Goo-b-Gone and acetone to remove the adhesive using a neatly folded cotton cloth that fit the base groove.
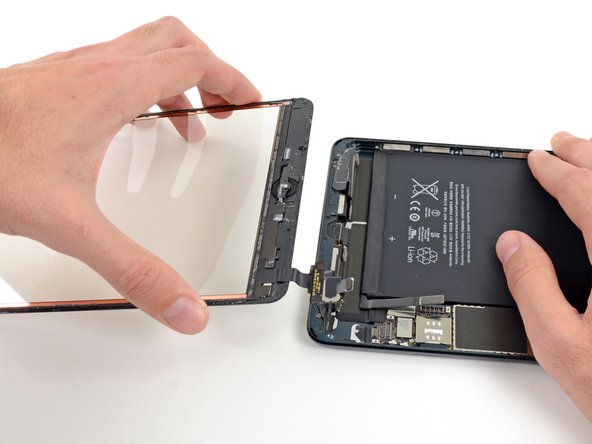
My Fix
Replacing the panel was relatively straight forward. I used Kapton/polyimide tape to cover the exposed copper connector areas after removing part of the cover lays for the panel adhesive. I then preformed the flex cable using toothpicks as mandrels so the cable would lay nicely in the allotted space. Dis-assembly time was about 60 minutes and assembly time was about 30 minutes. Upon completion the mini powered up and worked perfectly. The only issue is a couple of broken pixels on the LCD most likely from the drop - oh well.
My Advice
I found a heat gun to work well to remove the broken panel pieces and a stainless steel dental pick. One must be very careful using the dental instrument!!
Take your time and use a well lit magnifier lamp. Wait until the last possible moment to remove the adhesive cover lays. Route the panel flat cable carefully so as not to crimp or fold the cable between the panel and the base as this may break the copper conductors. Use the original broken panel shape as a reference for the shape. Use non-conductive tape to cover exposed copper connector areas. Use non-conductive tape to hold down the connector LCD cable and panel cable.

0 Comments