
iPad mini 4 LTE Battery Connector Replacement

Prerequisite Only
This guide is only intended to be used as a prerequisite for other guides. It's incomplete by itself.

What you need

  1. iPad mini 4 LTE Battery Connector Replacement, Battery Connector: step 1, image 1 of 1
    • To avoid stressing any cables, hold the display assembly perpendicular to the body of the iPad until it is disconnected.

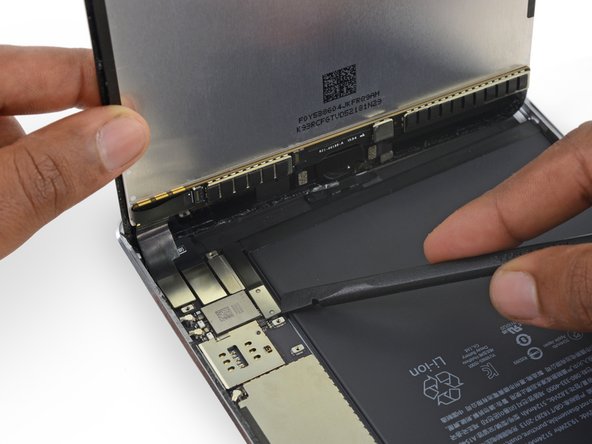
    • Remove the four 1.2 mm Phillips screws over the battery/display connector bracket.

  2. iPad mini 4 LTE Battery Connector Replacement: step 2, image 1 of 1
    • Remove the battery/display cable bracket.

  3. iPad mini 4 LTE Battery Connector Replacement: step 3, image 1 of 2 iPad mini 4 LTE Battery Connector Replacement: step 3, image 2 of 2
    • When disconnecting any press connectors from the logic board, be sure to lift the connector straight up to avoid ripping the socket off the board.

    • Use the flat tip of a spudger to disconnect the battery connector from its socket on the logic board.

    • Bend the battery connector ribbon cable up slightly to prevent it from making contact and powering on the iPad.

Conclusion

To reassemble your device, follow these instructions in reverse order.

Evan Noronha

Member since: 02/05/15

223,466 Reputation

168 Guides authored

0 Comments

Add Comment

View Statistics:

Past 24 Hours: 0

Past 7 Days: 0

Past 30 Days: 0

All Time: 201