Introduction
Prereq only, does not remove antenna, battery is in.
What you need
-
-
Remove the following three screws securing the bottom left antenna to the rear case:
-
One 1.2 mm Phillips #00
-
One 1.1 mm Phillips #00
-
One 2.5 mm Phillips #00
-
-
-
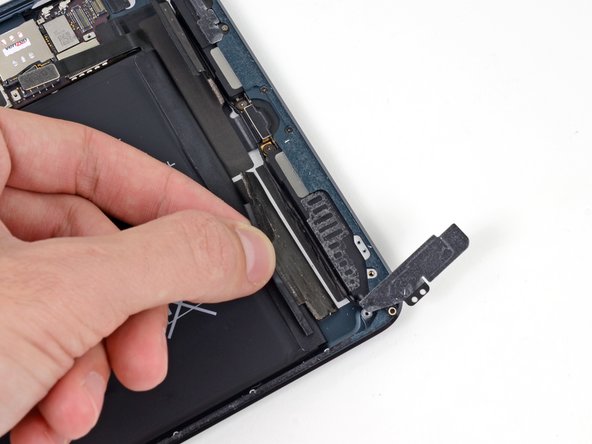
Pull the wide tape toward the top of the iPad, applying constant force to release it from the antenna cable between it and the speaker.
-
Slide the tip of a spudger through the gap between the wide tape and the antenna cable, to break the adhesive connecting the two.
-
Continue pulling the wide tape until it is no longer covering the antenna cable.
-
-
-
-
Pull the wide tape toward the top of the iPad, applying constant force to release it from the antenna cable between it and the speaker.
-
Slide the tip of a spudger through the gap between the wide tape and the antenna cable, to release the adhesive connecting the two.
-
Continue pulling the wide tape until it is no longer covering the antenna cable.
-


To reassemble your device, follow these instructions in reverse order.
To reassemble your device, follow these instructions in reverse order.
