Introduction
Prereq-only guide to remove the entire display assembly.
What you need


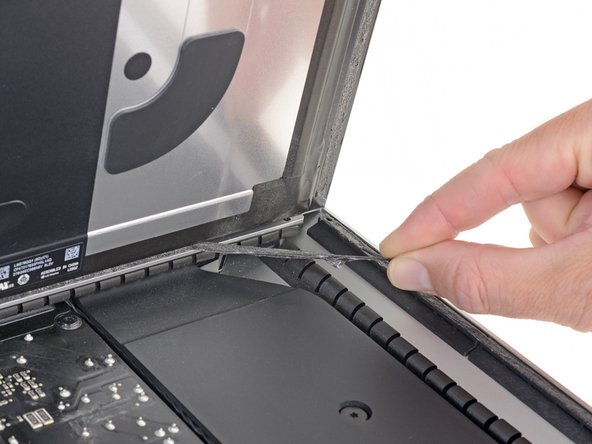


Almost done!
To reassemble your device, follow these instructions in reverse order.
Conclusion
To reassemble your device, follow these instructions in reverse order.
