Introduction
You will need to make sure the power on the device is off and unplugged to prevent injury. Use this guide to replace both of the speakers located in the device. You will need the iOpener or heat gun, the speaker will be glued down.
What you need
-
-
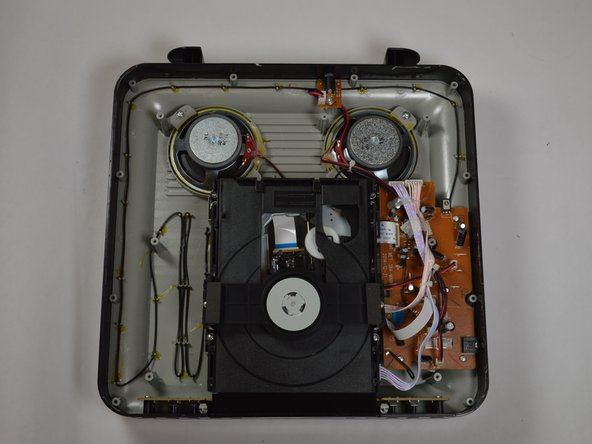
Make sure you remove all seven 3 mm screws before proceeding to the next step.
-
-
-
-
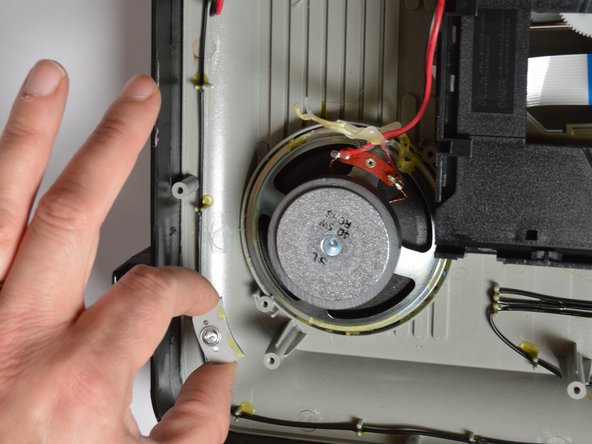
Be sure to unscrew (3 mm) the two plastic brackets on each speaker, use iOpener or heat gun they are glued onto speakers, please do not discard.
-


To reassemble your device, follow these instructions in reverse order.
To reassemble your device, follow these instructions in reverse order.
Team

Texas Tech, Team S46-G6, Bennett Spring 2017 Member of Texas Tech, Team S46-G6, Bennett Spring 2017
TTU-BENNETT-S17S46G6
3 Members
6 Guides authored