Introduction
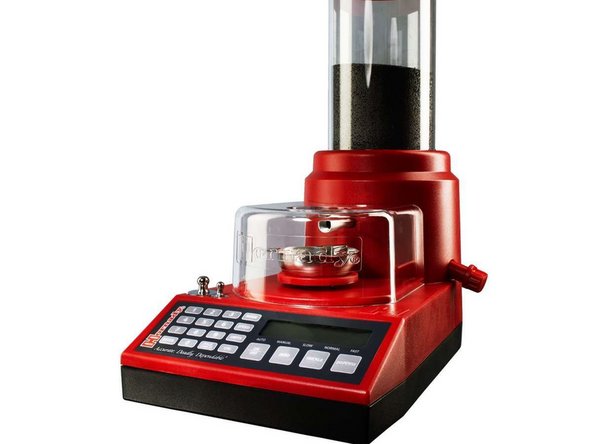
Hornady lock n load auto charge
Having issues with Motor not running
Inconsistent speeds/ jerking around.
install new IC to fix the issue
Clean Brushes on Motor
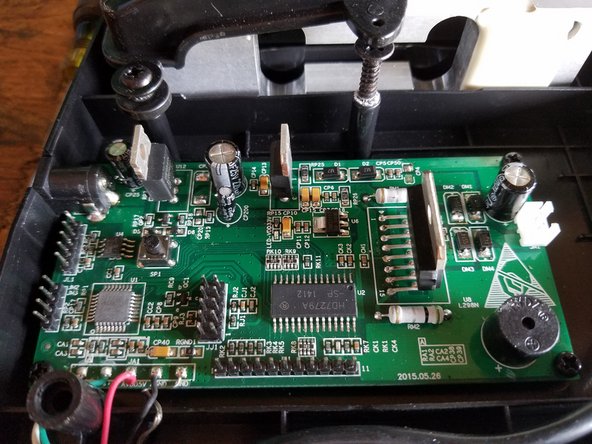
What you need
-
-
-
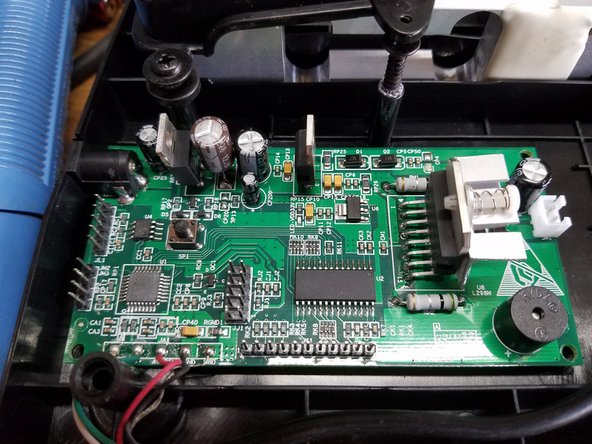
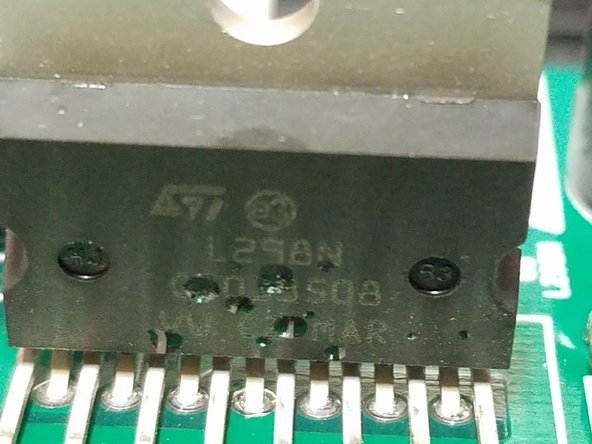
You can see the damage to the L298N
-
required a new Motor Controller IC. This happened loading 300 Cartridges back to back. Duty Cycle was to much. ADDED heat sink is a must if loading may Cartridges!!!
-


To reassemble your device, follow these instructions in reverse order.
To reassemble your device, follow these instructions in reverse order.
Cancel: I did not complete this guide.
3 other people completed this guide.

2 Comments
Fantastic article. I have the identical complication but need a new board due to one of the internal wires being severed. I am unable to locate any source for the replacement of the board, plus no item number for ID on the board. Any help is greatly appreciated. Hornady has a Terrible Attitude and admits no faults. I had to return this unit for a warranty on the initial purchase due to a lack of calibration on the 50 side. Used it 4 times and it is DOA. It is never left on or with a power source connected.
My numbers 7,8,9,and unit buttons don't work I've tried looking for part to fix it but can't find anything on it