eMac Shell Replacement

What you need

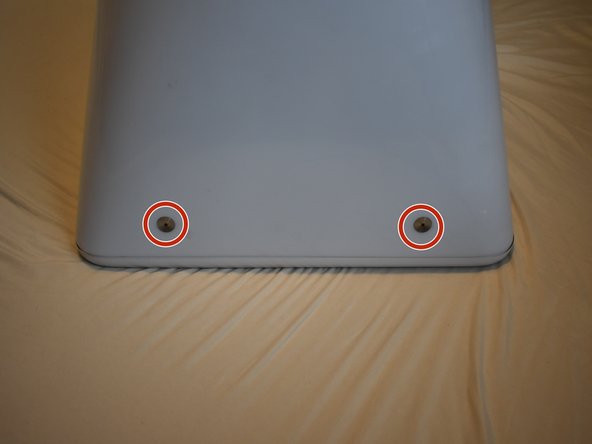
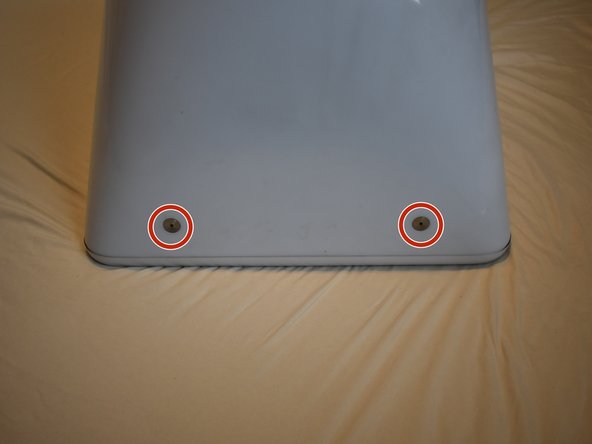
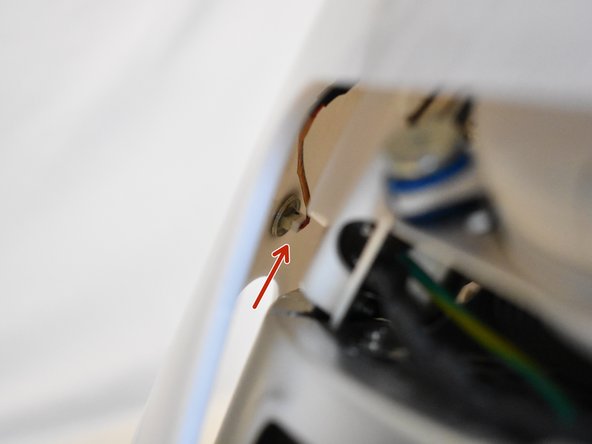
  1. eMac Shell Replacement, Door Removal: step 1, image 1 of 3 eMac Shell Replacement, Door Removal: step 1, image 2 of 3 eMac Shell Replacement, Door Removal: step 1, image 3 of 3
    • It should be noted that these guides are written based on a late-model eMac (2005, 1.42GHz, DDR). They will differ slightly from the older model eMacs that use PC-133 RAM.

    • Lay the eMac screen-down on a flat surface. I've found it convenient to use a carpeted floor because the computer is so heavy.

    • Remove the single phillips #2 screw on the RAM door, and remove the door

    • The screw is captive in the door, so don't worry about losing it.

  2. eMac Shell Replacement, Bottom Screw Removal: step 2, image 1 of 1
    • Before starting this process it's important to note that the eMac can have some seriously dangerous voltages inside of it, thanks to the CRT display. Before working on an eMac, you should unplug it, press the power button to clear any stored charge on the motherboard, and then let it sit for 24-hours (or more) to allow the CRT to discharge.

    • You can read more about CRT safety procedures here. If you aren't experienced with working on devices featuring a CRT, it's recommended that you don't proceed any further.

    • On the bottom side of the eMac, remove the following screws:

    • A single 2.5mm hex screw

    • Two #2 phillips screws

  3. eMac Shell Replacement, Top and Side Screws: step 3, image 1 of 3 eMac Shell Replacement, Top and Side Screws: step 3, image 2 of 3 eMac Shell Replacement, Top and Side Screws: step 3, image 3 of 3
    • Remove two 2.5mm hex screws from each of the other sides of the computer.

  4. eMac Shell Replacement, Power Button Cable: step 4, image 1 of 2 eMac Shell Replacement, Power Button Cable: step 4, image 2 of 2
    • Now, the shell can almost be separated from the computer.

    • There is a cable that connects to the power button. This must be disconnected before removing the housing completely.

    • Lift the housing enough to allow you to fit your hand through the access door, and disconnect the cable at the power button.

  5. eMac Shell Replacement, Shell Removal: step 5, image 1 of 1
    • Now the entire shell can be removed from the computer.

Chris Green

Member since: 10/11/09

36,978 Reputation

49 Guides authored

Team

Master Techs Member of Master Techs

Community

322 Members

2,532 Guides authored

View Statistics:

Past 24 Hours: 1

Past 7 Days: 6

Past 30 Days: 35

All Time: 2,006