Introduction
Replacing a single wall sensor on bObi Pet requires a definite diagnosis using the home check up test first.
It's available for bObi Classic and Pet here: https://www.youtube.com/watch?v=F2IUnk-E...
Once you have determined which sensor is to be replaced, use a Phillips head screwdriver to start this repair.
What you need
-
-
Before we get started, turn bObi Pet OFF and flip her over onto a flat surface.
-
Next, remove bObi Pet's dustbin. Grip the small tab on the back of the bin, and pull to remove.
-
-
-
Grip the front wheel and pull straight up, using the screwdriver for leverage.
-
The wheel will pop out and you will see two screws beneath it.
-
There is a larger screw set deeper in the wheel compartment. Use the screwdriver to remove it.
-
-
-
Remove the screws on both sides of bObi Pet’s dustbin. Then, remove the corner pieces that were held down by the screws.
-
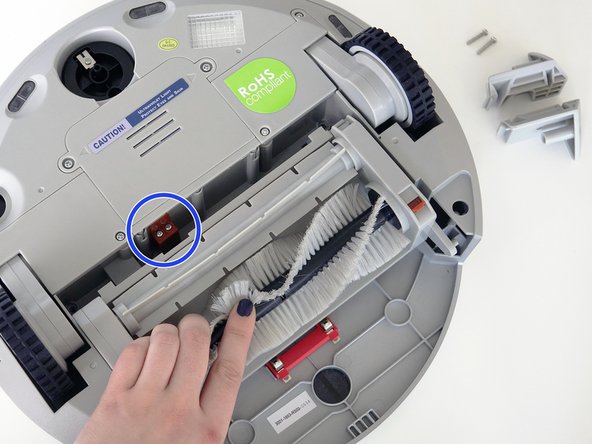
Grip the brush compartment and pull down to reveal two screws on a red fastener.
-
Remove them with the screwdriver.
-
-
-
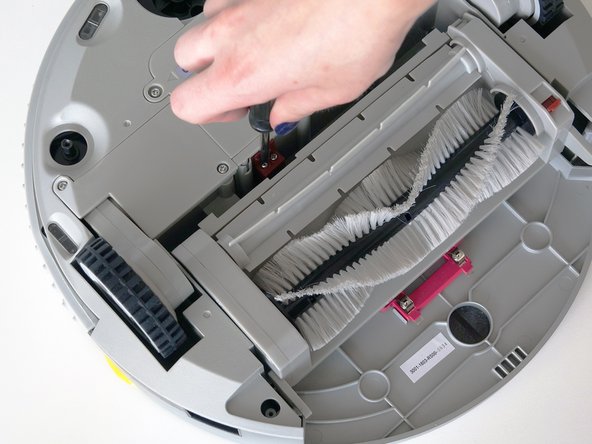
Pull the brush compartment up until the fastener is freed from bObi Pet. Then, detach the brush compartment's circuit plug and set it aside.
-
Remove the 4 screws located beneath the brush compartment.
-
-
-
-
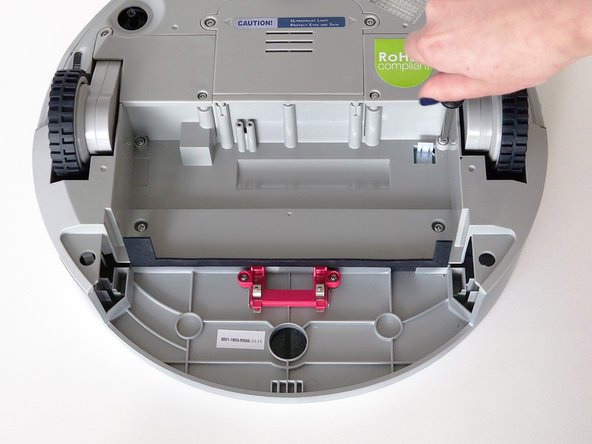
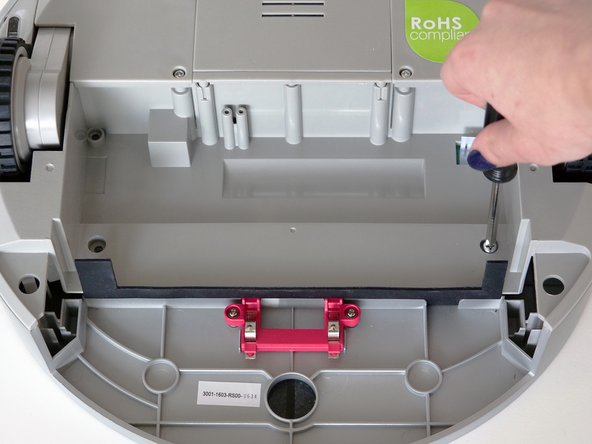
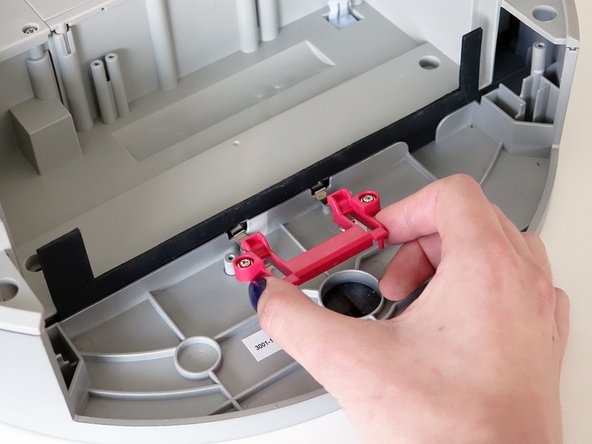
Remove the 2 screws on the dustbin’s red fastener.
-
Remove the fastener and set it aside for reassembly.
-
The cover is no longer secured, so carefully flip bObi Pet onto her wheels.
-
-
-
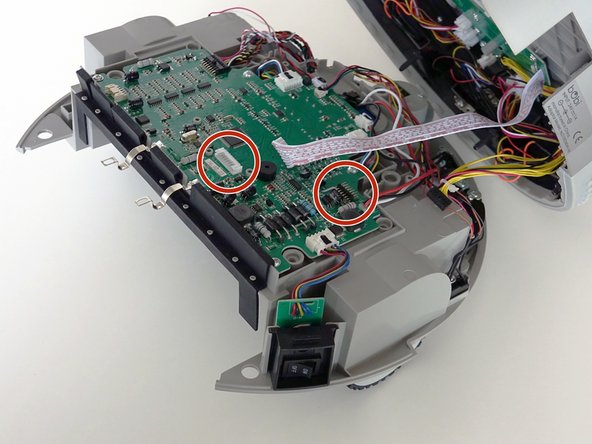
Lift the cover to reveal the main board underneath.
-
Remove the two circuit plugs connecting the lid to the mainboard.
-
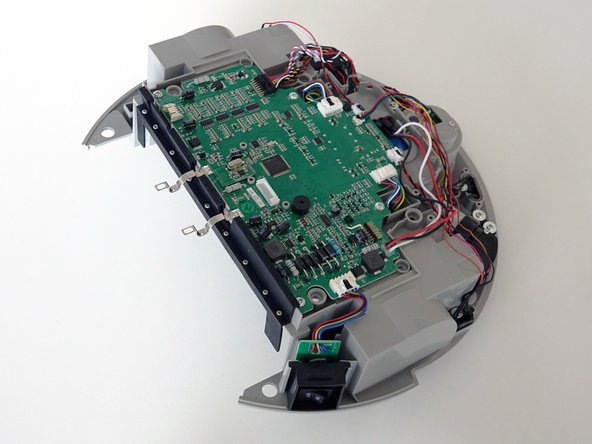
bObi Pet's cover is entirely separated, and you may now access any of her internal parts for replacement.
-
-
-
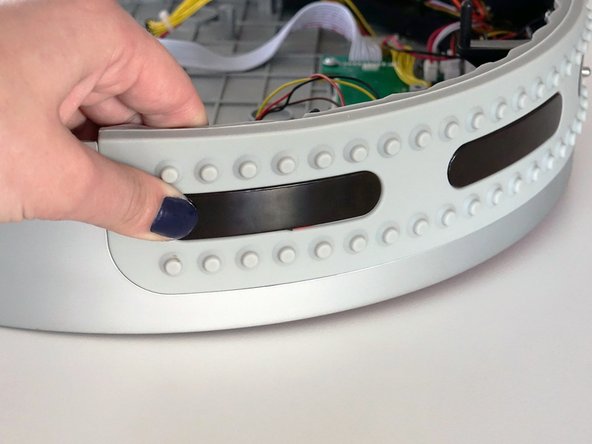
First, determine which sensor needs to be removed. The side it is on will be the opposite now since bObi Pet's lid is flipped.
-
In this case, bObi Pet's left-most sensor is being replaced. In the Check Up Test, it would correspond to the number 1 on the remote.
-
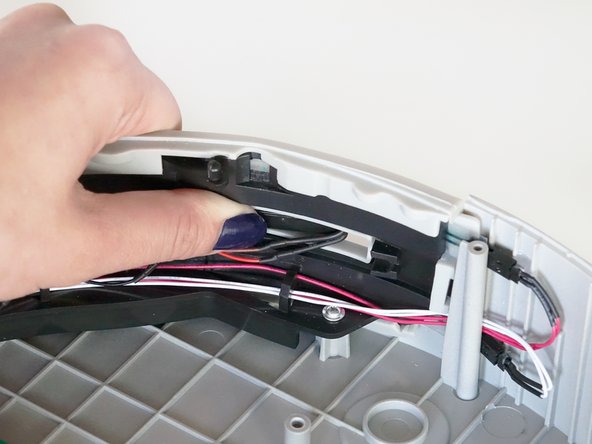
Once you're sure you have the right sensor, nudge it out of its place on the bumper.
-
-
-
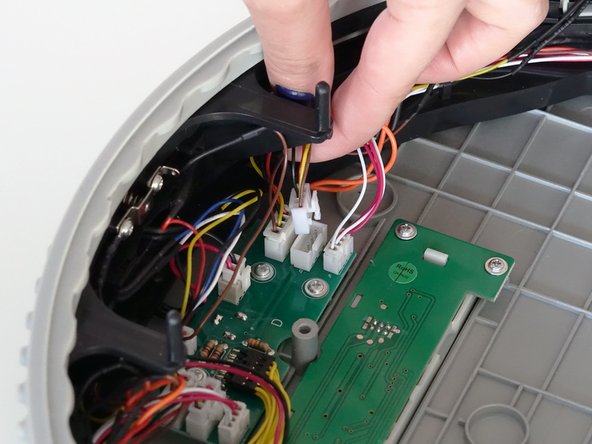
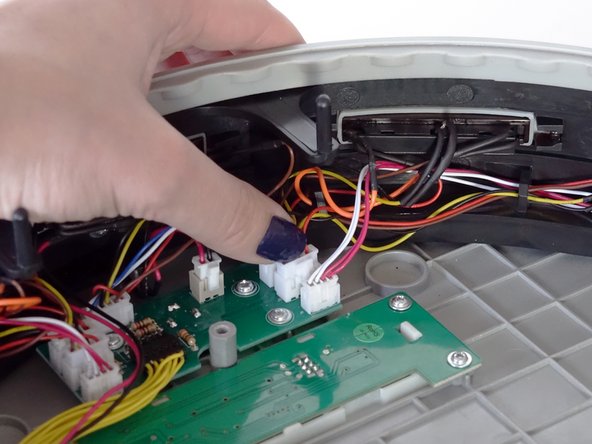
Now you can see which wire needs to be removed from the circuit board. The outermost sensor on either side plugs in to the middle of the row closest to it.
-
The two sensors closer to the middle of the bumper plug in to the top of their respective rows.
-
The central sensor plugs in at the top of the circuit board, separate from either row.
-
Unplug the appropriate circuit plug.
-
-
-
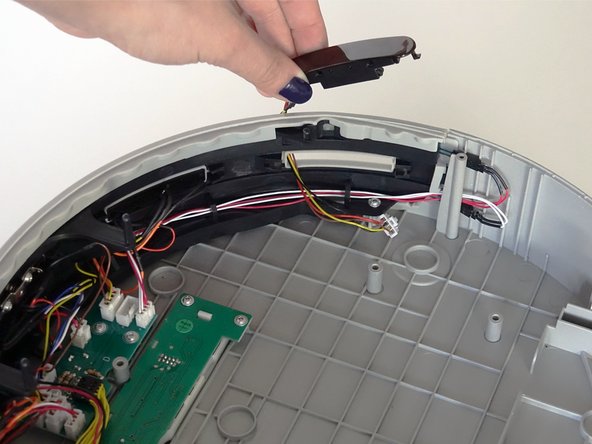
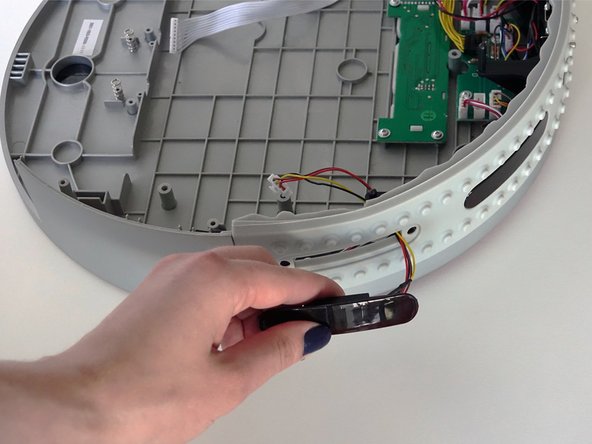
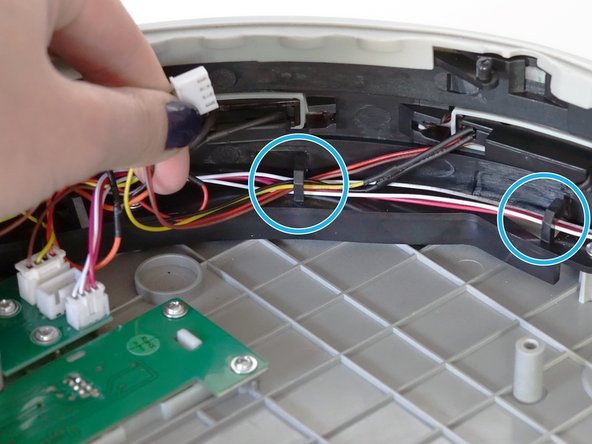
Feed the wiring of the sensor out from the hooks along the inside edge of bObi Pet's bumper.
-
Then pull the sensor and its wires out of the opening on the bumper to detach completely.
-
-
-
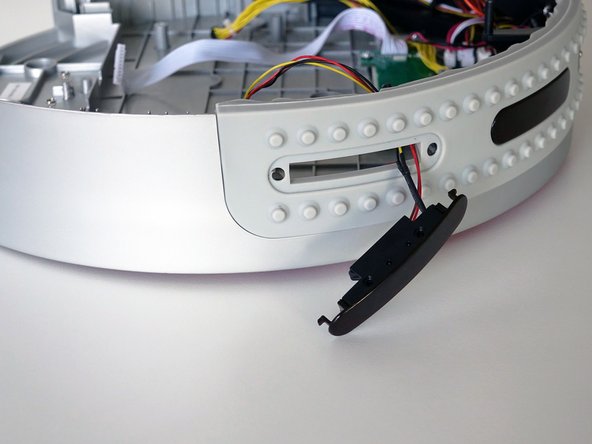
Place the new sensor's circuit plug end through the space in the bumper.
-
Then place the sensor in the opening and push gently until it locks onto bObi Pet's bumper.
-
-
-
Feed the wires back through the hooks along the bumper as you work your way to the circuit board in the middle.
-
Attach the circuit plug securely in the appropriate space and double check that all wires on the bumper are neatly tucked under the hooks.
-
Now you're ready to start closing bObi Pet. See this tutorial for assistance: Assemble bObi Pet Post-Repair
-


To reassemble bObi Pet, see the following guide: Assemble bObi Pet Post-Repair
To reassemble bObi Pet, see the following guide: Assemble bObi Pet Post-Repair