Introduction
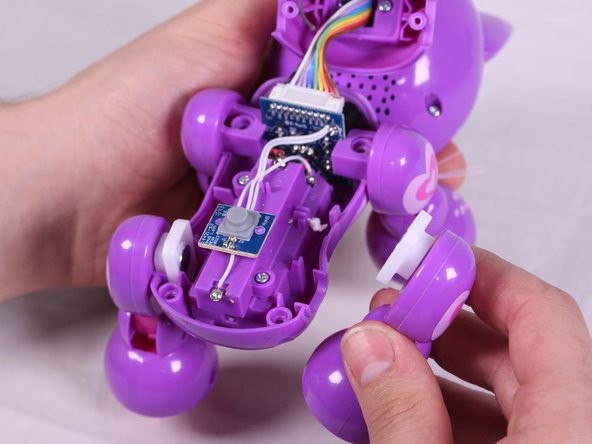
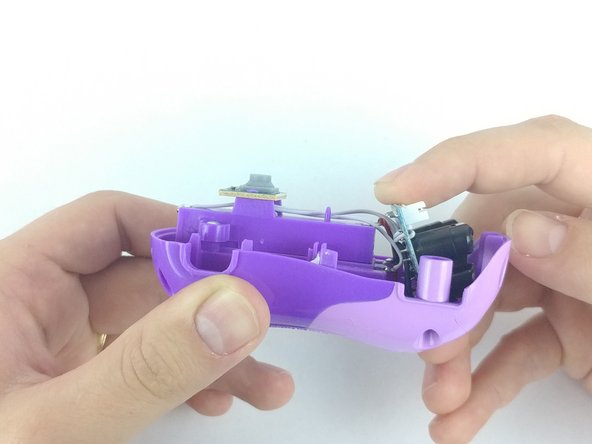
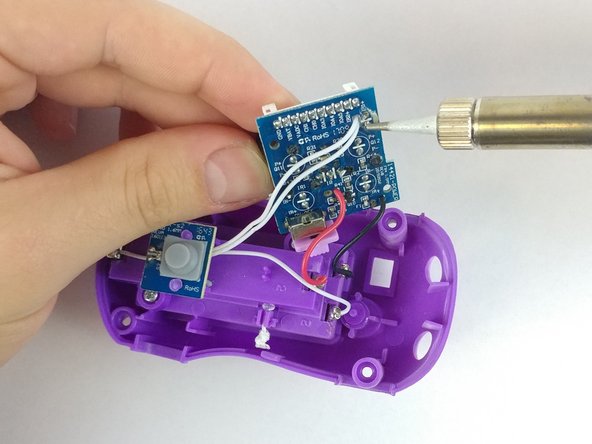
The chest sensor is needed for many of the device's functions, making it one of the device's most important features. This guide will go over the steps to remove and replace the sensor in case it becomes damaged.
What you need


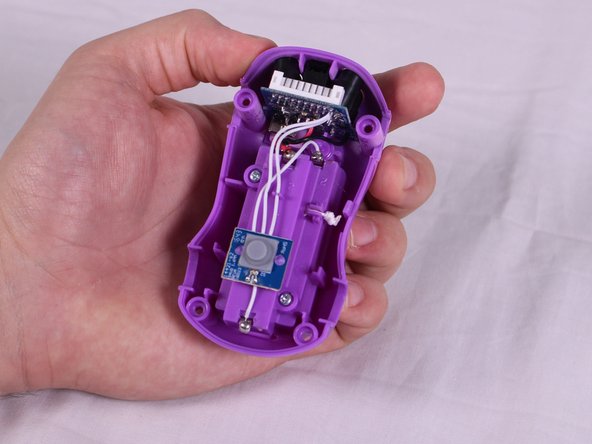


Almost done!
To reassemble your device, follow these instructions in reverse order.
Conclusion
To reassemble your device, follow these instructions in reverse order.
Team

USF Tampa, Team S6-G2, Eyestone Spring 2018 Member of USF Tampa, Team S6-G2, Eyestone Spring 2018
USFT-EYESTONE-S18S6G2
3 Members
16 Guides authored