Introduction
The X-Shot Griefer foam dart blaster from ZURU is a quality toy blaster that relies on a load-and-shoot mechanism to fire. If one pulls too hard on the charging handle, or if something is dropped on the handle, the handle might get jammed or broken. The spring may also wear out from overuse. When this happens, a charging handle replacement can fix the toy.
What you need


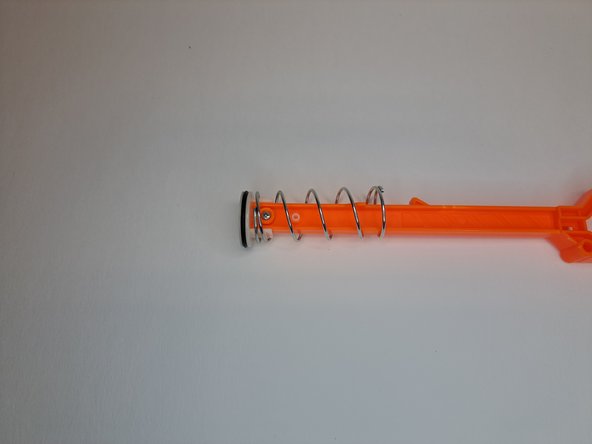


Almost done!
To reassemble your device, follow these instructions in reverse order.
Conclusion
To reassemble your device, follow these instructions in reverse order.
Team

CSU Los Angeles, Team 1-18, Briggs Spring 2023 Member of CSU Los Angeles, Team 1-18, Briggs Spring 2023
CSULA-BRIGGS-S23S1G18
1 Member
1 Guide authored