Introduction
Use this guide to replace the Yamaha NS-AW190BL rear casing.
What you need


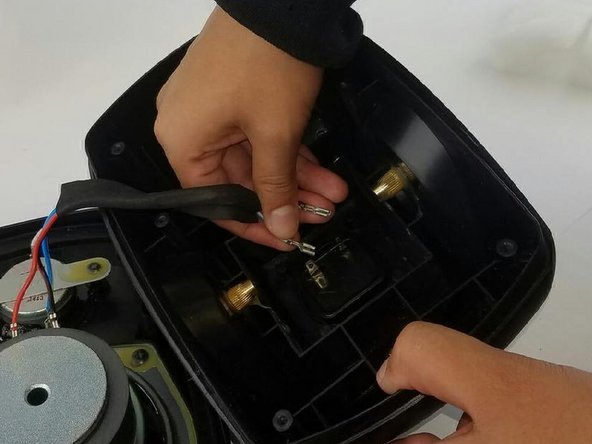
Almost done!
To reassemble your device, follow these instructions in reverse order.
Conclusion
To reassemble your device, follow these instructions in reverse order.
Team

USF Tampa, Team 17-3, Blackwell Spring 2017 Member of USF Tampa, Team 17-3, Blackwell Spring 2017
USFT-BLACKWELL-S17S17G3
4 Members
5 Guides authored