Introduction
This guide will show you how to replace your worn out or broken rotary knob with a 3d printed one for your Yaesu VX8dr.
What you need
-
-
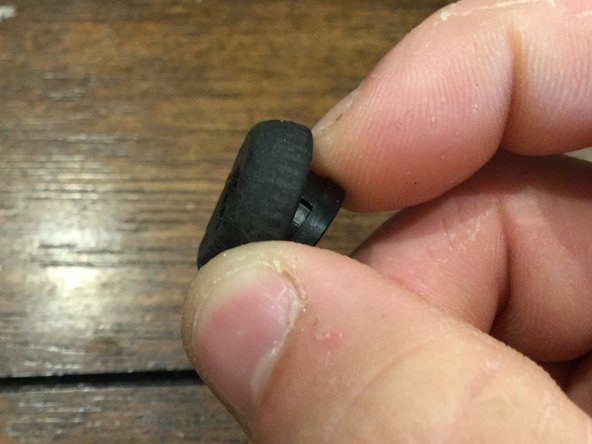
The original rotary knob is quite worn. This is a rubber piece that is bonded to hard plastic underneath. This rubber can seperate in time so we're going to replace it with a 3d printed knob
-
-
-
To remove the old knob you should position the radio where you can put your fingers around the knob and help hold it in place while you turn the screw
-
-
-
-
After removing the screw you can gently pry or pull the old knob off. Now would be a good time to clean out the crevices on the radio where the old knob sat.
-
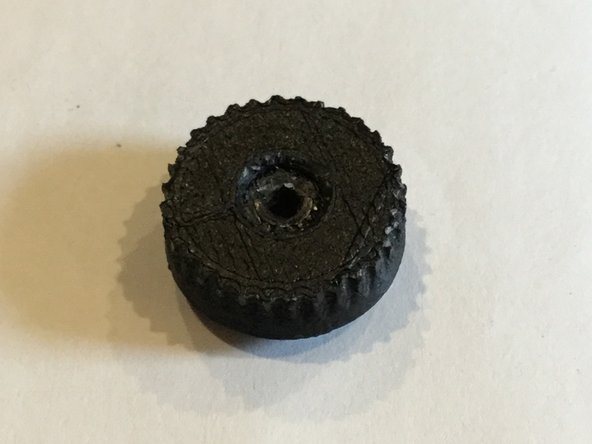
You will now want to get your newly printed knob. Use the .stl file at the bottom of the page to either print your own or have it printed and shipped to you.
-
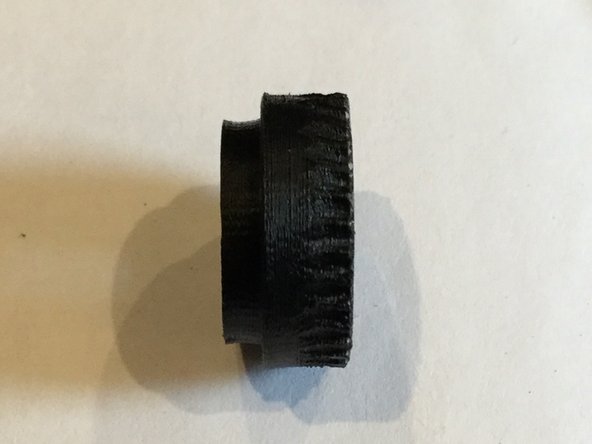
I printed this one in ABS but it would probably be even better in PLA. I printed this one with the top on the print bed. (upside down)
-
-
-
You will now want to put the new knob on the rotary encoder. You can see that there are 2 rounded sides and 2 flat sides and they have to go together in that orientation.
-
Test fit it first and make sure it will fit snugly. You will have to use some pressure to get it on but don't get excessive. You may have to use a razor blade or exacto knife to shave a bit of plastic off of the rounded or flat sides of the inner wall to get a smooth, but snug, fit on the rotary encoder.
-
-
-
Now you can reinstall the original screw and do the final assessment. The new knob should rotate freely and not contact any side of the radio. Congratulations you just saved yourself $$ by making and repairing your own.
-


Cancel: I did not complete this guide.
One other person completed this guide.
Attached Documents
3 Comments
where tobuy it?
You could download the .stl file and send it to any of the online 3d printing services and they would print it and send it to you in the mail for a fee.
Just noticed that my know was damaged today (had the hand held for more than 5 years). found your replacement knob, printed and it fit perfectly. Great Job and thank you - it would have taken me hours to design this. THANKS AGAIN.