Introduction
This guide will explain how to disassemble the Xbox DVD Drive in order to preform repairs or remove a stuck game by manually ejecting the drive.
What you need
-
-
You can either remove the labels or simply feel for the screw holes through the labels and then cut or punch a hole through them.
-
-
-
Once the bottom and top shells are no longer attached, carefully turn the Xbox right-side-up, lift and remove the top cover.
-
-
-
-
Free the hard drive power cable from the carrier for sufficient slack to lift the hard drive out.
-
Lift the plastic hard drive carrier out of the Xbox case.
-
-
-
Remove the four 3.4 mm T15 Torx screws from the plastic hard drive carrier (two screws per side).
-
Carefully remove the hard drive from the plastic carrier. Gentle rocking will see the hard drive come out quite easily.
-
-
-
Pull both the hard drive data ribbon cable and the power cable straight up from the hard drive.
-
-
-
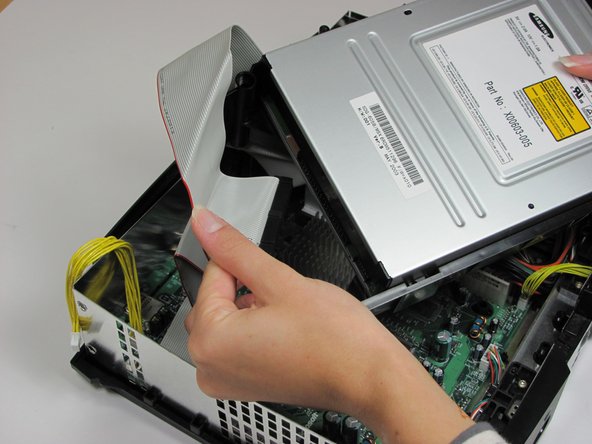
Remove the disk drive. It should come right out.
-
Unplug the ribbon cable and yellow cables from back of disk drive.
-
-
-
Pry back the black plastic tabs around the disk drive in order to remove it from its housing. Once removed, set the drive aside.
-
ONLY REMOVE IF DEAD!
-
-
-
Please note that if all you are trying to do is manually eject a game and not make repairs to the drive, step 14 is the ONLY required step. It is NOT necessary to remove the drives casing, just push the tray in when you're done.
-
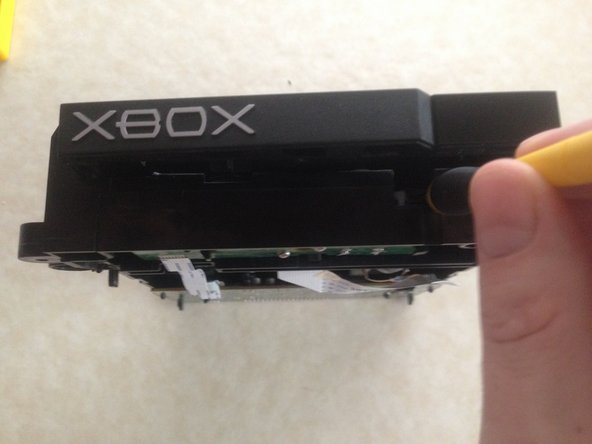
Start by removing the 4 screws on the bottom of the drives case using a Philips #0. There are different variations of the drive and some have Torx screws instead of Philips. Use the necessary tool for the specific version that you have.
-
Once screws are removed, lift the bottom half of the case up and away from the drive.
-
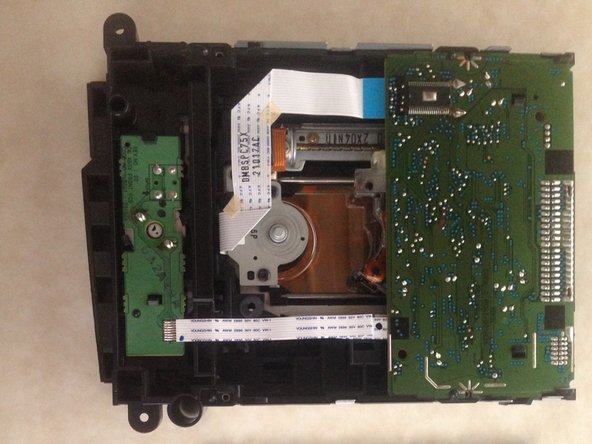
Flip the drive over and remove the top half of the drives case.
-
-
-
Using your screwdriver, or anything slim enough to fit, gently push the white lever back. Put your object on the right hand side of the lever, slightly pushing right as you push back.
-
The lens will drop down and your drive door will open about a quarter inch.
-
Gently pull the tray to its open position. If you have a game stuck in your drive, this would be the ideal time to remove it. It can be removed in step 13 but it's not as easy.
-
-
-
Gently push the tray closed by hand.
-
Using your screwdriver, or whatever object best suits you, you need to return the white lever to its forward position to reset the drive properly. Get your object behind the right side of the lever, gently pushing it forward, returning it to its original position.
-
-
-
Put the top of the case on first and then flip the drive.
-
Replace the bottom half of the case and secure the screws back in place.
-