Vivitar XO 7 Battery Replacement

What you need

  1. Vivitar XO 7 Battery Replacement, Back Cover: step 1, image 1 of 1
    • Remove the two 3mm Phillips #00 screws on the bottom of the tablet.

  2. Vivitar XO 7 Battery Replacement: step 2, image 1 of 1
    • With the plastic opening tools, pry open the back cover.

  3. Vivitar XO 7 Battery Replacement: step 3, image 1 of 1
    • Remove the back cover from the tablet.

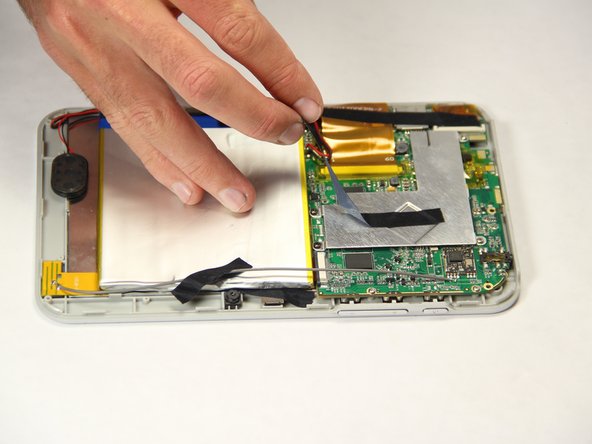
  4. Vivitar XO 7 Battery Replacement, Battery: step 4, image 1 of 2 Vivitar XO 7 Battery Replacement, Battery: step 4, image 2 of 2
    • Peel off the black pieces of tape from the internal components.

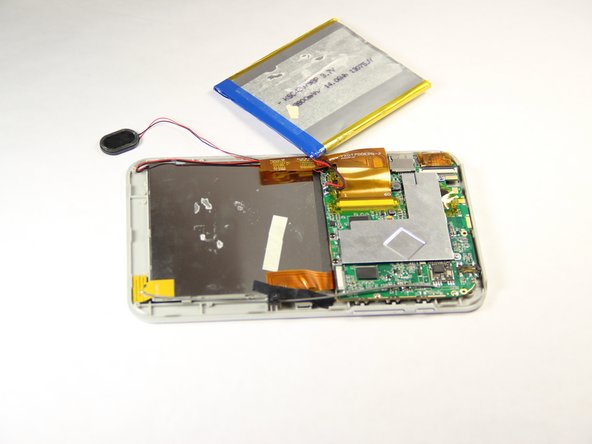
  5. Vivitar XO 7 Battery Replacement: step 5, image 1 of 2 Vivitar XO 7 Battery Replacement: step 5, image 2 of 2
    • Carefully remove the battery from the tablet.

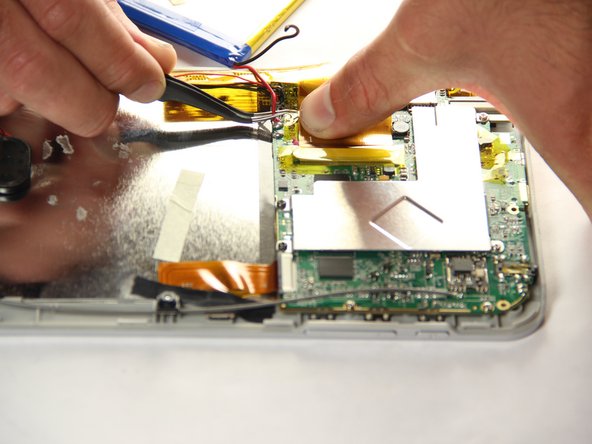
  6. Vivitar XO 7 Battery Replacement: step 6, image 1 of 2 Vivitar XO 7 Battery Replacement: step 6, image 2 of 2
    • With the tweezers, firmly grab the wire at the base and pull to disconnect the battery from the motherboard.

Barron Dillman

Member since: 01/20/15

227 Reputation

2 Guides authored

Team

USF Tampa, Team 11-1, Blackwell Winter 2015 Member of USF Tampa, Team 11-1, Blackwell Winter 2015

USFT-BLACKWELL-W15S11G1

4 Members

10 Guides authored

View Statistics:

Past 24 Hours: 0

Past 7 Days: 0

Past 30 Days: 3

All Time: 1,566