Introduction
If the power button on your Vivitar Vivicam T027 digital camera breaks or gets jammed, you may need to replace it. This guide will show you how.
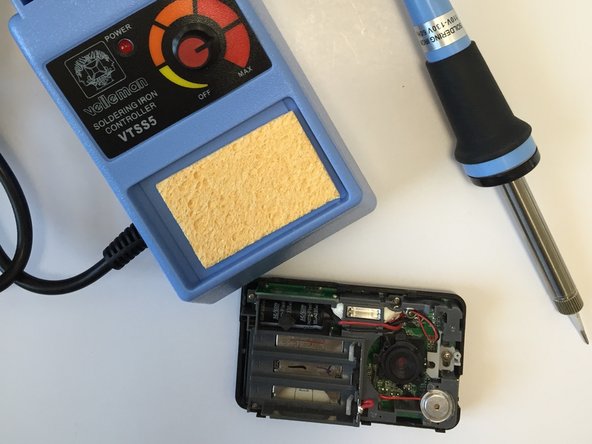
Note: This repair requires soldering. View the soldering guide for more information.
What you need
-
-
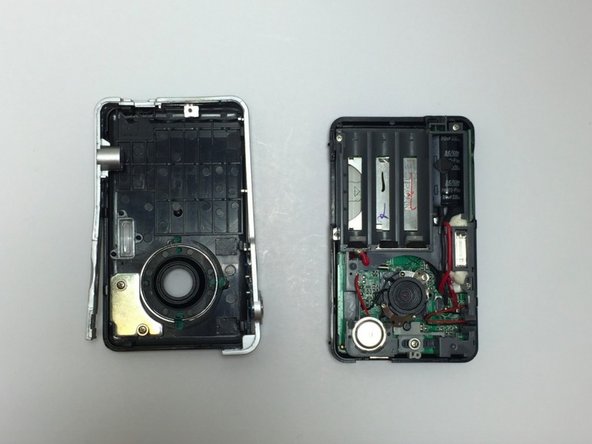
Using a Phillips #00 screwdriver, remove four exposed 3mm screws.
-
You will find one screw on the top, one on the bottom, and one on each side of the camera.
-
-


To reassemble your device, follow these instructions in reverse order.
To reassemble your device, follow these instructions in reverse order.
Team

Marist, Team 15-13, Laflen Spring 2015 Member of Marist, Team 15-13, Laflen Spring 2015
MARS-LAFLEN-S15S15G13
4 Members
3 Guides authored