Introduction
Every violin player faces the task of changing the bridge. With very few detachable pieces on a violin, changing the bridge is one of the most essential tasks for a violin player to know. This task includes loosening the strings, removing the old bridge, prepping the new bridge with markings for strings, setting the new bridge, and retightening the strings.
What you need
-
-
Identify two sides of your violin. The violin bridge has one side that is higher than the other. The lower side is the E-string side.
-
E-string side
-
-
-
-
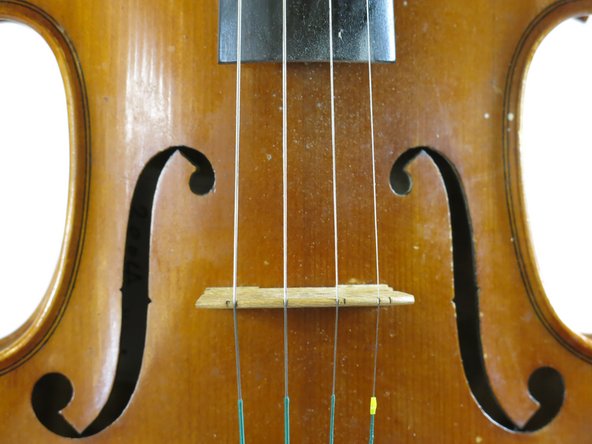
Place the new bridge between the center of the f-holes of your violin.
-
f-holes
-
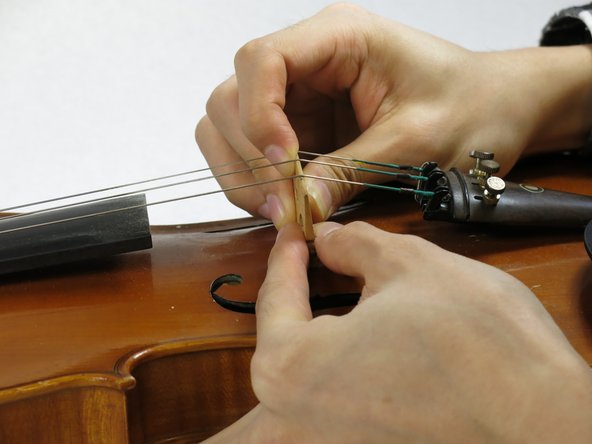
Put the strings on your new bridge, align them with the marks you made in step 4.
This is WAY too simple. You need to fit the feet first and then measure the string height off the fingerboard individually for each string. Bridge replacement should be done by a professional. You can do a ton of damage without doing it right and this is all wrong!!!
-
-
-
Hold the bridge in one hand and tighten the strings in the reverse order you loosened them. That is, tighten the A-string and D-string first, and then, tighten the E-string and G-string. Tighten until each string matches its rough standard pitch (violin tuner suggested).
-
After tightening all four strings, play a little to test the string placement. If the distance between the strings is not comfortable for performance (as noted in step 4), repeat step 2-6 and adjust the distance between the strings on the bridge again to find the proper distance.
-


Cancel: I did not complete this guide.
6 other people completed this guide.
Team

DePaul University, Team S1-G6, Dush Fall 2017 Member of DePaul University, Team S1-G6, Dush Fall 2017
DPU-DUSH-F17S1G6
2 Members
1 Guide authored
4 Comments
Thanks for this guide. The bridge is considered to be an important part of the instrument and also said to be a soul of the instrument and its sound. The bridge should be always straight and perpendicular to the surface of the instrument. For some people, it may be difficult to replace the bridge all by their own, therefore it is necessary to take the violin to a violin shop where an experienced technician can either fix or replace the bridge. While the bridge is small and light, the way it is set up makes all the difference as far as how the violin will sound.
Feet of the bridge must be fit. Bridge thickness adjusted. String heights are individual. This should only be done by a professional. This method is way too simple to make a bridge that is safe and actually functional for you violin.
Agreed. And if the sound post falls over, good luck.
I would also debate the claim that this is one of the most essential tasks, and one that every violin player faces.
Patrick -
Help!!=( I dont know how to fix it!!
STOP! When you buy a new bridge, it is NOWHERE NEAR ready to install on your violin.
Two modifications are absolutely essential before you proceed any further: 1. The feet must be very precisely shaped to match the curvature of the top. 2. The top of the bridge must be cut down so as to hold each string the correct distance from the fingerboard, and from the other strings. (That will assure that the bridge stays in place and doesn't damage the top, and that fingering is possible, but the violin's tone will be dull and muted. It will take more reshaping to address that problem.)
That is NOT "very easy", and will take a lot longer than 15 minutes.
TAKE THAT FIDDLE TO A LUTHIER. Please.
Dan Gellert - Reply