Introduction
VanMoof makes the world's most stylish urban bike with inbuilt solar-powered lights. After a few years, the light's NiCad batteries won't hold their charge so it's time to replace them.
You can buy replacements but Vanmoof won't ship to many countries (like Australia) so you'll need to fix them eventually.
The most difficult part is getting the batteries
- You'll need two "2/3 AAA" NiCad batteries per light
- Get the ones with solder tabs
- Get 4 - for the front and rear lights
- ebay is the cheapest - these are the ones that I brought https://www.ebay.com.au/itm/4-pcs-2-3-AA...
Batteries were less than $4 for four, so it's of course much cheaper to fix than replace - and better for the environment.
What you need
-
-
Buy two, "2/3" AAA NiCad rechargeable batteries. Better still get four so you can replace the batteries in both lights.
-
Get the batteries with solder tabs
-
-
-
Use a flat blade screw driver to pull the battery from the adhesive tape.
-
Remove the heat shrink plastic joining the batteries
-
-
-
-
Tin the battery tabs
-
Join together with tape. You'll remove this later. Both +ve ends are joined
-
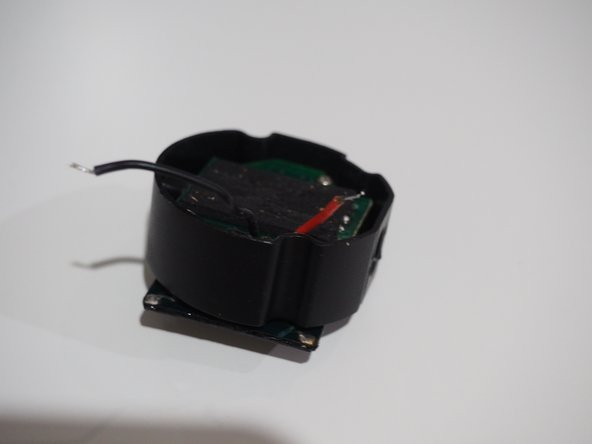
The red wire goes on the end of the battery that has a ridge.
-
-
-
Remove the temporary tape
-
Fold the tabs inwards
-
Cover with 2 pieces of insulation tape. The wires will come out of the middle, between the pieces of tape
-
-
-
Put the small black cup back on the switch. The dome goes outwards.
-
Put the outer switch in the lense. It goes in the smaller hole
-
The black body will be flush when it's pushed together.
-


To reassemble your device, follow these instructions in reverse order.
To reassemble your device, follow these instructions in reverse order.
Cancel: I did not complete this guide.
3 other people completed this guide.
