Introduction
The Turnigy 9X is an inexpensive and highly hackable transmitter for remote controlled aircraft. This guide will show how to change a Turnigy 9X from Mode 1 (with the throttle on the right and elevator on the left) to Mode 2 (with the throttle on the left and the elevator on the right).
Thanks to Miro at iFixit for photographing this guide while I performed the work at Maker Faire 2011!
What you need
-
-
The Turnigy 9X, set up for Mode 1. Notice the left stick is centered in both axes, while the right stick is only centered horizontally.
-
-
-
Separate the front and back halves of the case.
-
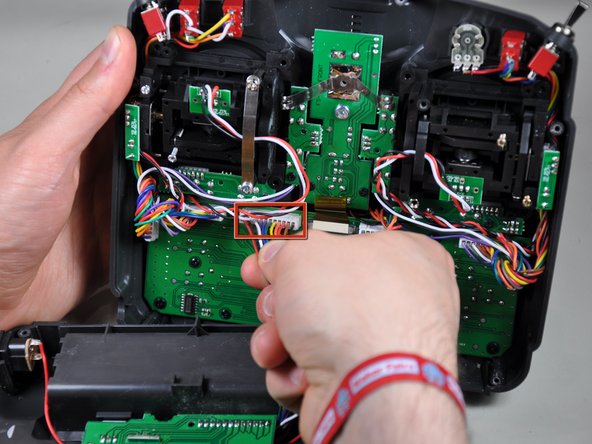
Disconnect the cable linking the rear half to the front half.
-
-
-
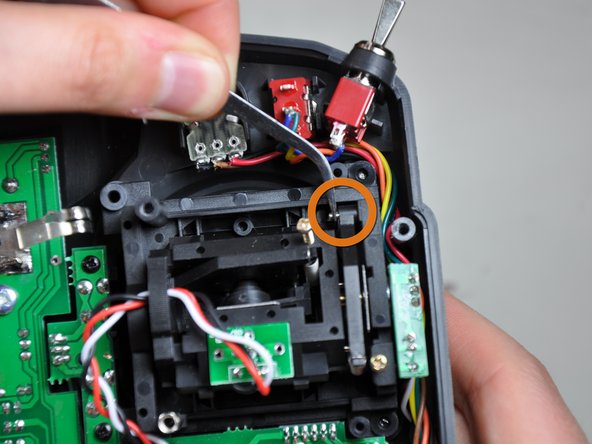
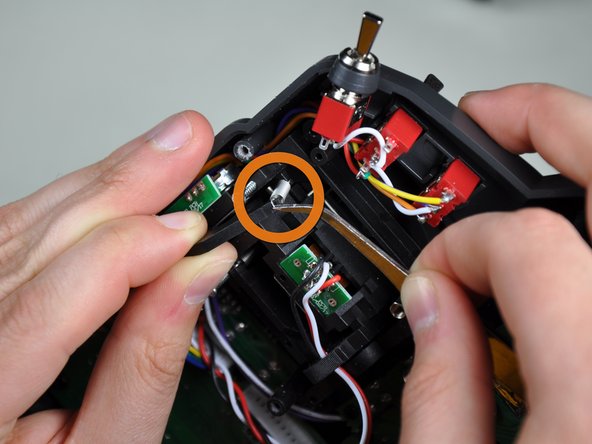
Remove the spring arm and spring for the left stick.
-
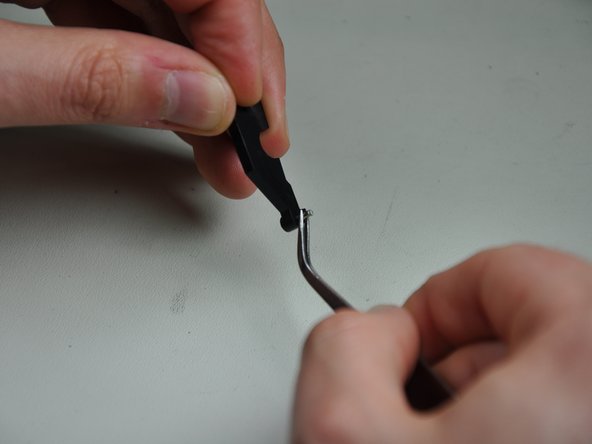
Push out the retaining pin.
-
Remove the retaining pin and spring arm.
-
Remove the spring.
-
-
-
-
Attach the tensioner to the left stick.
-
Make sure you have the larger slot and machine screw on the metal post.
-
Fully tighten down the screw in the plastic post.
-
Use the screw in the metal post to adjust the tension on the left stick.
-
-
-
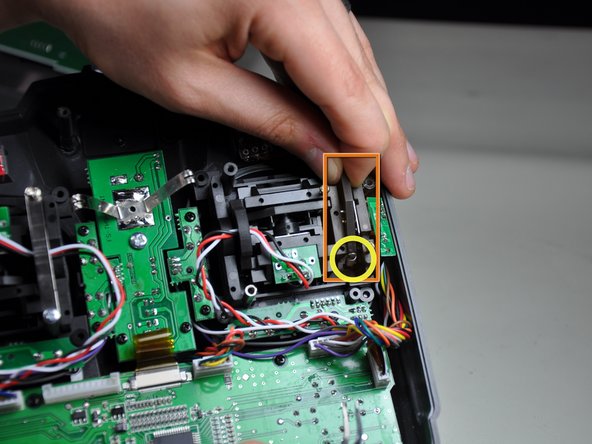
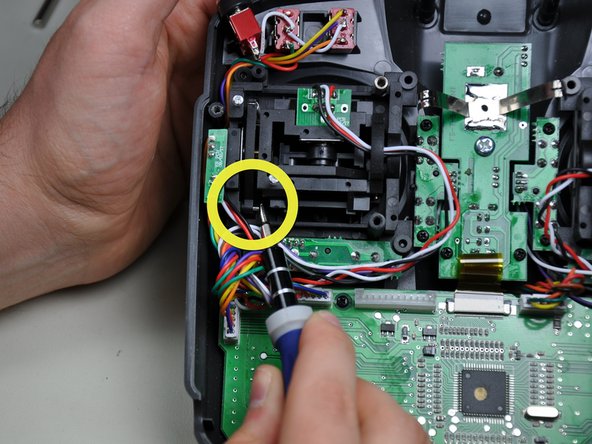
Remove the retaining pin from the right stick.
-
Drop the retaining pin into the spring arm. It is a loose fit, so it will freely drop straight through if the arm isn't held level.
-
-
-
Attach the spring to the plastic hook on the right stick.
-
Hook the spring over the end of the spring arm.
-
Line the spring arm up with the hole in the right stick casing and push the pin into place so it is flush with the side of the spring arm.
-
-
-
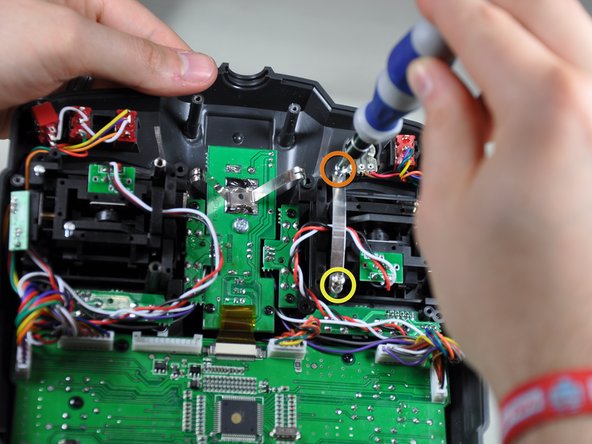
You can now adjust the spring tension for the right stick.
-
Vertical movement spring tension set screw
-
Horizontal movement spring tension set screw
-
-
-
Reconnect the cable linking the front and back halves of the transmitter.
-
Close up the case and enjoy your Mode 2 transmitter.
-