Introduction
This guide will show you how to replace the CPU thermal paste in a Toshiba Satellite L300-04P (PSLB8C-04P01X) laptop. The thermal paste is an important compound found between the CPU and CPU cooling system, responsible for conducting the heat from the CPU to the CPU cooler. The thermal paste bridges the microscopic gap between the CPU die and CPU cooler heatsink surface, maintaining thermal conductivity. Old or degraded thermal paste will reduce thermal conductivity, resulting in higher CPU temperatures and increased thermal stress.
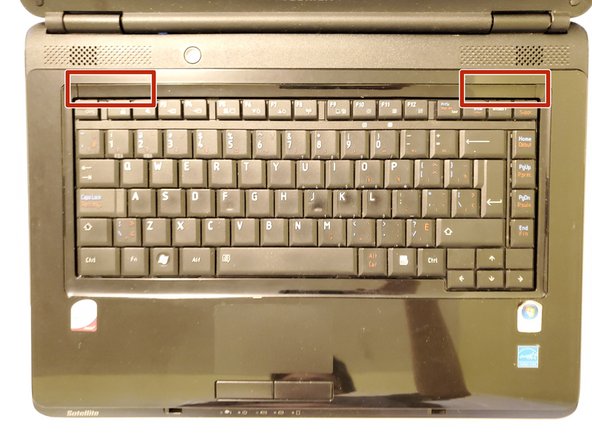
Before beginning, ensure the device is powered off and unplugged. Please familiarize yourself on how to clean and apply new thermal paste as required in steps 26 and 27. Additionally, it is recommended to use an anti static wrist strap to prevent damage from static electricity.
Note that there are other variants of this device, varying in processor and memory configurations with model specific codes (PSLB0x, PSLB1x, PSLB2x, and PSLB3x). For those variants, the internal hardware may vary from the model shown in this guide.
What you need
-
-
Unlock the battery by sliding the left battery latch to the right.
-
To remove the battery, hold the spring-loaded right battery latch to the right, then grasp the center battery tab and pull upward.
-
-
-
Use a Phillips #00 screwdriver to loosen the RAM cover and 2.5 inch HDD cover captive screws.
-
-
-
-
Remove the CPU cooler and place it with the copper heat plates facing upwards.
-
Wet the paper towel with high concentration Isopropyl Alcohol, then proceed to wipe away any old thermal paste on the copper heat plate.
-
Using a new piece of paper towel, wet with Isopropyl alcohol and wipe away any old thermal paste on the CPU die.
-


To reassemble your device, follow these instructions in reverse order.
To reassemble your device, follow these instructions in reverse order.
Team

York University, Team O-17, Woodhouse Winter 2023 Member of York University, Team O-17, Woodhouse Winter 2023
YORK-WOODHOUSE-W23SOG17
1 Member
1 Guide authored