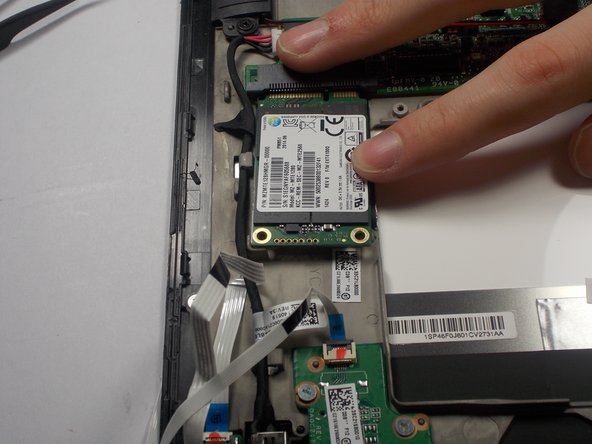
Toshiba Satellite Click 2 Pro Hard Drive Replacement

What you need

  1. Toshiba Satellite Click 2 Pro Hard Drive  Replacement, Battery: step 1, image 1 of 2 Toshiba Satellite Click 2 Pro Hard Drive  Replacement, Battery: step 1, image 2 of 2
    • Working on your device while it is turned on may result in electric shock. Make sure to shut down and unplug your device before you begin.

    • Push down on the tablet sides until you feel a click, then pull up.

    • This will separate the tablet from the detachable base, make sure to hold down the keyboard for easier detachment.

  2. Toshiba Satellite Click 2 Pro Hard Drive  Replacement: step 2, image 1 of 3 Toshiba Satellite Click 2 Pro Hard Drive  Replacement: step 2, image 2 of 3 Toshiba Satellite Click 2 Pro Hard Drive  Replacement: step 2, image 3 of 3
    • Remove the base of the tablet from the screen using a plastic opening tool.

    • Make sure to separate the base evenly on both sides when removing it from the screen.

  3. Toshiba Satellite Click 2 Pro Hard Drive  Replacement: step 3, image 1 of 2 Toshiba Satellite Click 2 Pro Hard Drive  Replacement: step 3, image 2 of 2
    • Remove the battery power connector using ESD safe tweezers.

  4. Toshiba Satellite Click 2 Pro Hard Drive  Replacement: step 4, image 1 of 2 Toshiba Satellite Click 2 Pro Hard Drive  Replacement: step 4, image 2 of 2
    • Remove the LED ribbon cable using ESD safe tweezers.

    • Remove the SIM card ribbon cable using ESD safe tweezers.

    • Remove the Docking connector ribbon cable using plastic opening tool.

    • The ribbons may be stuck to the battery so make sure to peel off gently to prevent damage.

    • Make sure to flip up the white connector attached to the LED and Sim Card ribbons before removing them .

  5. Toshiba Satellite Click 2 Pro Hard Drive  Replacement: step 5, image 1 of 3 Toshiba Satellite Click 2 Pro Hard Drive  Replacement: step 5, image 2 of 3 Toshiba Satellite Click 2 Pro Hard Drive  Replacement: step 5, image 3 of 3
    • Remove the LCD Display ribbon cable using a plastic opening tool.

    • Remove the I/O ribbon cable using a plastic opening tool.

    • The ribbons may be stuck to the battery so make sure to peel them off gently to prevent damage.

  6. Toshiba Satellite Click 2 Pro Hard Drive  Replacement: step 6, image 1 of 2 Toshiba Satellite Click 2 Pro Hard Drive  Replacement: step 6, image 2 of 2
    • Remove five 3.5mm Phillips J0 screws using a Phillips screw driver.

  7. Toshiba Satellite Click 2 Pro Hard Drive  Replacement: step 7, image 1 of 1
    • Remove the battery from its holding position.

  8. Toshiba Satellite Click 2 Pro Hard Drive  Replacement, Hard Drive: step 8, image 1 of 2 Toshiba Satellite Click 2 Pro Hard Drive  Replacement, Hard Drive: step 8, image 2 of 2
    • Remove the two screws using a J0 Phillips screw driver

  9. Toshiba Satellite Click 2 Pro Hard Drive  Replacement: step 9, image 1 of 1
    • Remove the hard drive

Conclusion

To reassemble your device, follow these instructions in reverse order.

5 other people completed this guide.

Paul DeOrsey

Member since: 03/10/16

893 Reputation

5 Guides authored

Team

2 Comments

Ok, where do i search and order parts please?

Ching Ching - Reply

and plus, i put the laptop model for replacement, doesn't show my laptop model…

Ching Ching - Reply

Add Comment

View Statistics:

Past 24 Hours: 0

Past 7 Days: 2

Past 30 Days: 10

All Time: 3,717