Introduction
The following guide gives instructions on how to remove the motherboard. This procedure is done in order to replace multiple components. Be sure to avoid damaging any components or connectors removed from the motherboard. It is advised to back up data to an external device before attempting any component replacement.
What you need
-
-
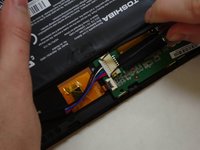
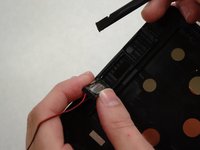
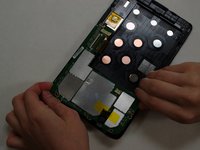
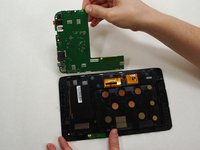
Using the flat end of the spudger, gently pry open the back case from the rest of the device.
-
-
-
Tool used on this step:Tweezers$4.99
-
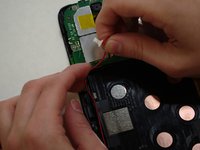
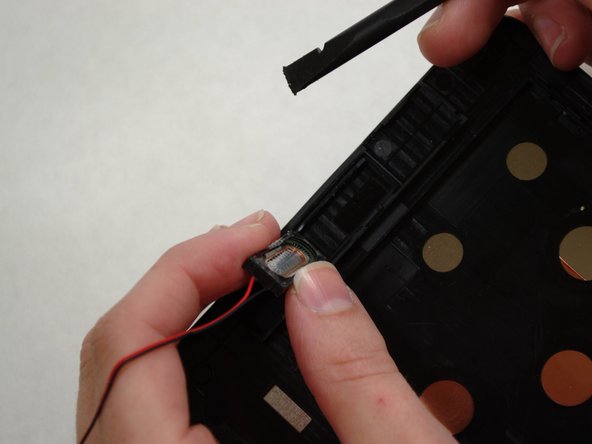
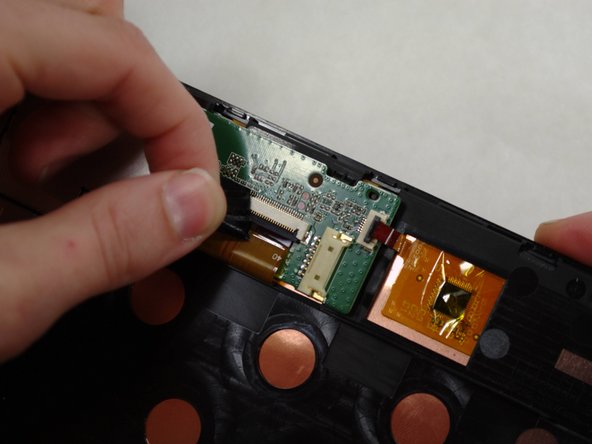
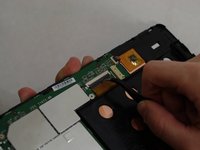
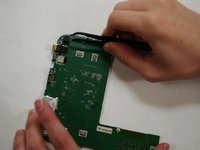
Using needle-nose tweezers, carefully push the small white wire connector (red/black wires) out of its housing.
-
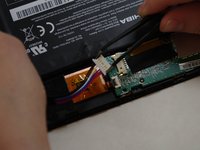
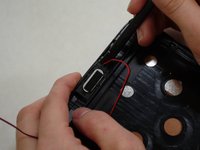
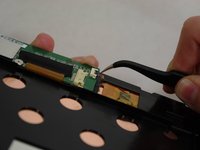
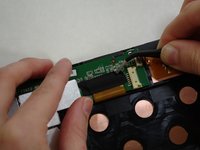
Gently remove red/black wire strands from the clips holding them to the back of the screen.
-
-
-
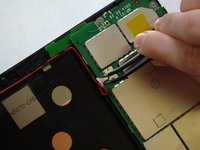
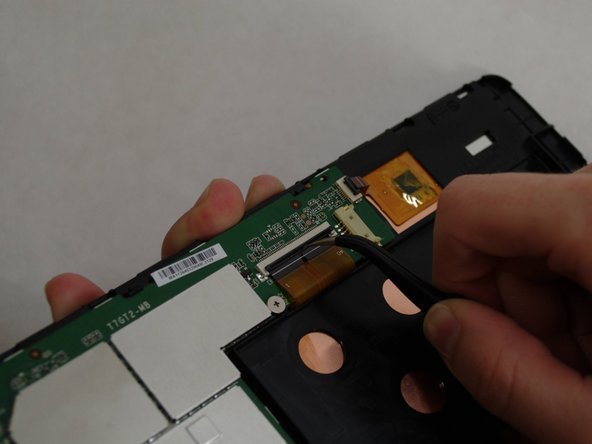
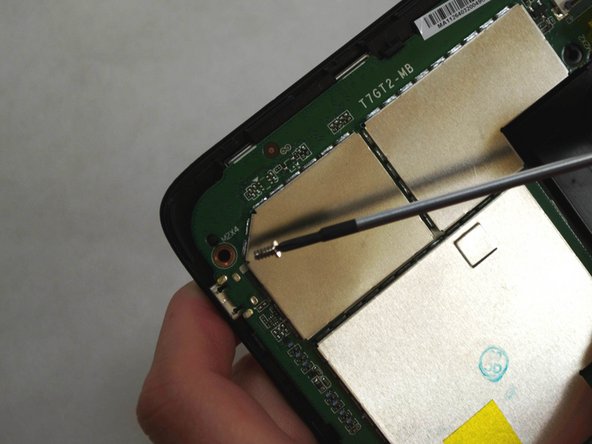
Using needle-nose tweezers, carefully flip up the dark gray cover on the right of the device holding the small orange ribbon in place. (It is approximately 1/4" wide.)
-
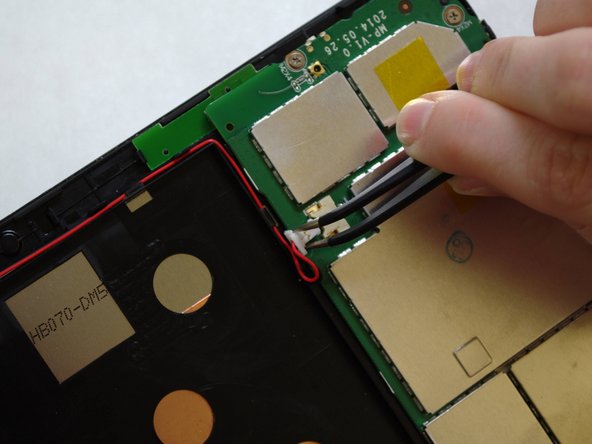
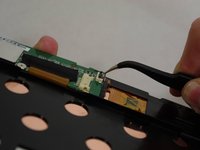
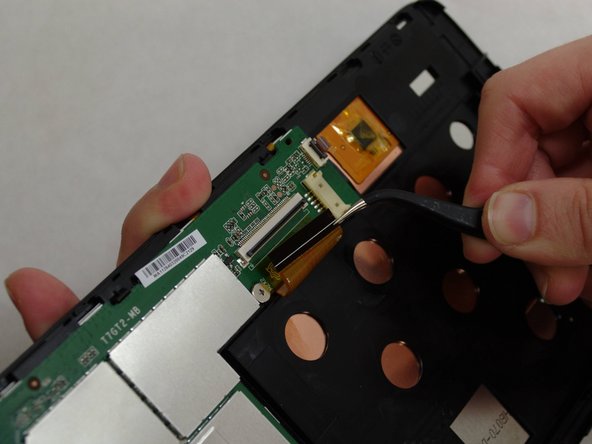
With the tweezers, carefully pull the small ribbon out of its housing. It will stay attached to the device at the other end.
-
-
Tool used on this step:Tweezers$4.99
-
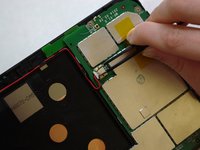
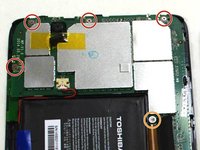
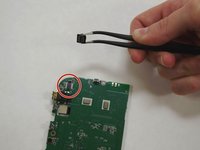
Remove yellow tape.
-
Use tweezers to pull on the camera housing until it is free of the motherboard.
-


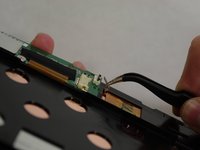


To reassemble your device, follow these instructions in reverse order.
Team

IUPUI, Team S5-G5, Wilson Spring 2017 Member of IUPUI, Team S5-G5, Wilson Spring 2017
IUPUI-WILSON-S17S5G5
4 Members
4 Guides authored