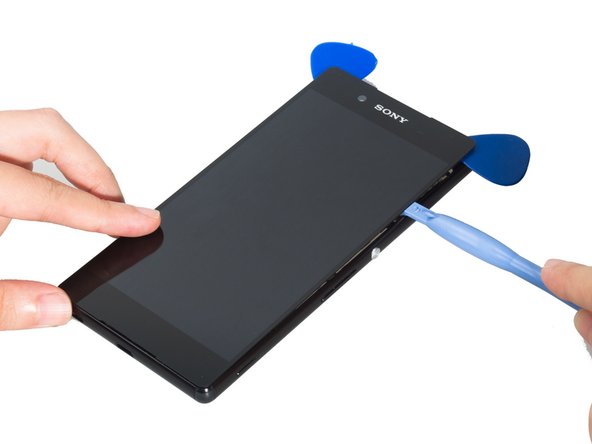
What you need

Video Overview

This teardown is not a repair guide. To repair your Sony Xperia Z4, use our service manual.

  1. Sony Xperia Z4の分解, Sony Xperia Z4の分解: step 1, image 1 of 2 Sony Xperia Z4の分解, Sony Xperia Z4の分解: step 1, image 2 of 2
    • 背面カバーを取り外します。

    How much heat needed to melting down the back cover adhesive…

    Aspar Riansyah - Reply

    it is no need to heat too much.

    Snowflake -

  2. Sony Xperia Z4の分解: step 2, image 1 of 3 Sony Xperia Z4の分解: step 2, image 2 of 3 Sony Xperia Z4の分解: step 2, image 3 of 3
    • バッテリーを取り外します。

  3. Sony Xperia Z4の分解: step 3, image 1 of 2 Sony Xperia Z4の分解: step 3, image 2 of 2
    • 基板に接続されているすべてのコネクター、ねじを外します。

  4. Sony Xperia Z4の分解: step 4, image 1 of 2 Sony Xperia Z4の分解: step 4, image 2 of 2
    • 小さな固定ブラケットを取り外します。

  5. Sony Xperia Z4の分解: step 5, image 1 of 3 Sony Xperia Z4の分解: step 5, image 2 of 3 Sony Xperia Z4の分解: step 5, image 3 of 3
    • リアカメラとフロントカメラを取り外します。

  6. Sony Xperia Z4の分解: step 6, image 1 of 2 Sony Xperia Z4の分解: step 6, image 2 of 2
    • マザーボードを取り外します。

  7. Sony Xperia Z4の分解: step 7, image 1 of 3 Sony Xperia Z4の分解: step 7, image 2 of 3 Sony Xperia Z4の分解: step 7, image 3 of 3
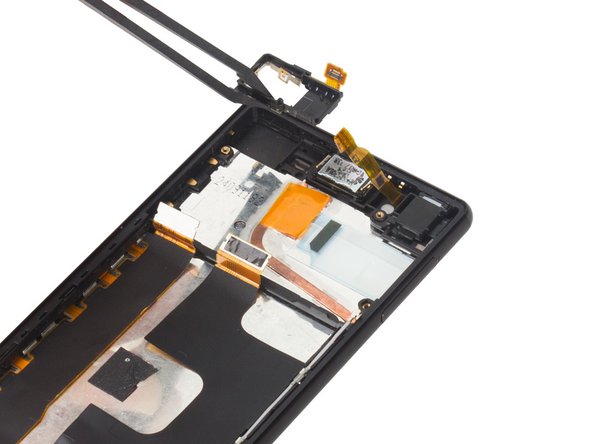
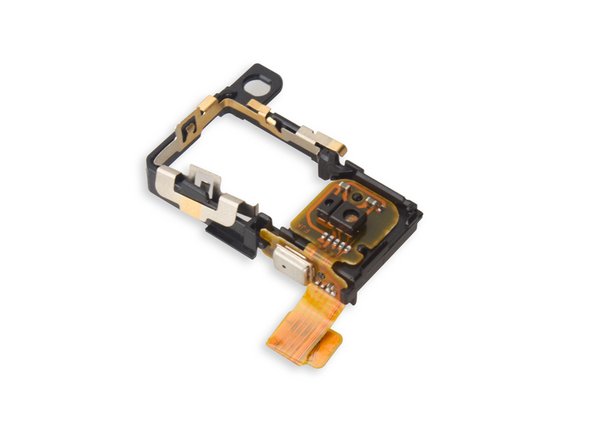
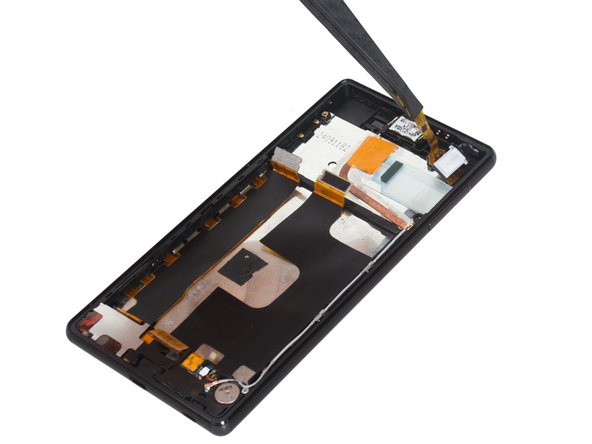
    • センサーのフレックスを取り外します。

  8. Sony Xperia Z4の分解: step 8, image 1 of 3 Sony Xperia Z4の分解: step 8, image 2 of 3 Sony Xperia Z4の分解: step 8, image 3 of 3
    • オーディオジャックのカバーブラケット2個を取り外します。

  9. Sony Xperia Z4の分解: step 9, image 1 of 2 Sony Xperia Z4の分解: step 9, image 2 of 2
    • オーディオジャックの上部にある接着剤を切断し、オーディオジャックアセンブリを取り外します。

  10. Sony Xperia Z4の分解: step 10, image 1 of 1
    • 信号ケーブルを取り外します。

  11. Sony Xperia Z4の分解: step 11, image 1 of 3 Sony Xperia Z4の分解: step 11, image 2 of 3 Sony Xperia Z4の分解: step 11, image 3 of 3
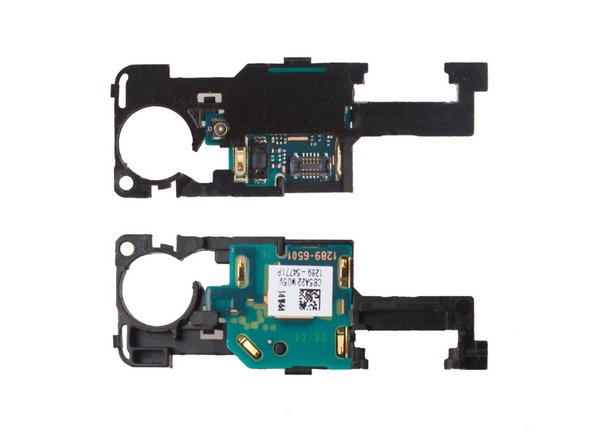
    • アンテナロジックボード上のコネクタの接続を外し、ボードを取り外します。

  12. Sony Xperia Z4の分解: step 12, image 1 of 2 Sony Xperia Z4の分解: step 12, image 2 of 2
    • LCDコネクターを外し、フレックス全体の底を緩めます。

  13. Sony Xperia Z4の分解: step 13, image 1 of 3 Sony Xperia Z4の分解: step 13, image 2 of 3 Sony Xperia Z4の分解: step 13, image 3 of 3
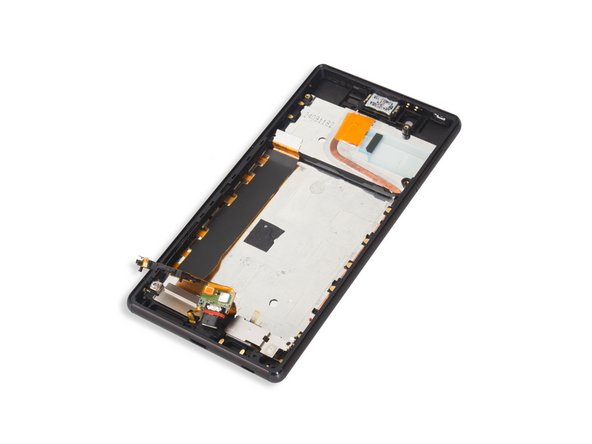
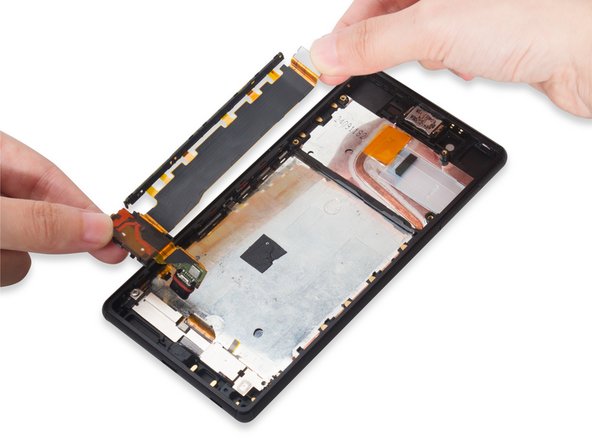
    • メインフレックスを取り外します。

  14. Sony Xperia Z4の分解: step 14, image 1 of 2 Sony Xperia Z4の分解: step 14, image 2 of 2
    • スピーカーを固定しているブラケットを取り外します。

  15. Sony Xperia Z4の分解: step 15, image 1 of 2 Sony Xperia Z4の分解: step 15, image 2 of 2
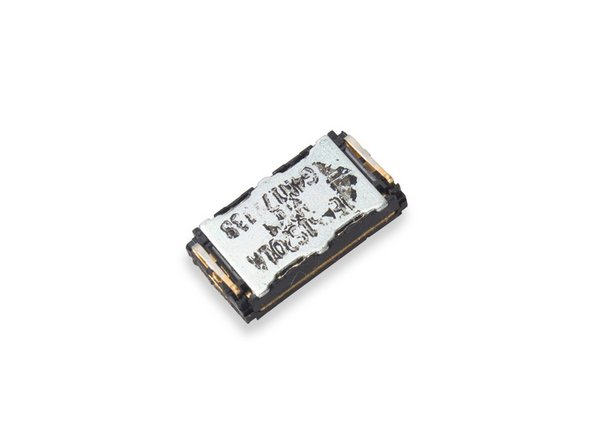
    • フレックスの下に隠れたスピーカーを取り外します。

  16. Sony Xperia Z4の分解: step 16, image 1 of 2 Sony Xperia Z4の分解: step 16, image 2 of 2
    • USBポートをスロットから押し出します。

  17. Sony Xperia Z4の分解: step 17, image 1 of 2 Sony Xperia Z4の分解: step 17, image 2 of 2
    • USB充電フレックスのアセンブリを取り外します。

  18. Sony Xperia Z4の分解: step 18, image 1 of 2 Sony Xperia Z4の分解: step 18, image 2 of 2
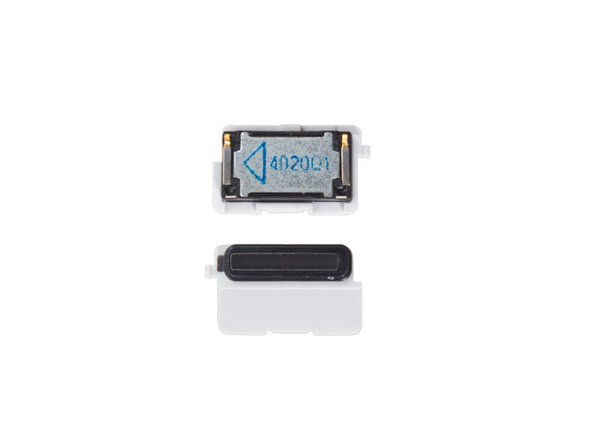
    • イヤースピーカーを取り外します。

  19. Sony Xperia Z4の分解: step 19, image 1 of 2 Sony Xperia Z4の分解: step 19, image 2 of 2
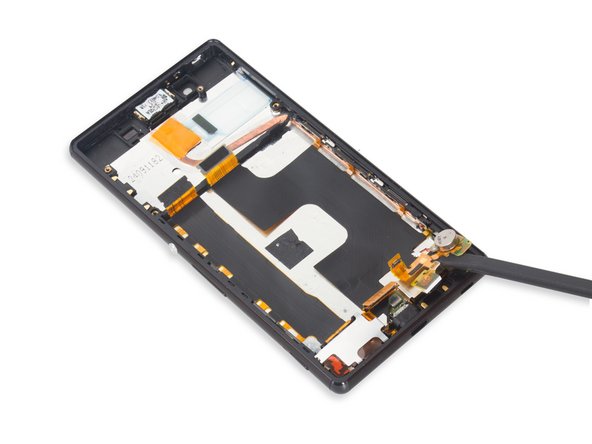
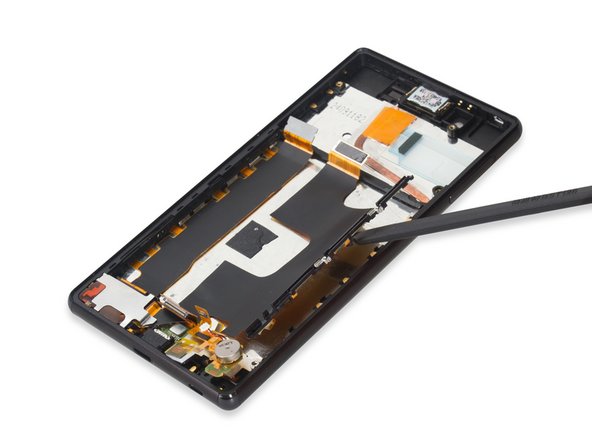
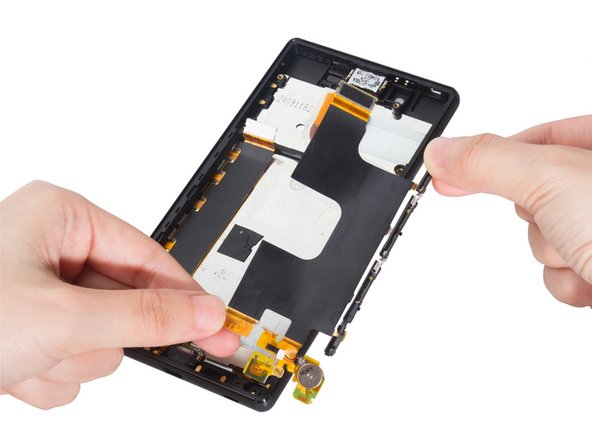
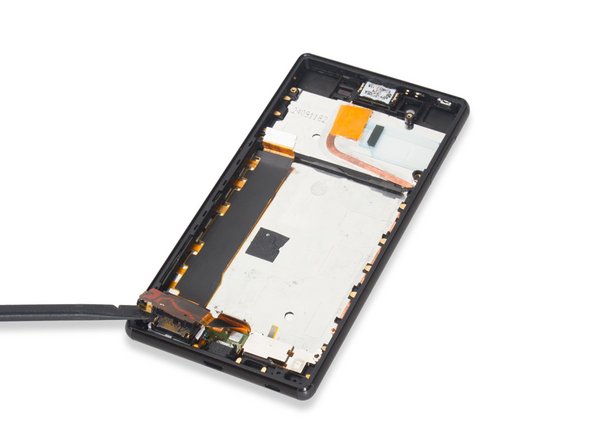
    • スクリーン上の金属ブラケットを取り外します。

  20. Sony Xperia Z4の分解: step 20, image 1 of 3 Sony Xperia Z4の分解: step 20, image 2 of 3 Sony Xperia Z4の分解: step 20, image 3 of 3
    • 注意しながらLCD画面を取り外します。

    Gerade so ein schwieriger Schritt, wie das Entfernen des Displays, bei dem auch echt viel schief gehen kann, sollte ruhig etwas detaillierter beschrieben werden. Die Mühe ist man der Community echt schuldig.

    Davon mal abgesehen ist das Bildmaterial echt gut gelungen!

    Gerdi - Reply

  21. Sony Xperia Z4の分解: step 21, image 1 of 1
    • 完了。

Special thanks to these translators:

en jp

100%

These translators are helping us fix the world! Want to contribute?
Start translating ›

Sophia

Member since: 03/25/14

43,810 Reputation

62 Guides authored

2 Comments

Is it possible to replace the nylon corners? I've heard it was possible in the previous xperia z devices like z2 and z3. Unfortunately I couldn't find the replacement corners for z3+ or z4 anywhere. Anyone has any idea about it?

Sanket - Reply

Late answer, but it seems like there’s replacement parts for the corners now. I don’t know how to replace them, though.

Farie Indriawan -

Add Comment

View Statistics:

Past 24 Hours: 1

Past 7 Days: 6

Past 30 Days: 50

All Time: 35,785