Introduction
If you are unable to hear any kind of audio on your Sony Walkman, it is possible that you may need to replace the headphone jack. This can be a little tricky for this particular model, but not impossible. To do this, you will need a spudger and a soldering iron.
What you need
-
-
-
Gently pull the ribbon from the jack just above the film revolver, near the edge.
-
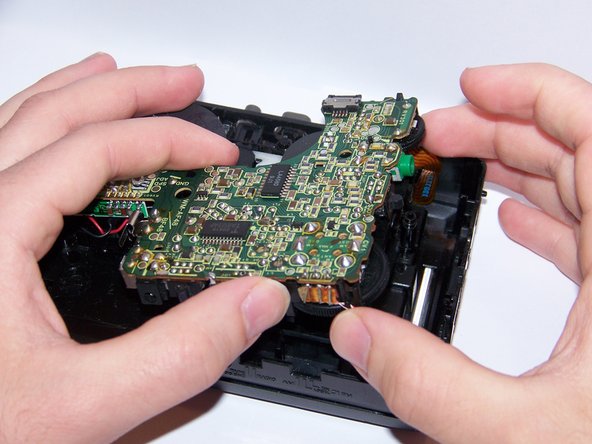
Carefully lift the motherboard out of the outer shell.
-
-
-
Locate the four metal points on the motherboard that hold the headphone jack in place.
-
Using a soldering iron, remove the headphone jack by de-soldering the four points that hold it in place.
-


To reassemble your device, follow these instructions in reverse order.
To reassemble your device, follow these instructions in reverse order.
Cancel: I did not complete this guide.
7 other people completed this guide.
Team

USF Sarasota-Manatee, Team 1-4, Stewart Fall 2014 Member of USF Sarasota-Manatee, Team 1-4, Stewart Fall 2014
USFSM-STEWART-F14S1G4
4 Members
19 Guides authored