
Sony Vaio Pro 13 Memory Card Reader/Writer Replacement

What you need

  1. Sony Vaio Pro 13 Memory Card Reader/Writer Replacement, Bottom Cover: step 1, image 1 of 2 Sony Vaio Pro 13 Memory Card Reader/Writer Replacement, Bottom Cover: step 1, image 2 of 2
    • Remove cover for the extended battery connector. Use your finger nail or a plastic opening tool to remove it.

    • Remove the two rubber feet at the back of the computer, these can be removed in the same way.

  2. Sony Vaio Pro 13 Memory Card Reader/Writer Replacement: step 2, image 1 of 2 Sony Vaio Pro 13 Memory Card Reader/Writer Replacement: step 2, image 2 of 2
    • Remove the four 5.6mm Philips #00 screws located at the top of the computer.

    • Remove the eight 3.6mm Philips #00 screws on the base of the computer.

  3. Sony Vaio Pro 13 Memory Card Reader/Writer Replacement: step 3, image 1 of 2 Sony Vaio Pro 13 Memory Card Reader/Writer Replacement: step 3, image 2 of 2
    • Using a plastic opening tool, pry the plastic casing away from the base of the computer, the remaining clips around the edges can be released using your hands.

    • Leave the side with the USB and audio port until last, then slide the case out and off, so the audio port doesn't get caught.

  4. Sony Vaio Pro 13 Memory Card Reader/Writer Replacement, Memory Card Reader/Writer: step 4, image 1 of 1
    • Gently lift the small, black piece of tape located near the fan.

  5. Sony Vaio Pro 13 Memory Card Reader/Writer Replacement: step 5, image 1 of 2 Sony Vaio Pro 13 Memory Card Reader/Writer Replacement: step 5, image 2 of 2
    • Remove the three 4.2mm Philips #0 screws located at the top of the battery.

    • Simply lift the battery away from the computer.

  6. Sony Vaio Pro 13 Memory Card Reader/Writer Replacement: step 6, image 1 of 2 Sony Vaio Pro 13 Memory Card Reader/Writer Replacement: step 6, image 2 of 2
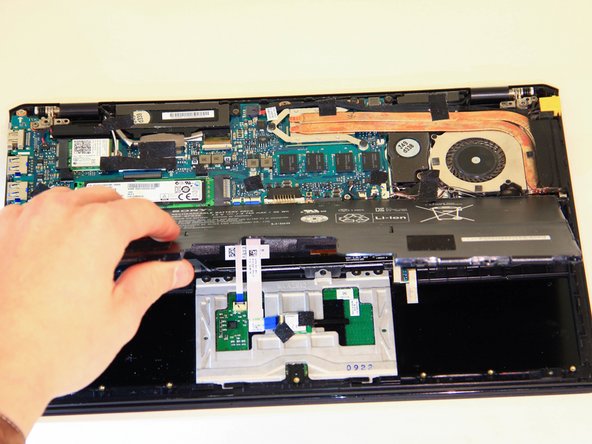
    • Using the flat end of the spudger, pry the edge of the ribbon wire on top of the memory card so it is loose enough to detach from the memory card.

  7. Sony Vaio Pro 13 Memory Card Reader/Writer Replacement: step 7, image 1 of 3 Sony Vaio Pro 13 Memory Card Reader/Writer Replacement: step 7, image 2 of 3 Sony Vaio Pro 13 Memory Card Reader/Writer Replacement: step 7, image 3 of 3
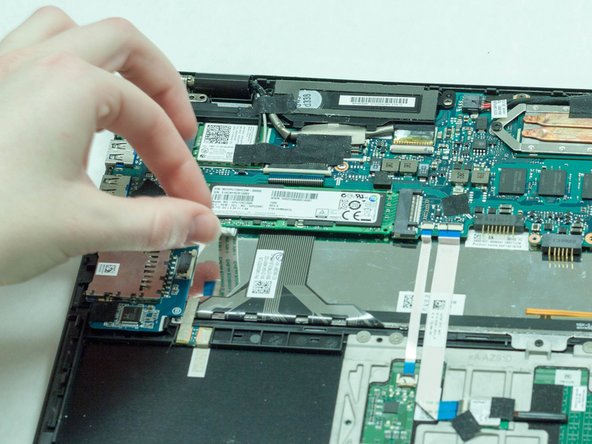
    • Lift up the small, square, black piece of tape that covers the screw on the memory card.

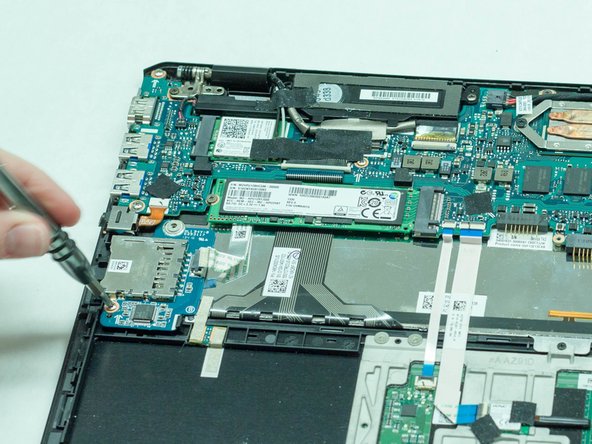
    • Using the philips head 00, unscrew the screw holding the memory card in place.

    • Once the screw is out, the memory card should lift up easily.

View Statistics:

Past 24 Hours: 2

Past 7 Days: 4

Past 30 Days: 15

All Time: 2,036