Sony VAIO PCG-3E2L Hard Drive Replacement

What you need

  1. Sony VAIO PCG-3E2L Hard Drive Replacement, Hard Drive: step 1, image 1 of 1
    • Using a #00 Phillips screwdriver, remove the screw

  2. Sony VAIO PCG-3E2L Hard Drive Replacement: step 2, image 1 of 1
    • Remove the cover

  3. Sony VAIO PCG-3E2L Hard Drive Replacement: step 3, image 1 of 1
    • Using a #00 Phillips screwdriver, remove the screw

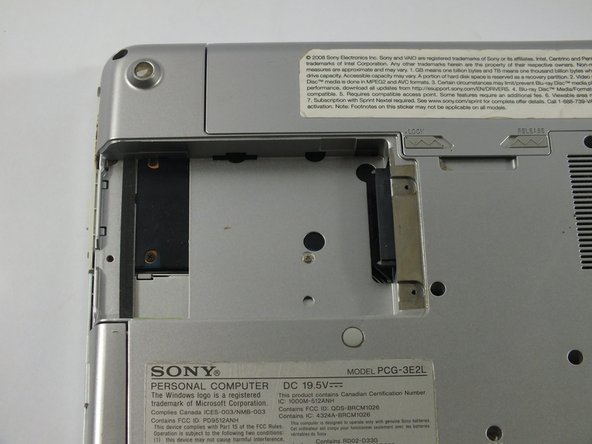
  4. Sony VAIO PCG-3E2L Hard Drive Replacement: step 4, image 1 of 2 Sony VAIO PCG-3E2L Hard Drive Replacement: step 4, image 2 of 2
    • Grab the black plastic handle and pull the hard drive out slowly.

    • Only pull the hard drive horizontally. Do not lift the hard drive vertically

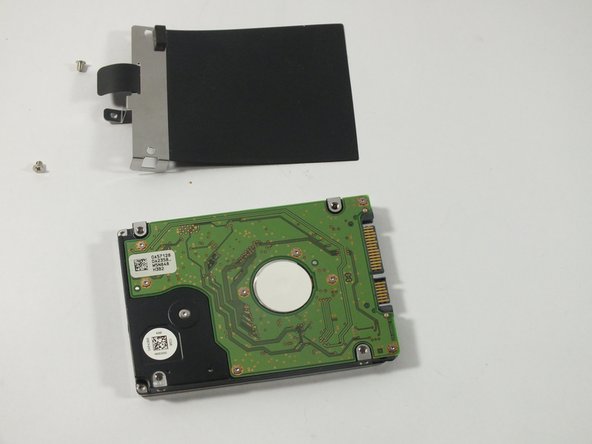
  5. Sony VAIO PCG-3E2L Hard Drive Replacement: step 5, image 1 of 2 Sony VAIO PCG-3E2L Hard Drive Replacement: step 5, image 2 of 2
    • Using a #00 Phillips screwdriver, remove the screw

Conclusion

To reassemble your device, follow these instructions in reverse order.

Chengyang Chen

Member since: 03/27/15

918 Reputation

5 Guides authored

Team

0 Comments

Add Comment

View Statistics:

Past 24 Hours: 1

Past 7 Days: 6

Past 30 Days: 14

All Time: 2,126