Introduction
The LCD Screen is a crucial component to the playback of the camera. The camera will most likely take pictures if the LCD Screen is broken, but will be unable to show the pictures or setting options through the screen. If you wish to change the resolution settings on the camera, a broken or damaged LCD Screen must be fixed.
What you need
-
-
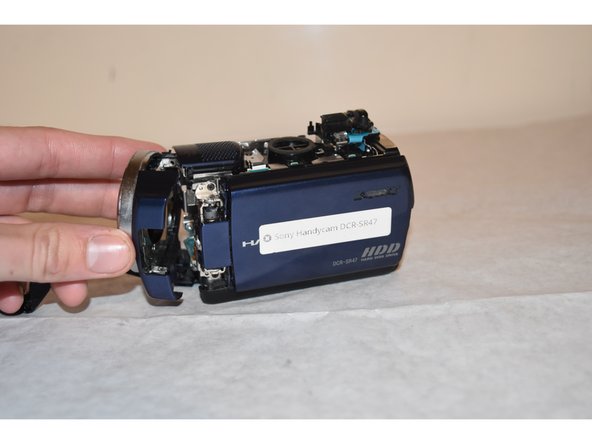
Remove the battery.
-
Use Philips #000 screwdriver to remove the 3mm screw under the battery
-
-
-
-
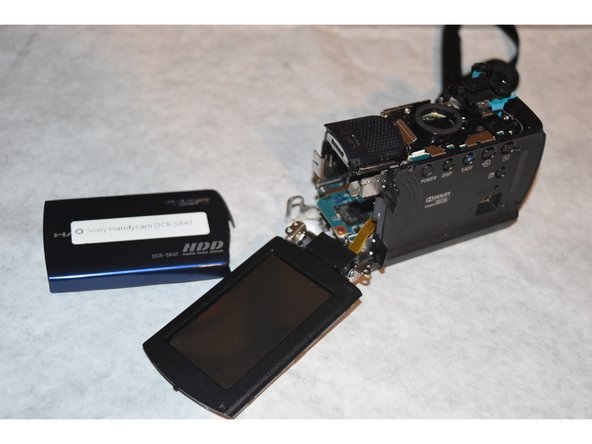
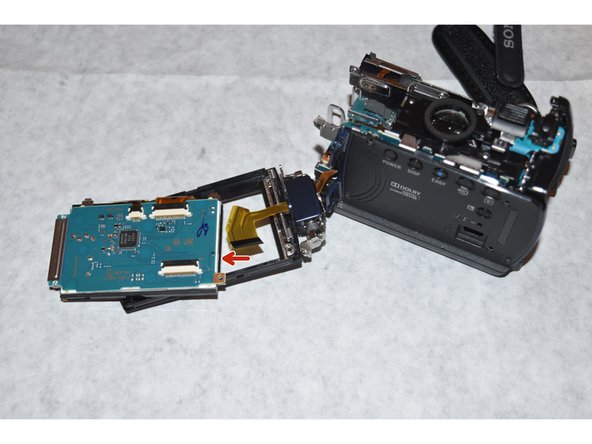
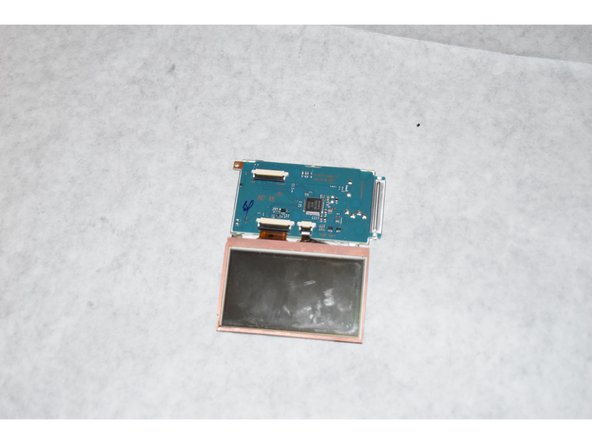
Take the LCD screen away from the housing and replace with new screen
-


To reassemble your device, follow these instructions in reverse order.
To reassemble your device, follow these instructions in reverse order.
Cancel: I did not complete this guide.
2 other people completed this guide.
Team

Western Carolina University, Team 1-2, Virtue Fall 2015 Member of Western Carolina University, Team 1-2, Virtue Fall 2015
WCU-VIRTUE-F15S1G2
4 Members
8 Guides authored