
Sony Ericsson Z500a Screen Replacement

What you need

  1. Sony Ericsson Z500a Screen Replacement, Keypad: step 1, image 1 of 3 Sony Ericsson Z500a Screen Replacement, Keypad: step 1, image 2 of 3 Sony Ericsson Z500a Screen Replacement, Keypad: step 1, image 3 of 3
    • Remove the back cover by pulling it down, and then take out the battery.

    • Using a T6 Torx screwdriver, remove the 4 screws.

    • Keep the phone open with the back cover facing you.

  2. Sony Ericsson Z500a Screen Replacement: step 2, image 1 of 1
    • Use the plastic opening tool and run it between the case and the body of the device to loosen the keyboard

    • There are 2 clamps that lock the keyboard to the case (1 on each side)

  3. Sony Ericsson Z500a Screen Replacement: step 3, image 1 of 1
    • Flip the phone over and lift straight up on the key pad to remove it.

    • Be sure to hold the phone flat (parallel to the table) so that no loose parts fall out.

  4. Sony Ericsson Z500a Screen Replacement, Logic Board: step 4, image 1 of 2 Sony Ericsson Z500a Screen Replacement, Logic Board: step 4, image 2 of 2
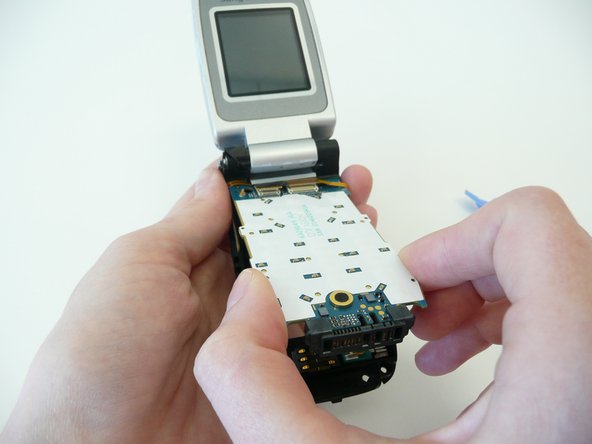
    • Use the opening tool to remove the 2 ribbon wires (boxed in the photo) from the logic board.

    • Gently lift the back of the logic board and then pull outwards. Be careful not to rip the ribbon wire.

  5. Sony Ericsson Z500a Screen Replacement: step 5, image 1 of 2 Sony Ericsson Z500a Screen Replacement: step 5, image 2 of 2
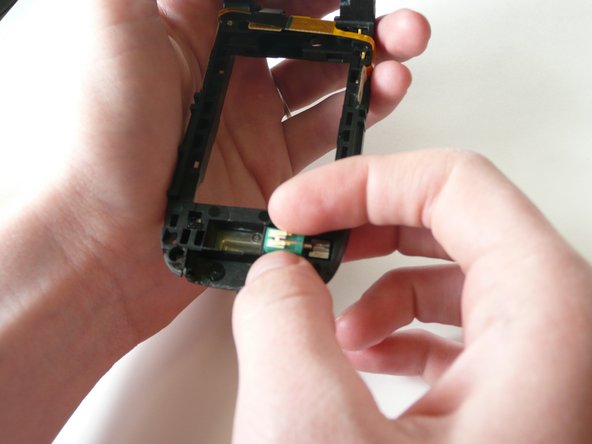
    • Remove the black sim card reader and green vibrator before continuing to ensure they do not fall out.

  6. Sony Ericsson Z500a Screen Replacement, Screen: step 6, image 1 of 2 Sony Ericsson Z500a Screen Replacement, Screen: step 6, image 2 of 2
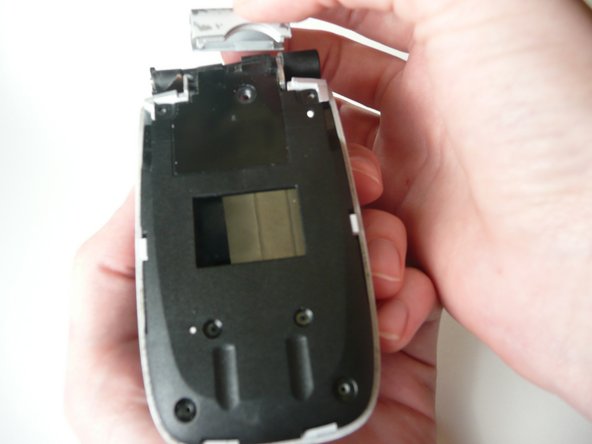
    • Close the phone, flip it over, grab the remaining gray covering of the phone and pull it straight up to remove it.

    • There is another piece below this which will break if you don't pull straight up.

    • Once the cover is removed take off the black piece underneath.

  7. Sony Ericsson Z500a Screen Replacement: step 7, image 1 of 1
    • Remove the face of the phone by sliding down.

  8. Sony Ericsson Z500a Screen Replacement: step 8, image 1 of 1
    • Unscrew the 4 screws connecting the screen to the base using a T6 Precision screwdriver.

  9. Sony Ericsson Z500a Screen Replacement: step 9, image 1 of 2 Sony Ericsson Z500a Screen Replacement: step 9, image 2 of 2
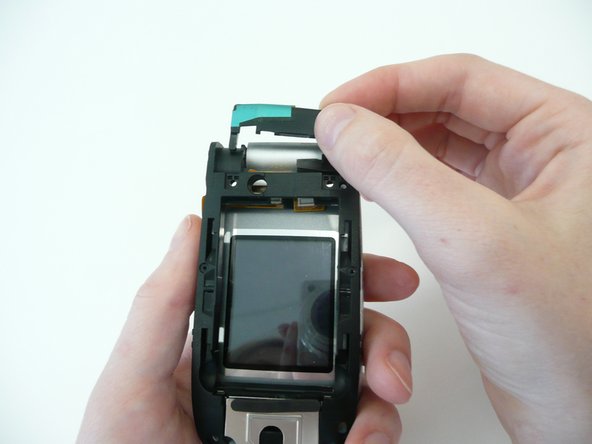
    • Use ipod opening tool to pry up the edge of the remaining silver hinge cover.

    • Once it is loose you can pull it off the rest of the way.

  10. Sony Ericsson Z500a Screen Replacement: step 10, image 1 of 2 Sony Ericsson Z500a Screen Replacement: step 10, image 2 of 2
    • To remove the plastic cover on the screen, run the ipod opening tool along the sides between the cover and the body of the phone (like you did for the keyboard)and gently pry upward until it is loose.

    • Like the keyboard there is one clamp on each side.

    • Grab the cover at the bottom of the screen (near the hinge) and pull outward while leaving the top (near the speaker) connected.

    • Once the bottom is pulled out far enough the top will be able to disconnect as well.

  11. Sony Ericsson Z500a Screen Replacement: step 11, image 1 of 1
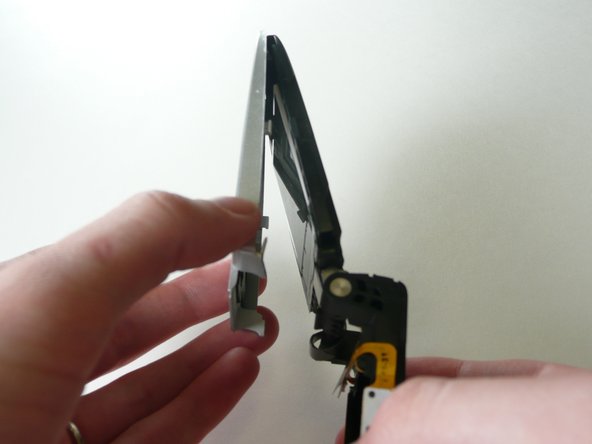
    • Remove the tape on the bottom of the screen so that the screen will be able to come out.

    • There is a finger notch on the top of the screen, gently pull out halfway.

    • Caution: the back of the screen is connected to the base of the phone. So do not pull out or the connection will be broken.

  12. Sony Ericsson Z500a Screen Replacement: step 12, image 1 of 1
    • Use the iPod opening device to remove the ribbon wire where it connects to the screen.

Morgan

Member since: 04/16/10

13 Reputation

1 Guide authored

Team

Cal Poly, Team 7-12, Maness Spring 2010 Member of Cal Poly, Team 7-12, Maness Spring 2010

CPSU-MANESS-S10S7G12

4 Members

10 Guides authored

View Statistics:

Past 24 Hours: 1

Past 7 Days: 1

Past 30 Days: 4

All Time: 1,990