Introduction
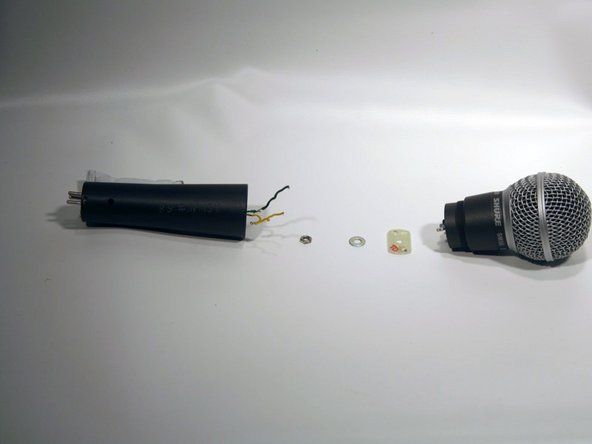
The faceplate connects all of the internal wiring of the microphone. If it is defective (or wires need to be reattached to it), this guide shows how to replace it.
What you need


Almost done!
Follow the steps of the guide in reverse to reassemble the microphone. In order to solder wires back to faceplate use soldering guide.
Conclusion
Follow the steps of the guide in reverse to reassemble the microphone. In order to solder wires back to faceplate use soldering guide.
Team

Cal Poly, Team 7-53, Forte Fall 2012 Member of Cal Poly, Team 7-53, Forte Fall 2012
CPSU-FORTE-F12S7G53
5 Members
20 Guides authored
Why should I replace the plate?
Gerrit - Reply
This guide was done as part of the capsule replacement—I don’t think there is any reason to solely replace the plate unless there was corrosion on it.
Daniel Berger - Reply