Introduction
Replacement guide for the loudspeakers on a Samsung Galaxy Tab 4 10.1 android tablet.
What you need
-
-
Insert the wedge of the nylon spudger and slide it between the front and back panels until the back comes off.
-
-
-
-
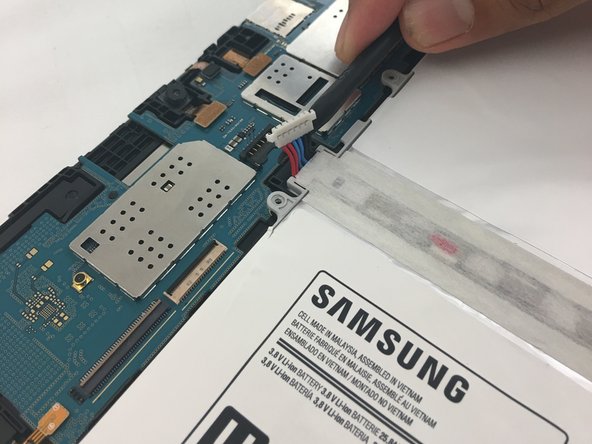
Insert the pointed end of a spudger underneath the ribbon connector of the left loudspeaker.
-
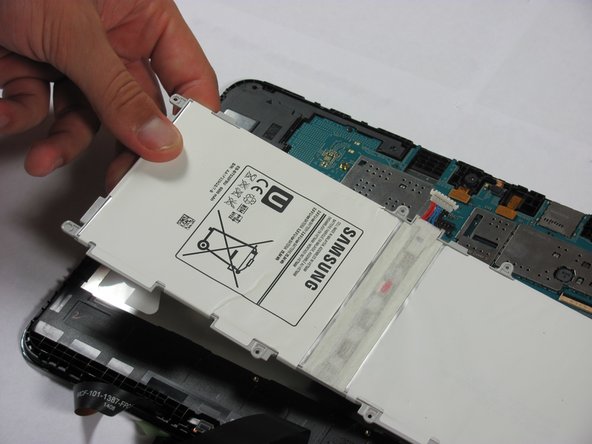
Pry upwards to remove the loudspeaker.
-


Almost done!
To reassemble your device, follow these instructions in reverse order.
Conclusion
To reassemble your device, follow these instructions in reverse order.
