Introduction
Before taking apart the tablet, be sure to buy the replacement battery. You can find batteries online by searching, “Samsung Galaxy Tablet 4 10.1 battery.” The battery used in this guide is the 6800 mAh 3.7V.
Below is a link to purchase the recommended battery:
What you need
-
-
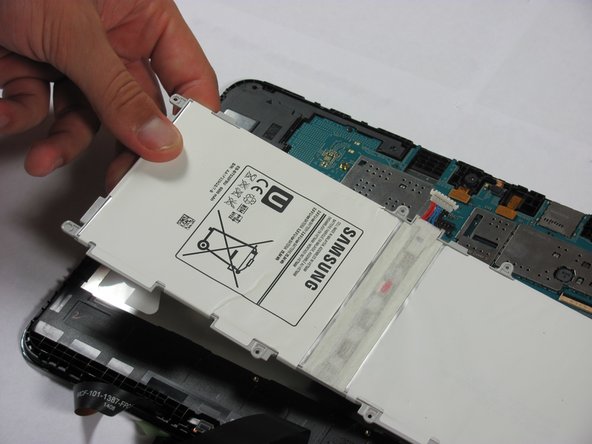
Insert the wedge of the nylon spudger and slide it between the front and back panels until the back comes off.
-
-
-
Peel off the green tape that covers the connectors for the three black strips.
-
Use the tip of a spudger or your fingernail to flip up the small retaining flaps.
-
-
-
-
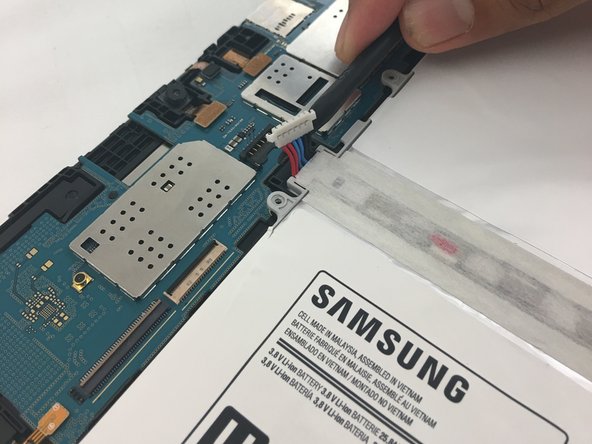
Detach the red, blue, and black cables by prying up on the white connector from the motherboard.
-
If using fingers instead, pull evenly on the full width of the cable so the wires are not overly strained.
-


Team

Cal Poly, Team 18-1, Forte Fall 2016 Member of Cal Poly, Team 18-1, Forte Fall 2016
CPSU-FORTE-F16S18G1
5 Members
4 Guides authored