Introduction
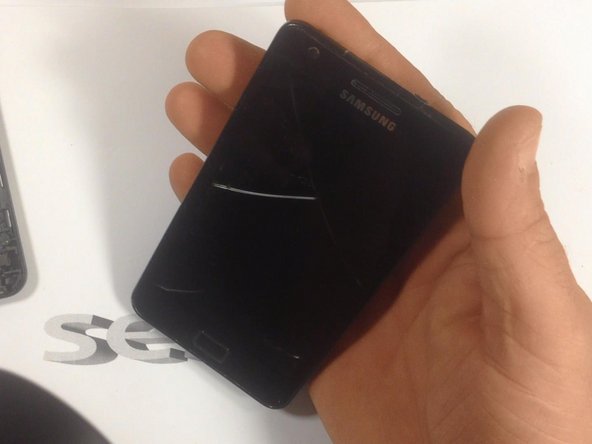
If you have a Samsung GALAXY SII with broken Touchscreen or LCD Display, this manual will guide, how to change them.
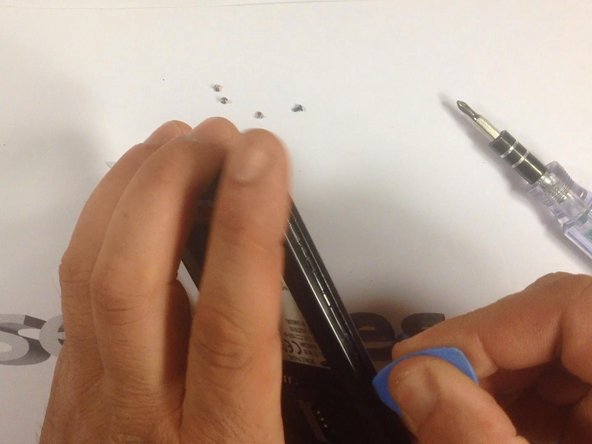
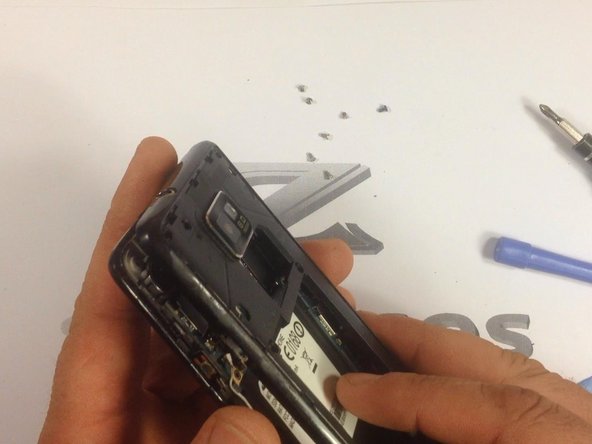
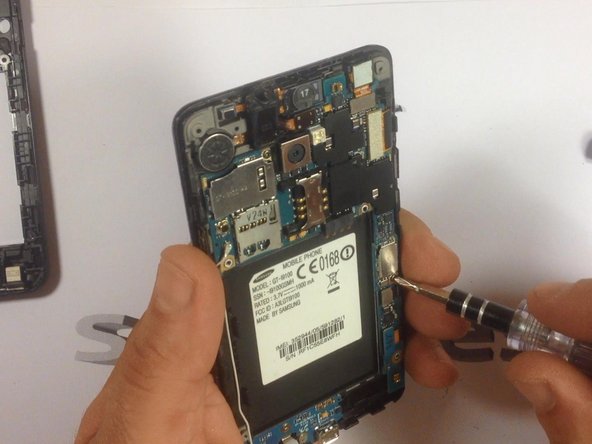
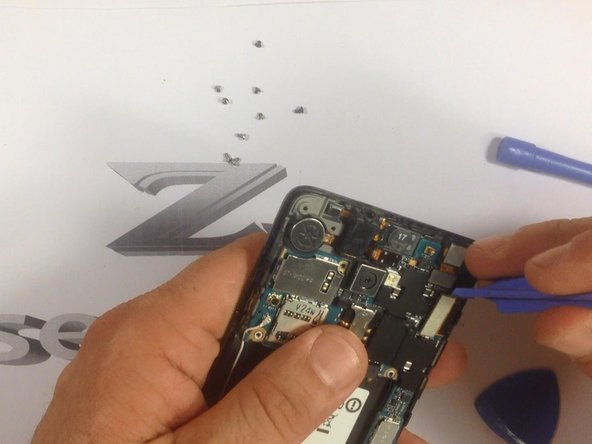
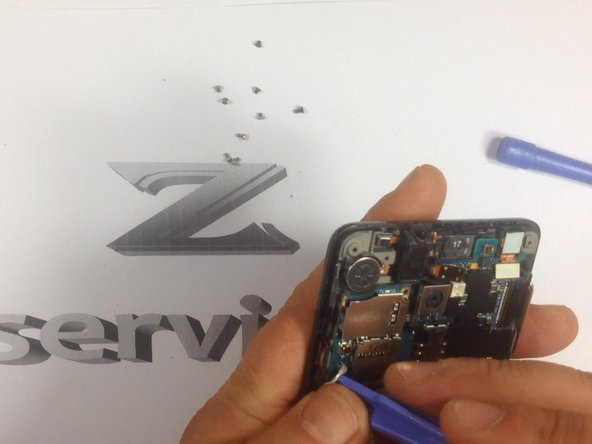
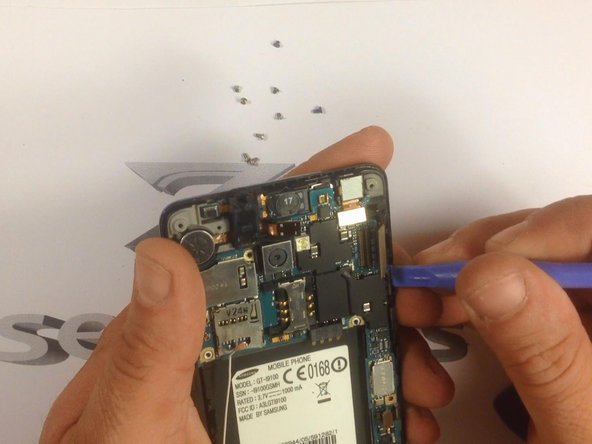
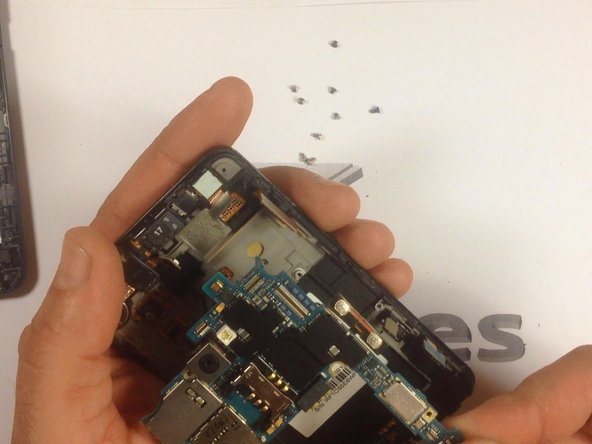
This procedure is very hard. You must have good experience to do this !!!
Same steps you can use for replacing Touchscreen&LCD display with frame. This operation is more easy. If you haven't enough experience, I strongly recommend you, to choose this variant.
_______Video manual_______
What you need
Video Overview
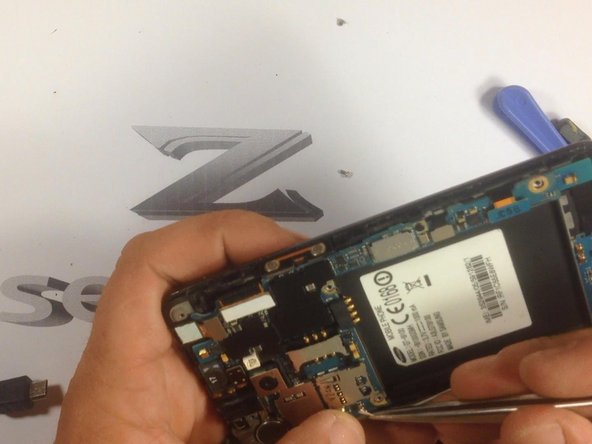
-
-
-
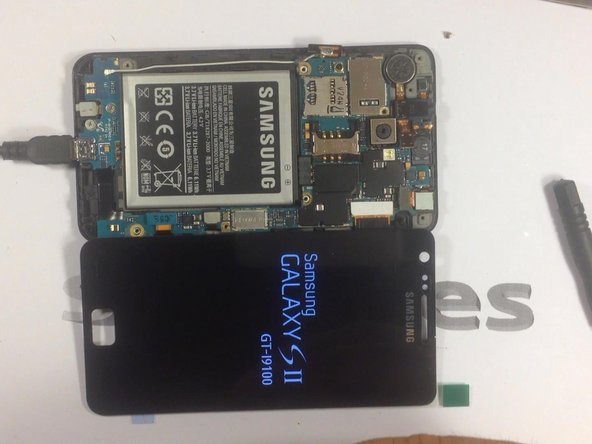
At this moment if you have touch screen with LCD and frame like spare part you are ready for replacing.
-
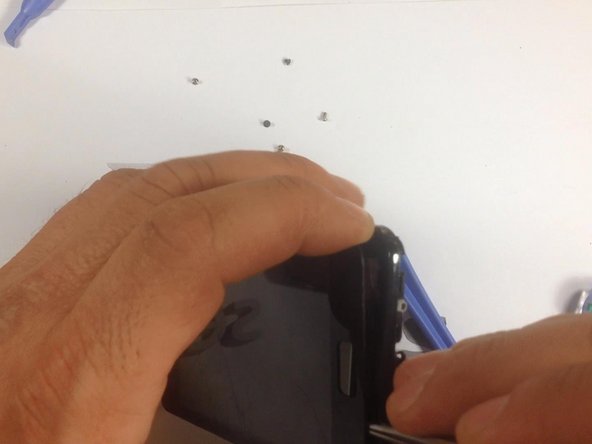
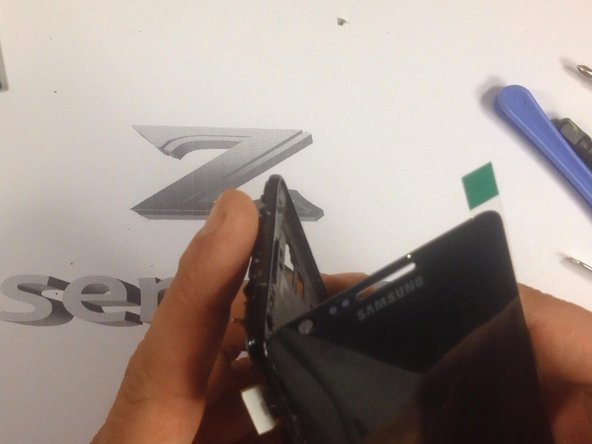
We will continue with disassembling LCD and Touch from the frame. Now preheat it before removing!
-
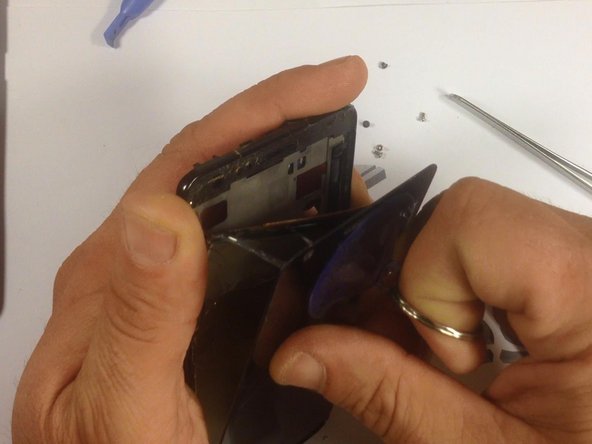
Use a hot air to soften the adhesive enough to remove the glass.
-
-
-
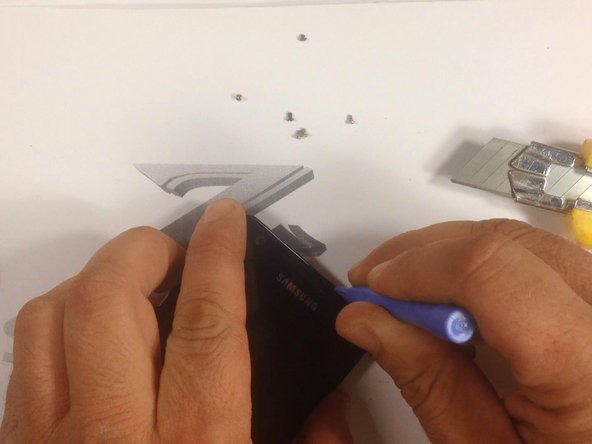
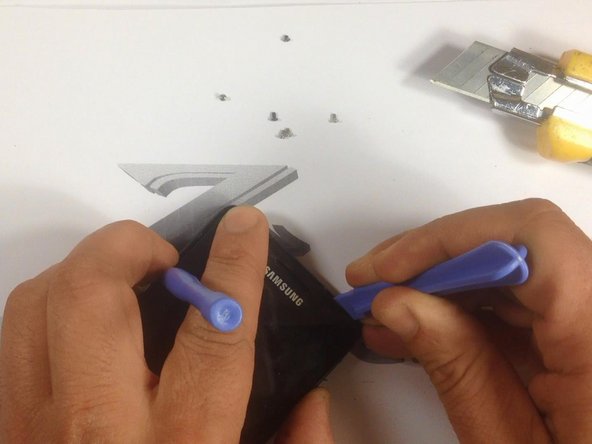
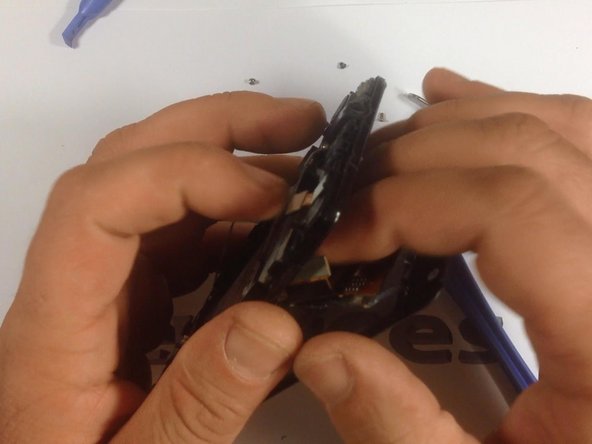
With a cutter, make a room for a plastic tool, then continue with separating the Touchscreen & LCD Display from the frame.
-
-
-
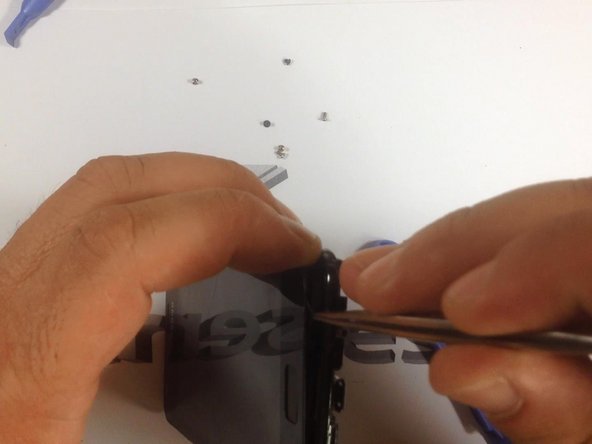
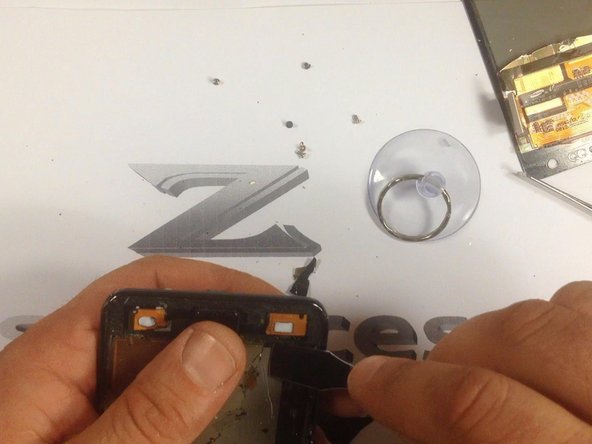
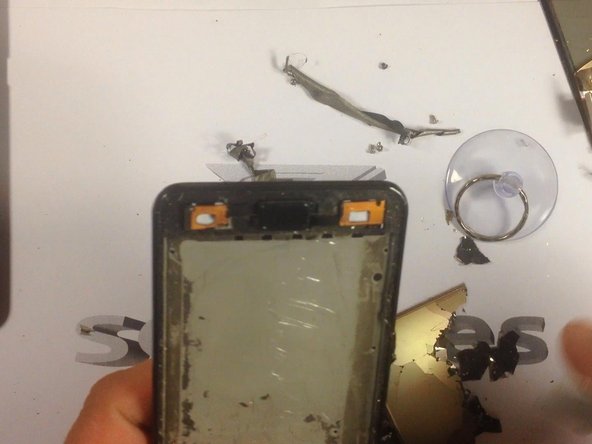
Now, use a suction tool to remove the screen from it's housing. Be careful when doing this, to prevent possible injury.
-
-
-
Install the LCD&Digitiser on it's housing.
-
Many times the spare parts come without adhesive tape. In this situation you'll need to install double sided adhesive tape yourself. Also you can easy find adhesive sticker exactly for the model.
-


Team
