What you need
-
-
Open the side flap and remove the brew group and coffee grounds container.
-
Unscrew the three Torx T10 screws on the cover above the support valve.
-
Take the lid off, now the support valve is open.
-
-
-
-
The seals on the support valve must be closed tightly with each brewing process and are heavily loaded. Replace them.
-
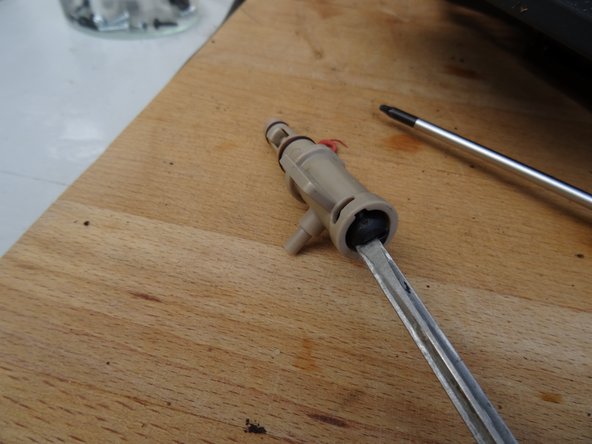
The support valve is closed with a cover with a bayonet lock. Using a flat screwdriver, turn the lid a few degrees counterclockwise and lift it out with a pair of pliers.
-
Check whether the inner parts (sliding piece, valve stem, and spring) can move freely and close tightly. Replace them if necessary.
-


Follow the steps in reverse order to reassemble your device.
Follow the steps in reverse order to reassemble your device.
Special thanks to these translators:
100%


These translators are helping us fix the world! Want to contribute?
Start translating ›
Team

Repair is War on Entropy Member of Repair is War on Entropy
Community
24 Members
1,097 Guides authored