Introduction
Before attempting this guide, be sure you check out the device troubleshooting page to see if you can get your cd player working that way.
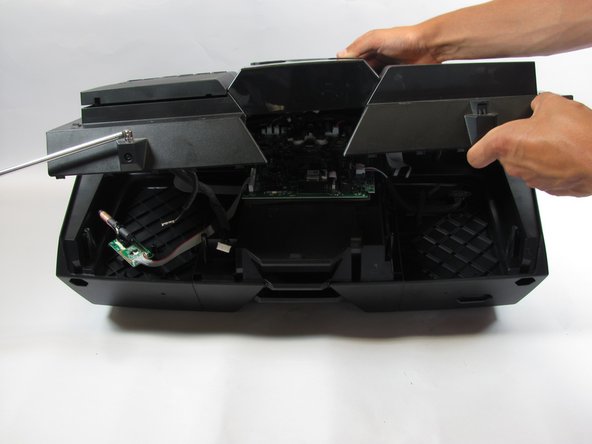
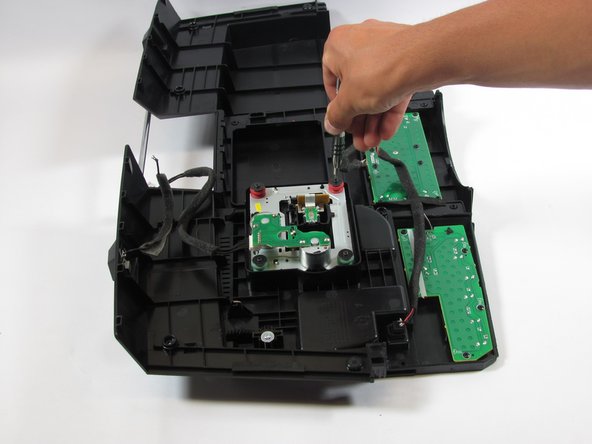
If not, we are going to go ahead and open the device as you will need to swap out your CD Drive for a working one.
What you need
-
-
Lift up the handle to reveal the screws.
-
Use your Phillips #2 screwdriver to remove the eight 1/2 inch screws.
-
-
-
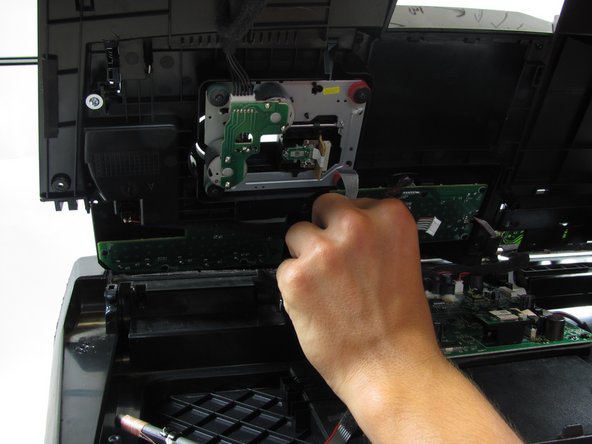
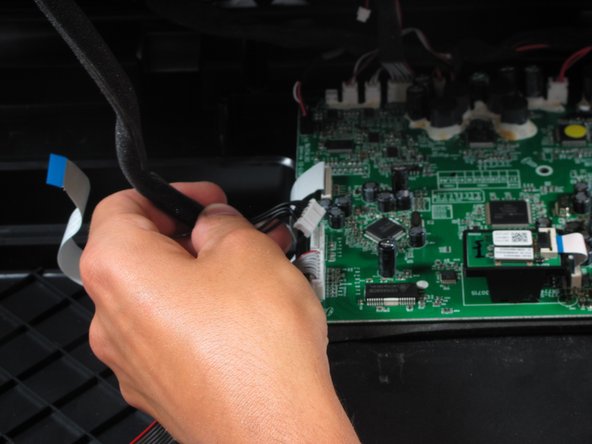
Use your Phillips #2 screwdriver to remove the two 1/2 inch screws underneath the now-removed panels.
How do you remove the carrying handle
Well this is stupid. You don’t show the handle being removed. I bet you broke it. You people don’t know what you are doing.
-
-
-
-
Use your Philips #2 screwdriver to remove the two 1 inch screws on the outermost part of the device.
-
Use your Philips #2 screwdriver to remove the two 3/4 inch screws on the outermost part of the device.
-
Use your Philips #2 screwdriver to remove the one 5/6 inch screw on the middle part of the device.
-


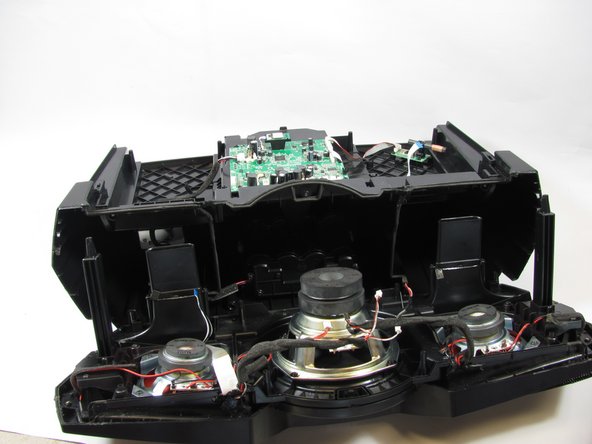


To reassemble your device, follow these instructions in reverse order.
To reassemble your device, follow these instructions in reverse order.
Cancel: I did not complete this guide.
2 other people completed this guide.
