Introduction
The fan in this blower is succeptible to breaking if small rocks or other small solid objects are sucked into the fan assembly. This guide outlines step-by-step how to replace this fan.
What you need
-
-
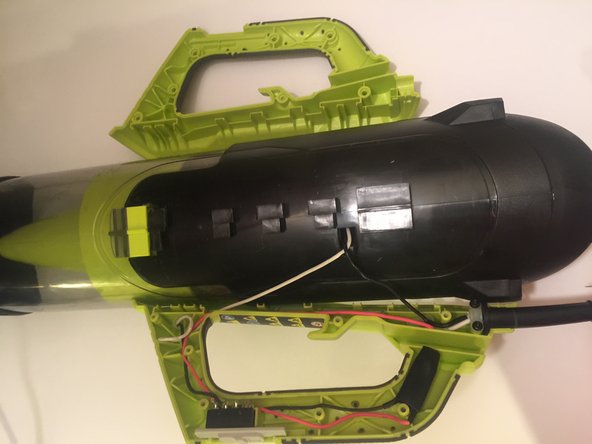
Lay the blower on its side so that most of the screw heads are facing up. Identify all 9 screw locations.
-
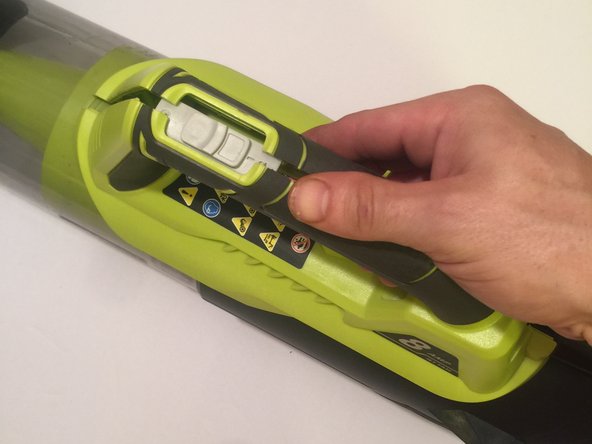
One screw is located under the sticker with the number 8 on it.
-
Another screw is located on the opposite side.
-
-
-
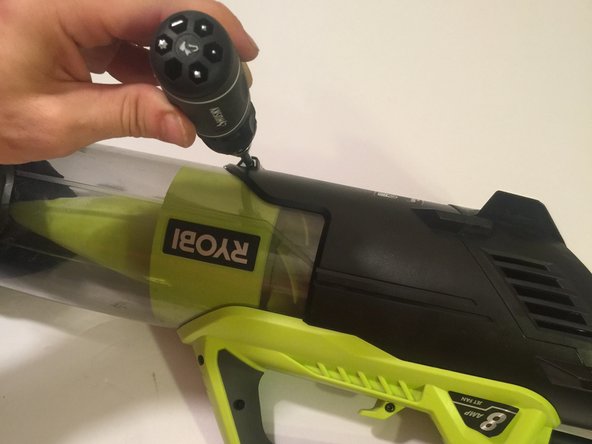
Using a T15 torx drive(star-head), carefully remove each of the 9 screws and set aside in a secure location. All 9 screws are 10 mm long.
-
-
-
-
Once the handle has been separated, the blower shaft with detach from the motor housing. Slide the blower shaft out of the motor housing and set aside.
-
-
-
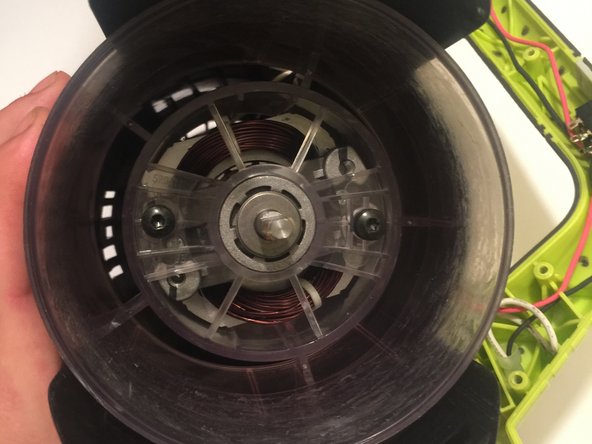
Once the blower shaft is detached, the fan will be visible. Use a ratchet with a 1/2" socket to remove the 1/2" nut securing the fan to the motor. This nut is reverse thread so turning it clockwise will loosen it. The fan will also need to be secured so that it does not spin as the nut is being loosened.
-
-
-
Remove new fan from package and install as shown. Screw the nut back on to secure the fan. Remember the nut is reverse thread, so turning it counter clockwise will tighten it. The fan will also need to be secured while the nut is being tightened.
-
-
-
Slide blower shaft back into motor housing, close handle back around blower shaft and motor housing, and screw all 9 screws back into their location.
-


Team

University of Memphis, Team S4-G1, Baddour Spring 2018 Member of University of Memphis, Team S4-G1, Baddour Spring 2018
UM-BADDOUR-S18S4G1
2 Members
1 Guide authored