
Ruton Mixer Gear Replacement

What you need

  1. Ruton Mixer Gear Replacement, Gears: step 1, image 1 of 2 Ruton Mixer Gear Replacement, Gears: step 1, image 2 of 2
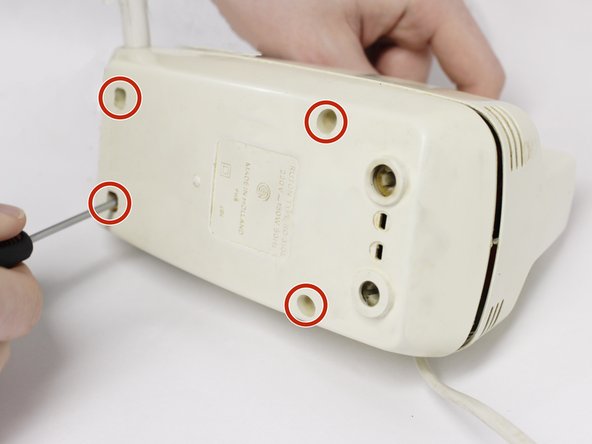
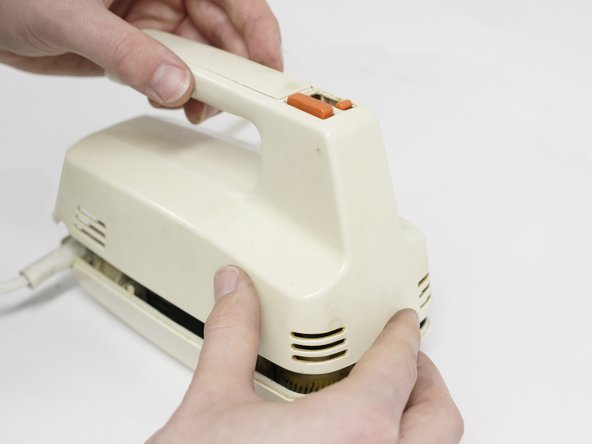
    • Slightly loosen all four 2.54 cm Phillips #1 screws and remove them.

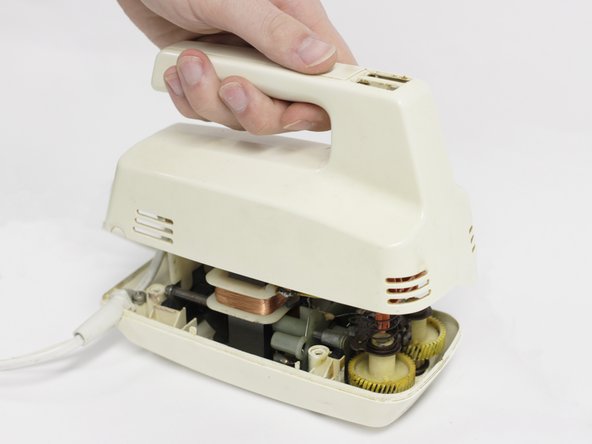
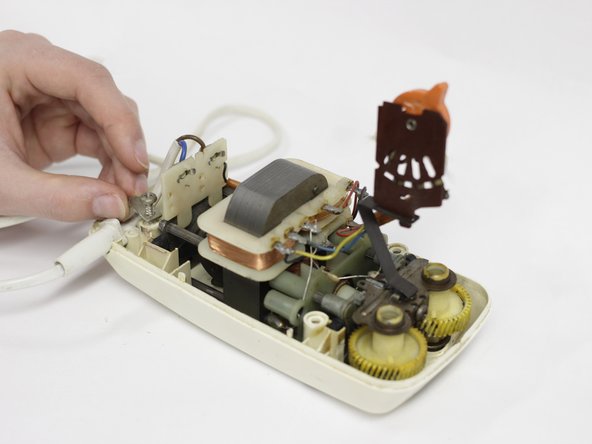
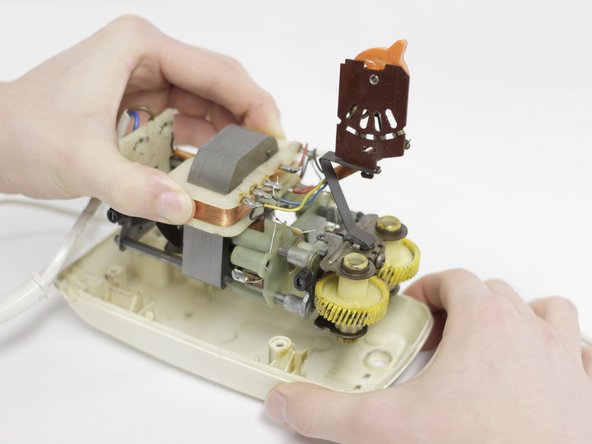
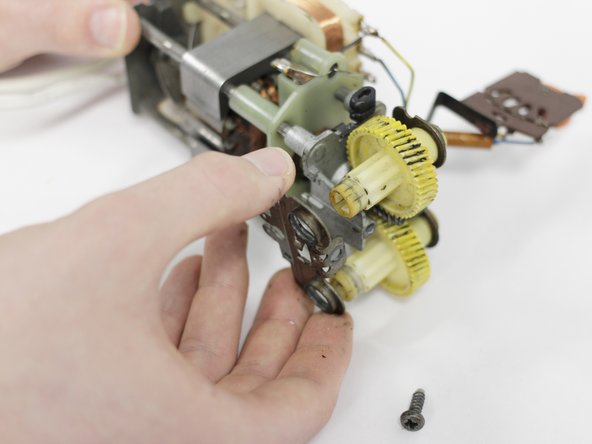
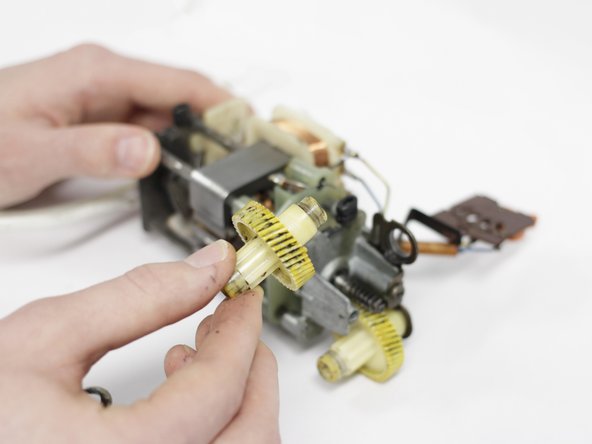
    • Remove the top casing.

  2. Ruton Mixer Gear Replacement: step 2, image 1 of 2 Ruton Mixer Gear Replacement: step 2, image 2 of 2
    • Remove the button unit, including the spring.

  3. Ruton Mixer Gear Replacement: step 3, image 1 of 2 Ruton Mixer Gear Replacement: step 3, image 2 of 2
    • Remove the 1.50 cm Phillips #1 screw that holds the cable clamp.

    • Remove the cable clamp.

  4. Ruton Mixer Gear Replacement: step 4, image 1 of 1
    • Lift the product from the bottom casing.

  5. Ruton Mixer Gear Replacement: step 5, image 1 of 3 Ruton Mixer Gear Replacement: step 5, image 2 of 3 Ruton Mixer Gear Replacement: step 5, image 3 of 3
    • Lay the product on its side and remove the 1.27 cm Phillips #1 screw holding the bottom metal plate in place.

    • Remove the metal plate holding the gears in place.

  6. Ruton Mixer Gear Replacement: step 6, image 1 of 1
    • Remove the gears.

  7. Ruton Mixer Gear Replacement: step 7, image 1 of 2 Ruton Mixer Gear Replacement: step 7, image 2 of 2
    • Replace the gears with new ones.

  8. Ruton Mixer Gear Replacement: step 8, image 1 of 2 Ruton Mixer Gear Replacement: step 8, image 2 of 2
    • Reassemble the mixer.

    • Put the cable protection in the correct position before fastening the cable and reassembling the mixer.

Conclusion

To reassemble your device, follow these instructions in reverse order.

One Comment

Hey, do you have a print file or do you know a place where i can buy these gears? Would really like to repair my own mixer.

Tibor Casteleijn - Reply

Add Comment

View Statistics:

Past 24 Hours: 0

Past 7 Days: 5

Past 30 Days: 9

All Time: 628