Introduction
If the zooming lens of your Ricoh Shotmaster 130Z camera is broken or malfunctioning, this guide will show you how to replace it step-by-step.
What you need


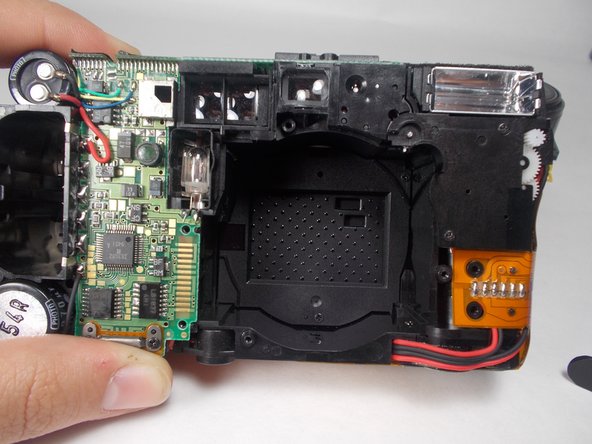
Almost done!
To reassemble your device, follow these instructions in reverse order.
Conclusion
To reassemble your device, follow these instructions in reverse order.

Team

UMass Dartmouth, Team 3-4, Isaacson Fall 2016 Member of UMass Dartmouth, Team 3-4, Isaacson Fall 2016
UMASSD-ISAACSON-F16S3G4
3 Members
10 Guides authored