Introduction
The ResMed S9 VPAP Auto is a medical ventilator, commonly referred to as a VPAP (variable positive airway pressure machine). This guide will direct you to access and replace the blower within the device. The blower is used to cycle air through the device, circulating air through the filters and blowing the air through the hose and to the user of the device. When the blower malfunctions, the device will not be working. There will be no circulation through the filters and through the device. Replacing the blower with a new or functioning one will completely fix the problem. For more information on the device, go to the manufacturer’s home page.
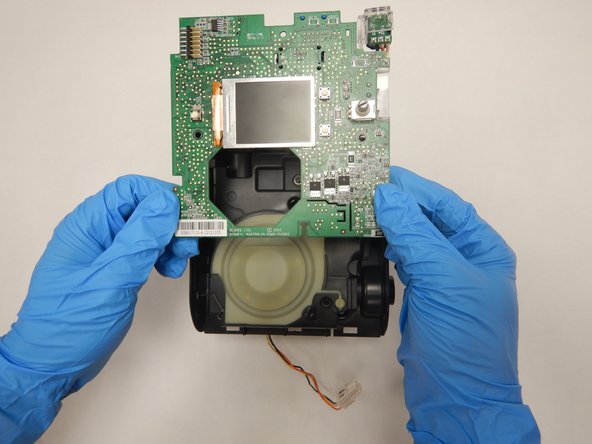
While removing the top panel to access the motherboard, be careful not the apply pressure to the side of the control knob. It has been known so snap off due to an impact or to pressure.
What you need
-
-
Flip the device upside down.
-
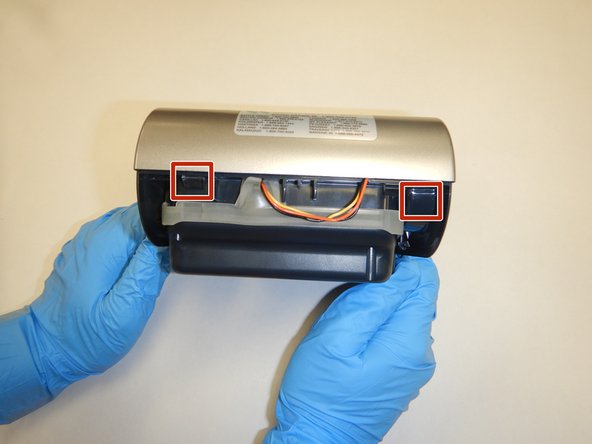
Use a T3 Torx screwdriver to remove the screw in the corner.
-
-
-
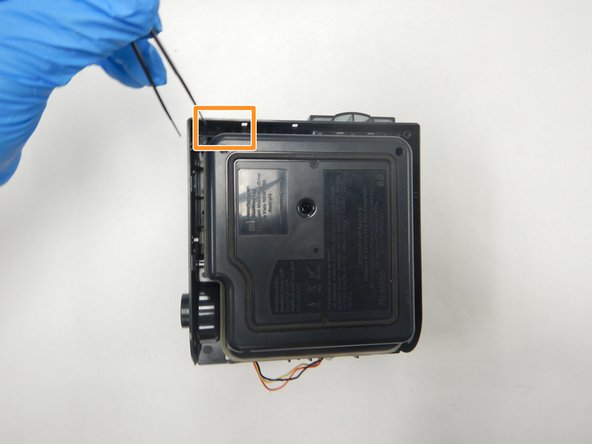
Use a spudger to pry off the back panel.
Some more clarity on how to do this would help. I'm afraid of breaking plastic by prying the wrong direction or the wrong location.
-
-
-
-
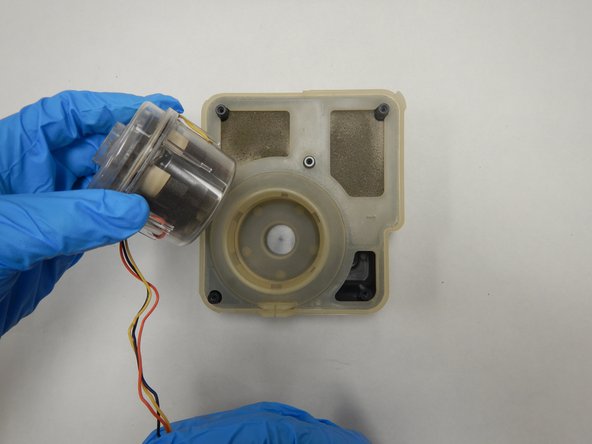
Remove the silicon ring around the blower.
-
Lift the blower out of the blower housing.
-


To reassemble your device, follow these instructions in reverse order.
To reassemble your device, follow these instructions in reverse order.
Cancel: I did not complete this guide.
9 other people completed this guide.

Team

The Citadel Military College of South Carolina, Team S3-G21, Eggleston Fall 2020 Member of The Citadel Military College of South Carolina, Team S3-G21, Eggleston Fall 2020
CMCSC-EGGLESTON-F20S3G21
3 Members
3 Guides authored
6 Comments
I didn’t see a link to the manual on this guide. It would be helpful as would the part number for the blower. Thanks!
https://www.advanscpap.com/resmed-s9-cpa...
will sell you a new blower motor for U$185. Will even fit it for that price.
I just completed this repair with a new blower motor from www.advanscpap.com and was very easy. They actually sent the complete lower housing with the blower motor which makes install simpler. Didn't need the last two steps of this tutorial. Also, a slight correction to this tutorial; the driver needed was a T10 and not a T3.
www.aliexpress.com