Introduction
Fixed gear bikes are a great way to get around but only offer one set speed. If you want to change that speed you don’t need to buy a whole new bike. By replacing the cog on the rear wheel with a different size you can adjust the speed.
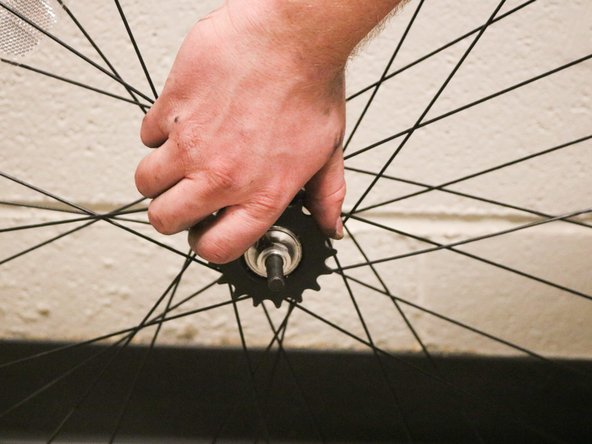
For this replacement, you will be removing the back wheel from the rim and chain. This can lead to grease getting on hands as well as clothes. You may want to wear gloves and clothes that you are not afraid to get dirty. The cog will also have some grease on it as well.
When removing the cog with the chain whip make sure that the tool is properly placed on the cog. It takes a good amount of force to loosen the cog initially. If the tool slips there is a chance your hand could be cut on the cog or hit the ground.
What you need
-
-
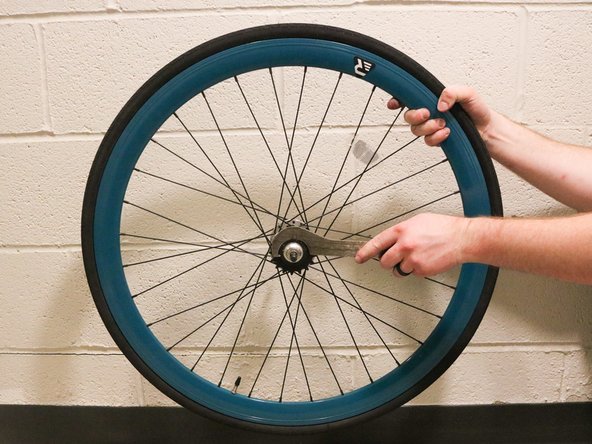
Remove the 9.5mm bolts on the rear wheel with an adjustable wrench. There is a bolt on each side of the wheel.
-
-


Cancel: I did not complete this guide.
One other person completed this guide.

Team

Eastern Washington University, Team S2-G8, Munoz Fall 2019 Member of Eastern Washington University, Team S2-G8, Munoz Fall 2019
EWU-MUNOZ-F19S2G8
1 Member
1 Guide authored