
Repairing Paint Brush Bristles

What you need

  1. Repairing Paint Brush Bristles, Repairing Paint Brush Bristles: step 1, image 1 of 2 Repairing Paint Brush Bristles, Repairing Paint Brush Bristles: step 1, image 2 of 2
    • Identify the brush type and the level of damage:

    • If the brush hairs are inflexible due to hardened paint coats, proceed to Step 2.

    • If the brush hairs are synthetic (fraying bristles), proceed to Step 5.

  2. Repairing Paint Brush Bristles: step 2, image 1 of 2 Repairing Paint Brush Bristles: step 2, image 2 of 2
    • Fill a small cup half way with turpentine.

    • Soak the brush in the turpentine for 2 days.

    • CAUTION: Do this in a well-ventilated area. The fumes from turpentine are toxic.

  3. Repairing Paint Brush Bristles: step 3, image 1 of 1
    • Remove any amount of paint that may remain on the brush by moving the brush in a circular motion.

  4. Repairing Paint Brush Bristles: step 4, image 1 of 2 Repairing Paint Brush Bristles: step 4, image 2 of 2
    • To remove remnants of turpentine on the bristles, wash the brush thoroughly in water.

    • After the turpentine has been completely removed, proceed to Step 7.

  5. Repairing Paint Brush Bristles: step 5, image 1 of 1
    • For synthetic brushes, boil a pot of water.

    • CAUTION: Avoid any contact with hot objects.

  6. Repairing Paint Brush Bristles: step 6, image 1 of 2 Repairing Paint Brush Bristles: step 6, image 2 of 2
    • Place the brush in the boiling water.

    • Rotate the brush in the water for approximately 5 minutes.

    • You should begin to notice that the bristles will start to come back together from the heat and water.

  7. Repairing Paint Brush Bristles: step 7, image 1 of 2 Repairing Paint Brush Bristles: step 7, image 2 of 2
    • Gently dry off the brushes using a soft towel.

    • Stroke the brush in an upward motion and be careful not to dig the towel through the bristles.

  8. Repairing Paint Brush Bristles: step 8, image 1 of 3 Repairing Paint Brush Bristles: step 8, image 2 of 3 Repairing Paint Brush Bristles: step 8, image 3 of 3
    • In order to retain the brush shape, use a brush tube or wrap the bristles in aluminum foil.

    • Within approximately three hours, the brush bristles will be back to normal.

  9. Repairing Paint Brush Bristles: step 9, image 1 of 2 Repairing Paint Brush Bristles: step 9, image 2 of 2
    • Cut off excess frayed bristles (optional).

    • There may be a few fraying bristles left. These are harmless and will cling to the brush shape when dipped in paint.

    • If preferred, you may use a nail clipper to cut these hairs off.

Conclusion

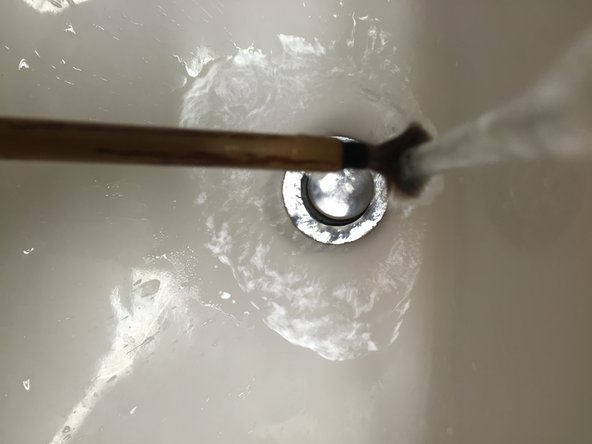
Your brushes should now be usable again. Unfortunately this cannot be done too many times because the turpentine will start to damage the bristles, so make sure to regularly wash your brushes.

23 other people completed this guide.

Ankita Bhowmik

Member since: 09/29/15

659 Reputation

1 Guide authored

Team

Cal Poly, Team 15-7, Green Fall 2015 Member of Cal Poly, Team 15-7, Green Fall 2015

CPSU-GREEN-F15S15G7

3 Members

7 Guides authored

6 Comments

Is this only for synthetic brushes? What about natural hair brushes which are frayed?

radhikacr999 - Reply

Hey! Can you tell me what is the use of wrapping the bristles in aluminium foil?

Santwana Verma - Reply

The article literally says “to retain the brush shape”

Paul Peddie -

I’ve seen other tutorials say to mix vinegar with the boiled water, would you recommend it?

John Ippoliti - Reply

Awesome guide, By the way, this guide "Can You Spray Stain With An Airless Sprayer" also contain useful information.

Muhammad Usman Bhatti - Reply

Add Comment

View Statistics:

Past 24 Hours: 29

Past 7 Days: 183

Past 30 Days: 829

All Time: 138,349